2026 Tudor Kirtle Construction Guide: Patterns and Fabrics
The Renaissance Silhouette: Understanding the Tudor Kirtle
The Tudor kirtle remains the foundational garment of 16th-century English women's dress, serving as both a supportive undergarment and a visible layer of clothing depending on the wearer's social status. As historical costuming and reenactment standards continue to rise in 2026, modern makers are moving away from synthetic shortcuts and embracing rigorous historical accuracy. Whether you are preparing for a high-end living history event or building a museum-quality reproduction, understanding the structural mechanics of the kirtle is essential.
According to research highlighted by the Metropolitan Museum of Art, the transition from the soft, flowing lines of the late medieval period to the structured, conical silhouettes of the Renaissance relied heavily on the tailored kirtle. By the 1530s, the kirtle bodice was heavily interlined and stiffened to support the bust and create a smooth, flat front, while the skirt was gathered or pleated to add volume at the hips. This guide will walk you through the precise methods for drafting, sourcing, and constructing an authentic Tudor kirtle using materials and techniques available in the current 2026 textile market.
Sourcing Authentic Historical Textiles in 2026
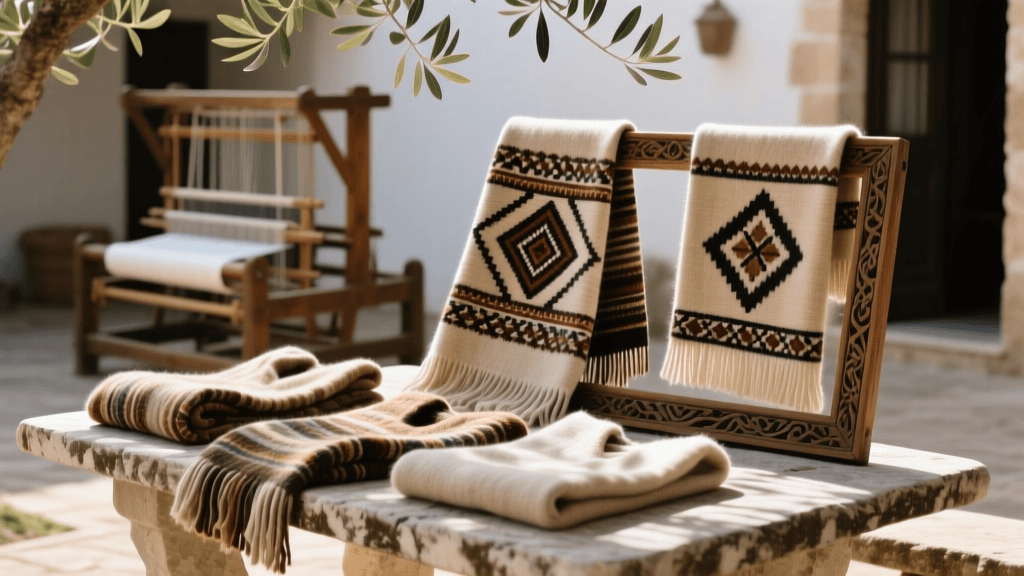
The success of any historical garment relies entirely on the drape, weight, and fiber content of the fabric. In 2026, the global textile market has seen shifts in shipping tariffs and mill productions, making it more important than ever to know exactly what to look for when sourcing historical-grade materials. Modern costume wools often lack the dense, fulled finish of historical broadcloth, while many commercial linens are too loosely woven for structural interlining.
When shopping for your outer fabric, you must seek out 100% wool that has been heavily milled or fulled. This process shrinks the wool, creating a dense, weather-resistant fabric that holds a sharp edge when cut and does not fray easily. For the interlining, you need a heavyweight, tightly woven linen canvas. The Victoria and Albert Museum notes that the structural integrity of surviving 16th-century garments is largely due to the high-quality, densely woven linen and hemp canvases used beneath the visible wool layers.
2026 Fabric Sourcing and Pricing Comparison
Below is a comparison chart detailing the best modern equivalents for historical fabrics, along with current 2026 estimated pricing for high-quality, natural-fiber textiles.
| Historical Fabric Type | 2026 Modern Equivalent | Est. Cost per Yard (2026) | Best Application |
|---|---|---|---|
| Wool Broadcloth | Heavy Melton or Fulled Wool | $55 - $85 | Outer bodice and winter skirts |
| Wool Kersey | Medium-Weight Twill Wool | $40 - $60 | Everyday working-class kirtles |
| Linen Canvas | Heavyweight Linen (10oz+) | $28 - $45 | Bodice interlining and structure |
| Linen Holland | Medium-Weight Bleached Linen | $22 - $35 | Lining and visible sleeve cuffs |
Drafting the Kirtle Bodice Pattern
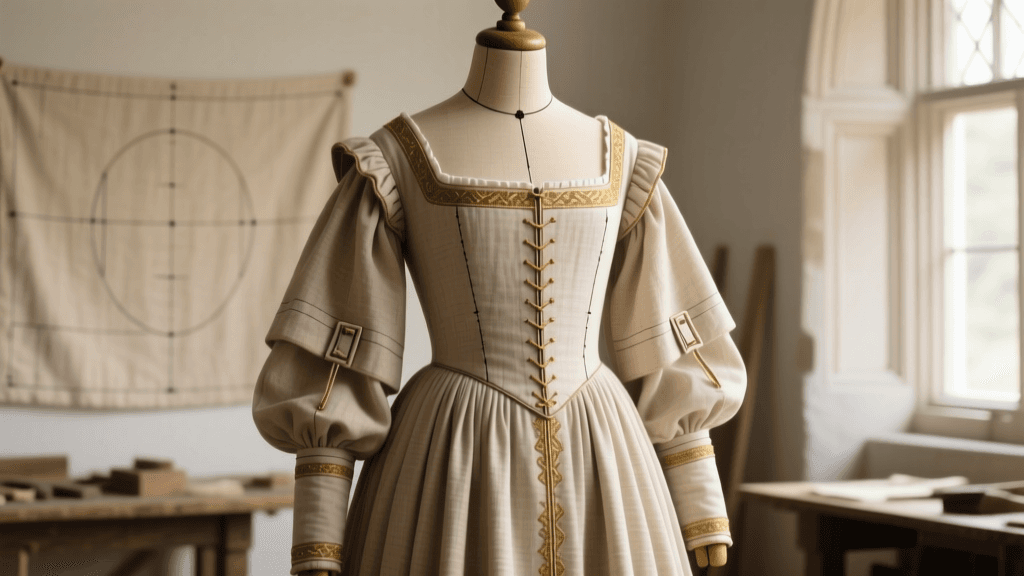
Drafting a 16th-century bodice requires a departure from modern dart-fitted pattern making. The Tudor kirtle bodice is constructed using geometric shapes and strategic seam placements to manipulate the fabric around the body. The Tudor Tailor methodology, which remains the gold standard for historical pattern drafting in 2026, relies on taking precise body measurements and translating them into a four-panel bodice: two front panels and two back panels.
Essential Measurements
- Bust Circumference: Taken snugly around the fullest part of the bust.
- Underbust Circumference: Taken tightly just beneath the bustline; this is crucial for the supportive fit of the kirtle.
- Waist Circumference: Taken at the natural waist, where the skirt will attach.
- Back Length: From the prominent vertebra at the base of the neck down to the natural waist.
- Front Length: From the hollow of the throat down to the natural waist.
- Shoulder Width: Measured across the back from the edge of one shoulder to the other.
Once your measurements are recorded, draft the pattern on kraft paper. The front panels should feature a straight, rigid center front line to create the signature flat-chested silhouette of the era. The side seams are placed slightly toward the back of the body, and the back panels are shaped to accommodate the shoulder blades. Do not add modern wearing ease; the kirtle is meant to fit snugly and act as a supportive foundation garment. Add only a half-inch seam allowance to all edges.
Historical Sewing Techniques and Thread Choices
While modern sewing machines can speed up the construction of long skirt seams, the bodice of a Tudor kirtle demands hand-sewing to achieve the correct historical tension and structural integrity. In 2026, historical costuming communities heavily emphasize the use of period-accurate stitches, which not only look authentic but also provide superior durability under the high tension of a fitted bodice.
The Running Stitch and Backstitch
For the main structural seams of the bodice, use a backstitch. This stitch mimics the lock of a modern sewing machine but allows the seam to flex slightly with the body. Use a heavily waxed linen thread for these seams. Waxing your thread with beeswax prevents tangling and strengthens the fibers. For the long, straight seams of the skirt, a fine running stitch is historically accurate and remarkably strong when sewn with a high-quality, long-staple linen thread.
Felling and Edge Finishing
Because historical wool broadcloth does not fray, raw edges inside the skirt can be left unfinished. However, the bodice edges must be cleanly finished. After sewing your outer wool layer and your linen interlining together, trim the seam allowances, turn them inward, and use a slip stitch or a felling stitch to secure the linen lining to the wool. This creates a remarkably clean interior that is comfortable against the skin and historically impeccable.
Constructing the Skirt: Cartridge Pleating
The defining feature of the Tudor kirtle skirt is its volume, which is achieved through cartridge pleating rather than standard knife or box pleats. Cartridge pleats allow a massive amount of fabric to be gathered into a very small waistband, creating the distinctive bell-shaped silhouette that supports the outer gown or forepart.
Step-by-Step Cartridge Pleating
- Cut the Skirt Panels: You will need between three to five yards of fabric, depending on your desired volume and the width of your historical wool. Sew the panels together using a running stitch and press the seams flat.
- Mark the Pleat Lines: Using a fabric marker or tailor's chalk, draw horizontal lines across the top edge of the skirt. Space these lines exactly half an inch apart, starting about one inch from the raw edge. Draw vertical lines intersecting the horizontal ones, also spaced half an inch apart, to create a grid.
- Run the Gathering Threads: Using a strong, waxed linen thread, sew a running stitch along each horizontal line. Do not tie off the threads at the ends; leave long tails.
- Pull and Secure: Gently pull all the gathering threads simultaneously. The fabric will naturally fold into tight, tubular pleats resembling the cartridges of a bullet belt. Wrap the thread tails securely around a pin in a figure-eight pattern to hold the tension.
- Attach to the Bodice: Align the top edge of the pleated skirt to the bottom edge of the finished bodice. Using a heavy-duty needle and thick linen thread, whipstitch the top fold of each individual cartridge pleat directly to the bottom edge of the bodice. This requires patience, but the resulting structural connection is incredibly strong and historically flawless.
Final Fitting and 2026 Closure Methods
The final step in constructing your kirtle is installing the closures. While modern hidden zippers are tempting for convenience, they ruin the historical drape and silhouette of the garment. The most accurate closure method for a front-lacing or side-lacing kirtle is the use of hand-worked eyelets and a single, continuous linen lace.
When working your eyelets, do not use metal grommets. Instead, use a metal awl to gently push the fibers of the wool and linen apart, creating a small hole. Then, use a buttonhole stitch or a tight whipstitch with heavy silk or linen thread to encase the raw edges. This method, widely documented in surviving 16th-century garments, ensures the eyelets will never tear out, even under the extreme tension of a tightly laced bodice. Space the eyelets approximately one inch apart, alternating them in a spiral lacing pattern, which was the most common and practical lacing method of the Tudor era.
Conclusion
Constructing an authentic Tudor kirtle in 2026 is a rewarding endeavor that bridges the gap between modern craftsmanship and historical tradition. By investing in high-quality, natural-fiber textiles, utilizing geometric pattern drafting, and committing to period-accurate hand-sewing techniques, you create a garment that is not merely a costume, but a living piece of history. As the historical costuming community continues to prioritize education and accuracy, mastering the foundational kirtle ensures your Renaissance wardrobe is built on a structurally and historically sound foundation.