How to Tie the Otaiko Musubi Obi: A Step-by-Step Guide
The Art of the Otaiko Musubi: An Introduction
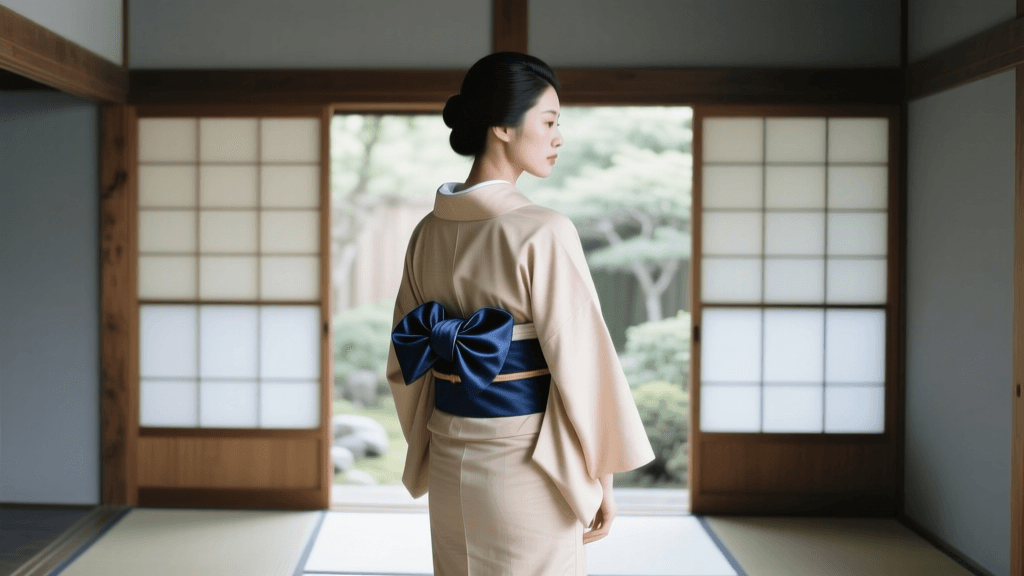
The obi is far more than a simple belt; it is the structural and aesthetic anchor of the traditional Japanese kimono. Among the myriad of knots used in kitsuke (the art of kimono dressing), the Otaiko Musubi, or "drum knot," stands out as the most iconic, elegant, and versatile. Worn primarily by married women or for formal and semi-formal occasions, the Otaiko Musubi creates a smooth, rounded, box-like shape at the back that resembles a traditional Japanese drum.
According to the Victoria and Albert Museum, the evolution of the obi from a slender cord in the Heian period to the broad, elaborate sashes of the Edo period fundamentally changed the silhouette of Japanese fashion. Today, mastering this knot is a rite of passage for kimono enthusiasts worldwide. While professional kitsuke dressers make it look effortless, achieving the perfect Otaiko Musubi requires an understanding of tension, precise measurements, and the correct use of specialized accessories.
Understanding the Anatomy of the Obi
Before attempting the knot, it is crucial to understand the anatomy of the obi. For this tutorial, we will focus on the Nagoya Obi. Invented in the 1920s in Nagoya, this style is pre-folded and partially stitched, making it significantly easier to tie than the wide, formal Fukuro obi, while still being appropriate for most semi-formal and casual occasions.
- Tehaba (Hand-width): The wider, folded section of the obi that wraps around the waist and forms the main body of the knot.
- Tare (Dangling end): The narrower, unfolded section that hangs down and is used to create the structural base of the drum shape.
- Otaiko (The Drum): The finished, smooth, rounded panel that rests against the lower back.
Essential Tools and Measurements
To achieve a flawless Otaiko Musubi, relying solely on your hands will result in a sagging or misshapen knot. You must use a specific set of accessories designed to provide structure and maintain tension. Below is a comprehensive table of the essential tools, their standard dimensions, and their specific purposes in the dressing process.
| Tool Name | Japanese Term | Standard Dimensions | Purpose in Kitsuke |
|---|---|---|---|
| Obi Pillow | Obimakura | 20cm x 10cm | Provides the rounded volume and structural support for the drum shape. |
| Front Board | Obi-ita | 15cm x 30cm | Inserted at the front of the waist to prevent the obi from wrinkling. |
| Tying Cords | Koshihimo | 130cm long (x3) | Cotton or silk cords used to secure the obi tightly at various stages. |
| Decorative Sash | Obiage | 30cm x 120cm | A silk scarf that covers the obi pillow and adds a pop of color. |
| Decorative Cord | Obijime | 150cm long | A braided cord that secures the knot and acts as the final aesthetic accent. |
Step-by-Step Tutorial: Tying the Nagoya Obi
Follow these detailed steps to tie the Otaiko Musubi. Ensure your kimono is already properly fitted and secured with a datejime (under-sash) before beginning.
Step 1: Preparing the Tare and Tehaba
Drape the Nagoya obi over your left shoulder. The folded edge (the top of the Tehaba) should face upward, and the open, raw edge should face downward. Let the narrow Tare end hang down your back. The length of the Tare is critical: for an average height of 155cm to 160cm, the Tare should reach approximately 40cm to 45cm from the floor. Pinch the obi at this point to mark your starting position.
Step 2: Wrapping the Waist
Hold the marked point of the Tare against your left hip. With your right hand, take the wide Tehaba and wrap it tightly around your waist from left to right. Ensure the top edge of the Tehaba sits precisely at your desired obi height (usually just below the bust for a modern, youthful look, or at the natural waist for a traditional look). Wrap the Tehaba around your waist a second time, overlapping the first layer neatly. The tension must be firm; a loose wrap will cause the entire knot to slide down throughout the day.
Step 3: Securing the Base
Once the Tehaba is wrapped twice, bring the remaining length to the back. Cross the Tare over the top of the Tehaba at the center of your back. Take your first koshihimo (tying cord) and wrap it around your waist, tying it tightly at the front with a square knot. Tuck the excess cord into the sides. Next, insert your obi-ita (front board) between the obi layers at the front to ensure a smooth, wrinkle-free surface.
Step 4: Creating the Drum Shape
This is the most complex step. At the back, pull the Tare upward, spreading it out so the pattern is centered. Take your obimakura (obi pillow), wrap it in your obiage (silk sash), and place it horizontally across the upper back, just above the obi line. Bring the Tare down over the pillow, folding the excess fabric inward to create a clean, straight bottom edge. The bottom edge of the Otaiko should rest gently on your lower back, forming the "drum." Take your second koshihimo and tie it securely around the waist, directly over the base of the drum, to lock the shape in place.
Step 5: Finishing with Obiage and Obijime
Tuck the exposed ends of the obiage into the top of the obi at the front, creating a neat, symmetrical fold that peeks out just above the main sash. Finally, take the obijime (decorative cord), wrap it around the center of the Otaiko drum at the back, bring it to the front, and tie it using a flat, secure reef knot. Tuck the ends of the cord neatly into the sides of the knot. Adjust the drum at the back to ensure it is perfectly symmetrical and level.
Troubleshooting Common Obi Mistakes
Even experienced dressers encounter issues when tying the Otaiko Musubi. Here is how to fix the most common problems:
- The Obi Slips Down: This is almost always caused by insufficient tension during Step 2. The waist is conical, and the obi naturally wants to slide to the narrowest point. Wrap the Tehaba tightly and angle it slightly upward at the back before securing the koshihimo.
- Wrinkles in the Front: If the front of the obi looks crumpled, your obi-ita (front board) may be too small, or you forgot to pull the fabric taut before inserting it. Always smooth the fabric outward from the center before locking it in place.
- Asymmetrical Drum: If one side of the Otaiko is longer than the other, the Tare was not pulled evenly over the obimakura in Step 4. Untie the second koshihimo, re-center the pattern, and ensure the bottom edge is parallel to the floor before re-tying.
Cultural Context and Modern Experiences
The Otaiko Musubi is more than a fashion statement; it is a reflection of Japanese aesthetics, emphasizing harmony, structure, and subtlety. For tourists and cultural enthusiasts visiting Japan, experiencing professional kitsuke is a highly recommended activity. As noted by the Japan Guide, cities like Kyoto offer countless rental shops where visitors can learn the basics of kimono wearing and stroll through historic districts like Higashiyama in full traditional attire.
Furthermore, the preservation of these intricate dressing techniques is a vital part of Japan's intangible cultural heritage. The Japan National Tourism Organization highlights that engaging with traditional arts, from tea ceremonies to kimono dressing, allows visitors to deeply understand the meticulous craftsmanship and discipline inherent in Japanese culture. Whether you are tying the obi yourself for a tea ceremony or admiring the work of a professional dresser, the Otaiko Musubi remains a timeless symbol of elegance and cultural pride.