Master the Obi: Step-by-Step Bunko and Taiko Knot Tutorials

The Art of Kitsuke: Understanding the Obi
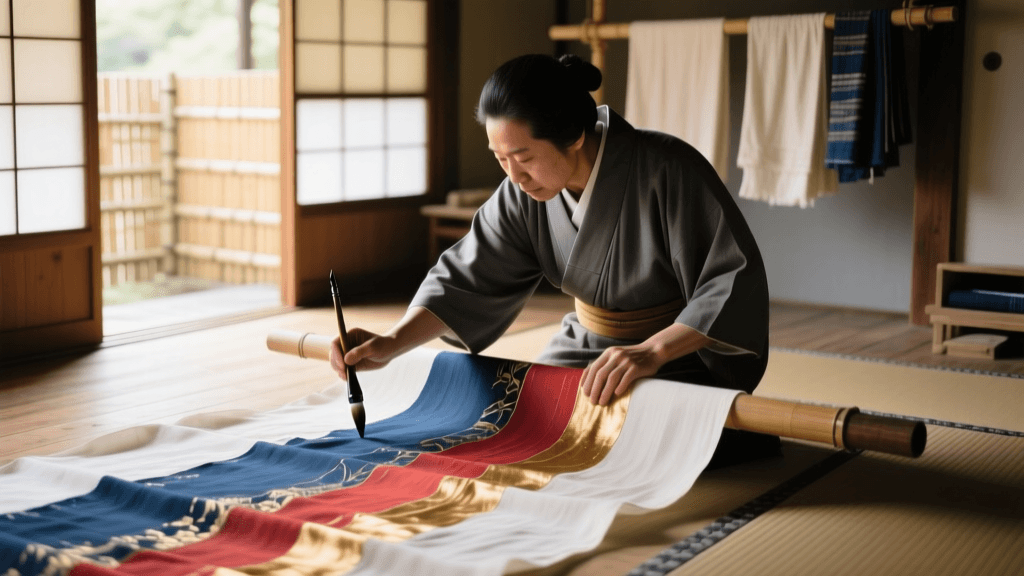
The obi is far more than a simple belt; it is the structural and aesthetic anchor of traditional Japanese clothing. In the art of kitsuke (the wearing of kimono), the obi dictates the formality, silhouette, and overall harmony of the outfit. According to the Metropolitan Museum of Art, the obi evolved from a narrow, functional cord in the early Edo period into a wide, highly decorative sash that became the focal point of Japanese fashion. Today, mastering the art of tying an obi is essential for anyone looking to wear a kimono or yukata with authenticity and confidence.
For beginners and seasoned enthusiasts alike, learning to tie the two most fundamental knots—the Bunko Musubi (Library Knot) and the Taiko Musubi (Drum Knot)—will cover 90% of your traditional dressing needs. The Bunko is the standard for informal summer yukata, while the Taiko is the undisputed standard for formal and semi-formal kimono.
Essential Tools for Tying an Obi
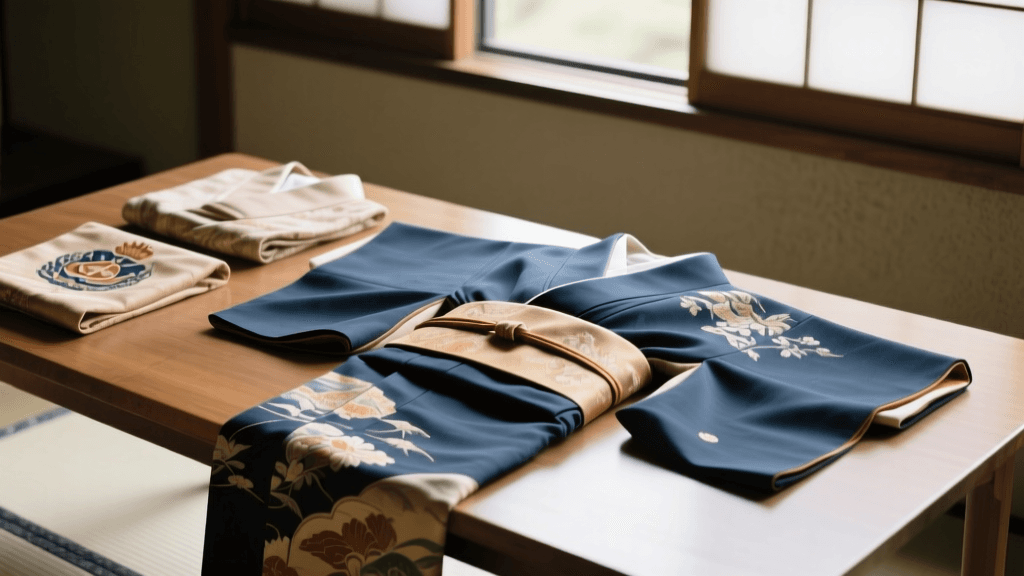
Before attempting any knot, you must gather the proper accessories. The structure of a Japanese knot relies on hidden ties and pads rather than the tension of the fabric alone.
- Koshihimo (Waist Ties): Long, thin cotton or silk cords used to secure the kimono and obi in place. You will need at least two.
- Datejime (Under-belt): A wider, elastic or silk belt worn over the koshihimo to flatten the fabric and provide a smooth base for the obi.
- Obi-ita (Belt Board): A stiff felt or plastic board inserted between the obi folds to prevent wrinkling and maintain a crisp, flat front.
- Obi-makura (Obi Pillow): A small, firm cushion used exclusively for the Taiko knot to give the 'drum' its voluminous shape.
- Obi-age (Obi Scarf): A silk cloth used to cover the obi-makura and add a pop of color at the top edge of the knot.
- Obi-jime (Obi Cord): A decorative braided cord tied around the center of the obi to secure the knot and add a finishing touch.
Obi Types and Knot Selection Guide
Not all obi are created equal. The width, length, and stiffness of the fabric will determine which knot you can successfully tie. Below is a comparison chart to help you select the right obi for your tutorial.
| Obi Type | Dimensions (Width x Length) | Formality Level | Recommended Knot | Best Garment Pairing |
|---|---|---|---|---|
| Hanhaba Obi | 15 cm x 300-400 cm | Informal / Casual | Bunko Musubi (Library) | Yukata, Wool Kimono |
| Nagoya Obi | 30 cm x 320 cm (Pre-folded) | Semi-Formal | Taiko Musubi (Drum) | Tsumugi, Edo Komon |
| Fukuro Obi | 30 cm x 420-450 cm | Formal / Ceremonial | Taiko Musubi / Niju-Daiko | Homongi, Furisode, Tomesode |
Tutorial 1: The Bunko Musubi (Library Knot)
The Bunko Musubi resembles a butterfly or an open book, making it a youthful, playful, and highly practical knot for summer festivals and casual outings. This tutorial uses a Hanhaba Obi.
Step-by-Step Instructions
- Measure the Tare (Tail): Hold one end of the obi (the tare) against your side. Measure out approximately 40 to 50 centimeters. This will form the loops of your bow. Pinch this point with your thumb.
- Wrap the Body: Wrap the longer end (the te) around your waist twice, pulling tightly from the back to ensure the kimono does not loosen. Keep the bottom edge perfectly horizontal.
- Secure the Wrap: Overlap the te over the tare at your front, then pass the te under the wrapped layers from the bottom up, pulling it tight to lock the obi in place. Tuck the excess te into the top of the obi temporarily.
- Create the Bow: Take the 40cm tare end and fold it into an accordion-style pleat (about 3 or 4 folds). Pinch the center of the pleats tightly.
- Tie the Center: Take a spare koshihimo (waist tie) and wrap it tightly around the center of your pleated tare to secure the bow shape.
- Attach to the Body: Bring the bow to your back. Slide the koshihimo ends under the wrapped obi layers at your back, pulling tightly to anchor the bow against your spine. Tie the koshihimo securely at the front and tuck the ends away.
- Fluff and Adjust: Reach behind you and fan out the loops of the bow to resemble butterfly wings. Ensure the knot sits slightly above the natural waistline for a youthful silhouette.
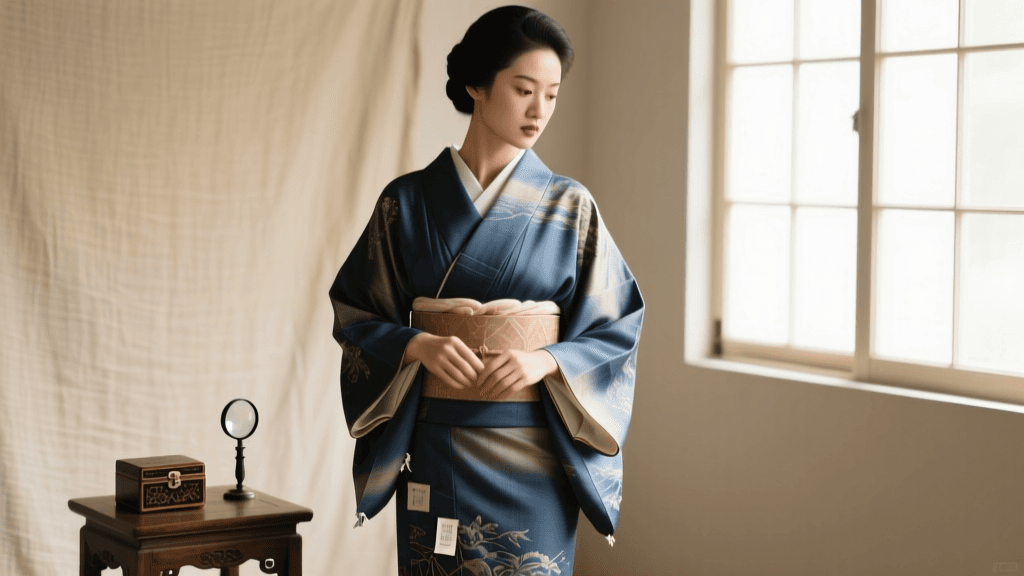
Tutorial 2: The Taiko Musubi (Drum Knot)
The Taiko Musubi is the hallmark of elegant, mature, and formal Japanese dress. Named after the Taiko-bashi (drum bridge) in Tokyo's Kameido Tenjin shrine, this knot creates a smooth, continuous curve across the lower back. This tutorial uses a Nagoya or Fukuro Obi.
Step-by-Step Instructions
- Prepare the Obi: If using a Nagoya obi, it will already be partially folded. Open the wide section (the tare) and place the obi-ita (belt board) against your stomach.
- Wrap the Base: Wrap the obi around your waist once, ensuring the patterned edge faces outward. Bring both ends to the front. The wide end (tare) should be on top, and the narrow end (te) on the bottom.
- Cross and Pull: Cross the tare over the te, then pull the tare up and under the entire wrapped base layer. Pull it extremely tight from the back to secure the kimono. Bring the tare back to the front.
- Insert the Makura (Pillow): Take your obi-makura and wrap the obi-age (scarf) around it. Place the makura under the tare at your back, positioning it exactly where you want the top edge of the 'drum' to sit (usually at the small of the back).
- Form the Drum: Pull the tare down over the makura, folding the excess width under to create a smooth, flat surface. The length of the tare should hang down to just above the hem of your kimono.
- Secure the Tare: Bring the narrow end (te) around your waist to the back. Thread it through the gap between the top of the obi and the kimono, right above the makura. Pull it tight to lock the drum shape in place.
- Tie the Obi-jime: Wrap the decorative obi-jime cord around the exact center of the drum at your back. Bring the ends to the front, tie a secure flat knot, and tuck the ends neatly into the sides of the cord.
- Finish the Obi-age: Bring the ends of the obi-age scarf to the front. Tie a simple knot, tuck the excess fabric neatly into the top of the obi, and ensure only a sliver (about 1-2 cm) of the scarf is visible.
Common Mistakes and Pro Tips for a Secure Fit
Even with perfect steps, the physical act of wearing a kimono requires an understanding of body mechanics. Here are expert tips to ensure your obi stays secure all day:
- The Posture Trick: When wrapping the obi around your waist, lean your upper body slightly backward. This naturally expands your ribcage and waist. When you stand up straight, the obi will lock tightly against your body, preventing it from sliding down.
- Friction is Your Friend: If your obi is made of slippery silk, use a datejime with a silicone grip strip. This prevents the outer obi from sliding against the inner kimono layers.
- The 'Te' Length: In the Taiko knot, the most common beginner mistake is leaving the narrow end (te) too long or too short. The te should end exactly at the side seam of your hip when pulled through the back.
Cultural Significance and Modern Styling
The way an obi is tied communicates volumes about the wearer's age, marital status, and the occasion. As highlighted by the Victoria and Albert Museum, the shift from tying the obi at the front to the back during the Edo period was not just a fashion statement, but a reflection of changing social norms and the increasing complexity of the knots themselves. Today, the back-tied knot remains a symbol of elegance and propriety.
Modern styling has also embraced the obi in innovative ways. While traditional kitsuke demands strict adherence to the rules of formality, contemporary fashion often sees vintage obi repurposed as table runners, wall art, or even wrapped over modern western dresses as high-fashion belts. However, for those participating in tea ceremonies, weddings, or summer matsuri (festivals), mastering the Bunko and Taiko knots remains a vital cultural skill.
For travelers looking to experience this firsthand, the Japan National Tourism Organization highly recommends booking a professional kitsuke session in Kyoto or Tokyo. Experiencing the meticulous, layered process of being dressed by a professional provides invaluable insight into the geometry, tension, and artistry required to wear Japan's most iconic garment.
Conclusion
Tying an obi is a tactile meditation—a practice of patience, precision, and respect for tradition. Whether you are tying a playful Bunko knot for a summer fireworks festival or a dignified Taiko knot for a formal tea gathering, the skills you develop will deepen your appreciation for Japanese textile arts. Practice with a cotton hanhaba obi first, master the tension, and soon the intricate folds of the Taiko drum will become second nature.