How to Tie a Hanhaba Obi: Bunko Knot Step-by-Step
Understanding the Hanhaba Obi and the Bunko Musubi
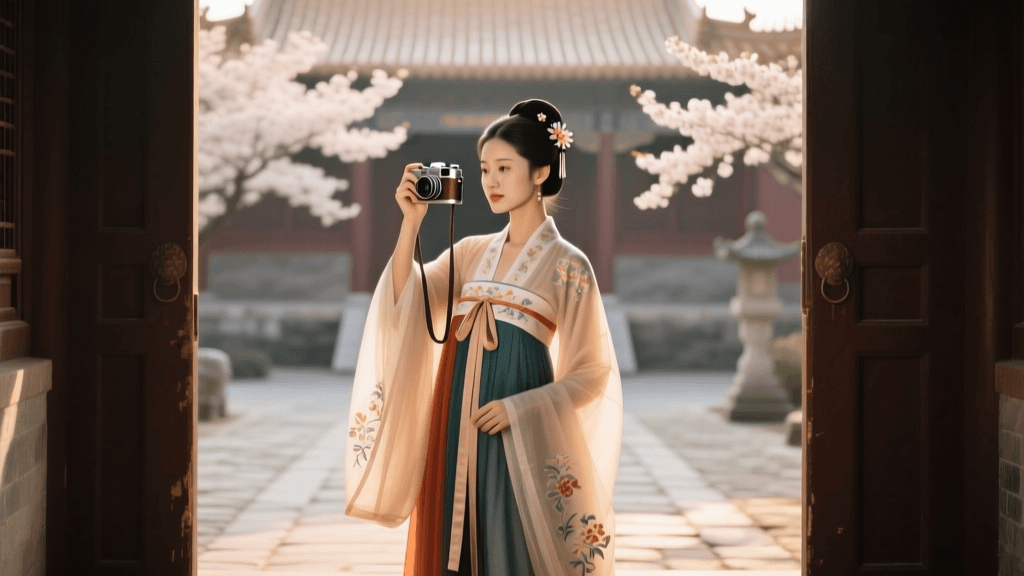
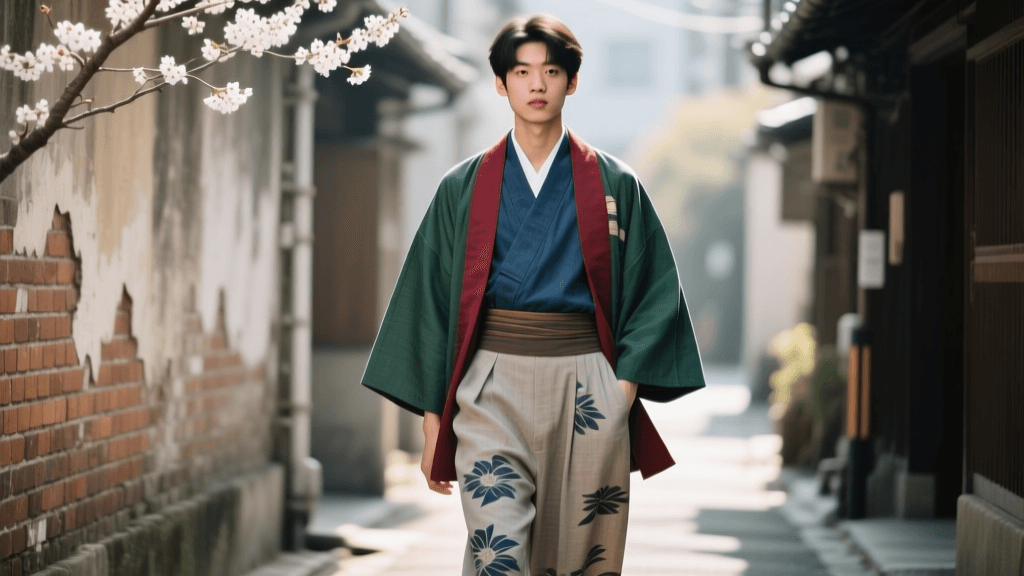
The world of traditional Japanese garments is deeply intertwined with the art of tying the obi, the sash that secures the kimono or yukata. For beginners, tourists participating in kimono rental experiences, and those attending summer festivals, the hanhaba obi (half-width obi) is the most accessible and versatile choice. Measuring approximately 15 centimeters (6 inches) in width and 300 to 400 centimeters (118 to 157 inches) in length, the hanhaba obi is designed for casual wear, particularly with yukata and everyday wool or cotton kimono.
The most iconic and widely used knot for the hanhaba obi is the Bunko Musubi (bow knot or butterfly knot). Characterized by its elegant, wing-like loops that resemble a stacked bow, the Bunko knot is youthful, feminine, and highly adjustable. According to The Metropolitan Museum of Art, the evolution of the obi from a simple, narrow cord in the Kamakura period to a wide, highly decorative sash by the Edo period transformed it into the structural anchor and aesthetic focal point of Japanese dress. Mastering the Bunko Musubi allows you to participate in this living history with confidence and style.
Obi Types and Formality Comparison
Before diving into the tutorial, it is essential to understand where the hanhaba obi fits within the broader hierarchy of Japanese traditional garments. Using the wrong obi for a formal event is a common faux pas. Below is a comparison chart to help you select the appropriate sash for your occasion.
| Obi Type | Width & Length | Formality Level | Common Knots | Best Garment Pairing |
|---|---|---|---|---|
| Hanhaba | 15cm x 300-400cm | Casual / Everyday | Bunko, Asagao | Yukata, casual cotton kimono |
| Nagoya | 30cm x 360cm (pre-folded) | Semi-Formal / Smart Casual | Otaiko, Ichiju | Tsumugi, Edo Komon, visiting wear |
| Fukuro | 30cm x 420-450cm | Formal / Ceremonial | Niju-Daiko, Fukuura | Furisode, Tomesode, Houmongi |
Essential Tools and Measurements
To achieve a crisp, secure, and comfortable Bunko Musubi, you will need more than just the obi itself. Professional kimono dressers (kitsuke-shi) rely on a specific toolkit to ensure the garment stays in place throughout the day.
- Hanhaba Obi: Ensure it is ironed and free of deep creases before starting.
- Koshi-himo (Waist Ties):strong> You will need at least two long, soft cotton ties (approx. 110 cm long) to secure the obi before the final knot is tied.
- Obi-ita (Belt Board): A stiff, felt-covered board inserted into the front of the obi to prevent wrinkling and maintain a smooth silhouette.
- Obi-jime (Optional): A decorative braided cord. While traditionally used for wider obi, modern styling sometimes incorporates a thin, colorful obi-jime over a hanhaba obi for a pop of contrast.
- Clips or Clothespins: Temporary clips to hold the short end of the obi in place while you wrap the long end.
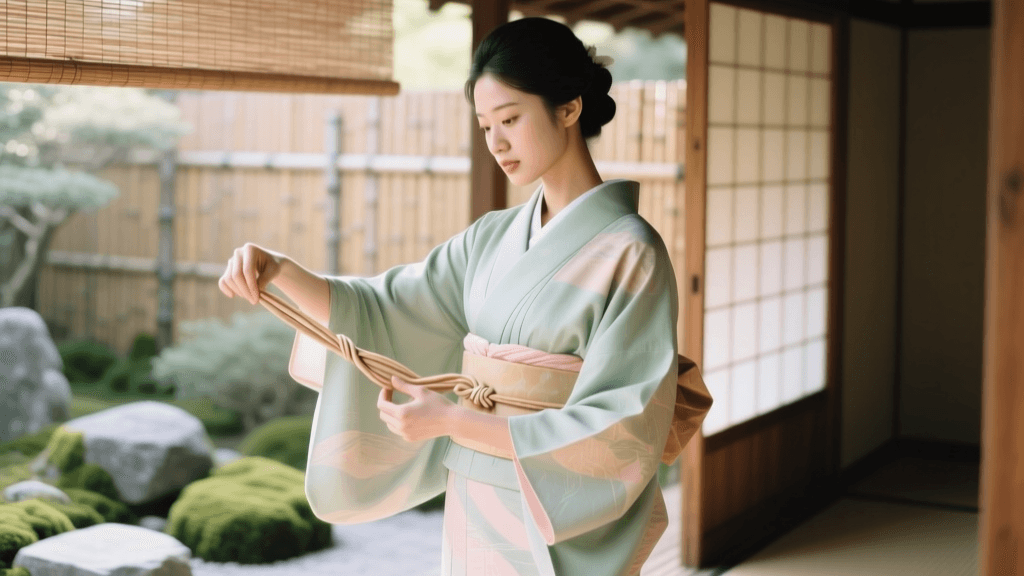
Step-by-Step Tutorial: Tying the Bunko Musubi
Tying an obi on yourself requires practice, spatial awareness, and muscle memory. We recommend practicing the wrapping technique in front of a full-length mirror before attempting to wear it out. The entire process should take about 10 to 15 minutes once you are familiar with the steps.
Step 1: Prepare the Tare and Te
The obi is divided into two sections: the te (the short end that forms the center of the knot) and the tare (the long end that wraps around the body and forms the wings). Measure approximately 40 centimeters (16 inches) from the left end of the obi. This is your te. Fold the te in half lengthwise, with the patterned side facing inward. Pinch the fold and drape it over your left shoulder, using a clip to temporarily secure it to your collar so it does not slip while you work with the rest of the fabric.
Step 2: Wrap the Obi Around the Waist
Take the long end (tare) and fold it in half lengthwise as well, ensuring the decorative side is facing inward. Wrap the tare around your waist from left to right, keeping the bottom edge aligned with the top of your hip bones. Pull it tightly—comfort is important, but the obi must act as a core stabilizer. Wrap the fabric around your waist a second time (and a third time if your waist measurement and obi length permit). The final wrap should overlap the first layer slightly, creating a neat, spiraling effect.
Step 3: Tie the Foundation Knot
Unclip the te from your shoulder and bring it down to meet the tare at your center front. Cross the tare over the te, then pull the tare up and through the loop to create a basic, tight overhand knot against your stomach. Pull both ends in opposite directions to secure the tension. The te should now be pointing upward, and the tare pointing downward.
Step 4: Form the Bunko (Bow) Wings
This is the most artistic part of the process. Take the long tare end and begin folding it into accordion-like pleats. Each pleat should be about 15 centimeters wide (matching the width of the hanhaba obi). Make three to four distinct pleats, pinching them tightly together at the center. These pleats will form the 'wings' of the butterfly bow. Bring these pleated wings up to the base of the knot at your front.
Step 5: Secure the Knot and Create the Age
Take the shorter te end, fold it down over the center of the pleated wings to act as the age (the knot cover). Wrap the remaining length of the te tightly around the center of the wings and the foundation knot. Tuck the very tip of the te under the wrapped layer to hide it. Next, take a koshi-himo (cotton tie) and wrap it tightly around the center of the knot from the front, crossing it at the back, and tying it securely in the front. This internal tie is the true anchor of the obi. Once secured, carefully rotate the entire obi assembly from the front to your back, adjusting the wings so they sit symmetrically and slightly angled upward for a youthful appearance.
Common Mistakes and How to Fix Them
Even experienced wearers encounter issues when dressing in traditional garments. Here is how to troubleshoot the most common Bunko Musubi problems:
- The Obi Slips Down: This happens when the initial wraps are not pulled tightly enough, or if the garment underneath is too slippery. Solution: Use a textured cotton koshi-himo to grip the fabric, and ensure the obi sits on the narrowest part of your natural waist or hips, depending on the kimono style.
- Uneven Bow Wings: If one wing is larger than the other, your pleats in Step 4 were inconsistent. Solution: Unfold the tare and use your thumb as a measuring guide to ensure each accordion fold is exactly the same width.
- Wrinkled Front Panel: Solution: Always insert an obi-ita (belt board) between the first and second wrap of the obi at the front of your body. This instantly creates a smooth, professional finish.
'The way a knot is tied communicates volumes about the wearer's age, marital status, and the formality of the occasion. The Bunko, with its cheerful, winged silhouette, remains a beloved symbol of youth and summer festivities in Japan.'
Cultural Context and Modern Styling
Today, the hanhaba obi and the Bunko knot are experiencing a renaissance, driven by both domestic fashion trends and international tourism. The Japan National Tourism Organization notes that kimono and yukata rental experiences are among the top requested cultural activities for visitors to cities like Kyoto, Kanazawa, and Tokyo. Rental shops almost exclusively use hanhaba obi tied in the Bunko or Asagao (morning glory) knots because they are quick to tie, comfortable for walking, and visually striking in photographs.
Furthermore, modern styling has introduced reversible hanhaba obi, allowing the wearer to create two-tone bows by deliberately exposing the contrasting underside of the fabric during the pleating process. As highlighted by the Victoria and Albert Museum in their extensive explorations of Japanese dress, the kimono is not a static relic but a dynamic garment that continuously adapts to contemporary aesthetics while maintaining its foundational rules of construction and wear.
By mastering the Bunko Musubi, you are not just learning a practical skill for your next trip to a Japanese summer matsuri (festival); you are engaging with centuries of textile artistry, geometry, and cultural expression. Practice your wrapping, perfect your pleats, and step out in perfectly tied tradition.