How to Tie the Classic Otaiko Obi Knot: Step-by-Step Guide
The Soul of the Kimono: Understanding the Otaiko Musubi
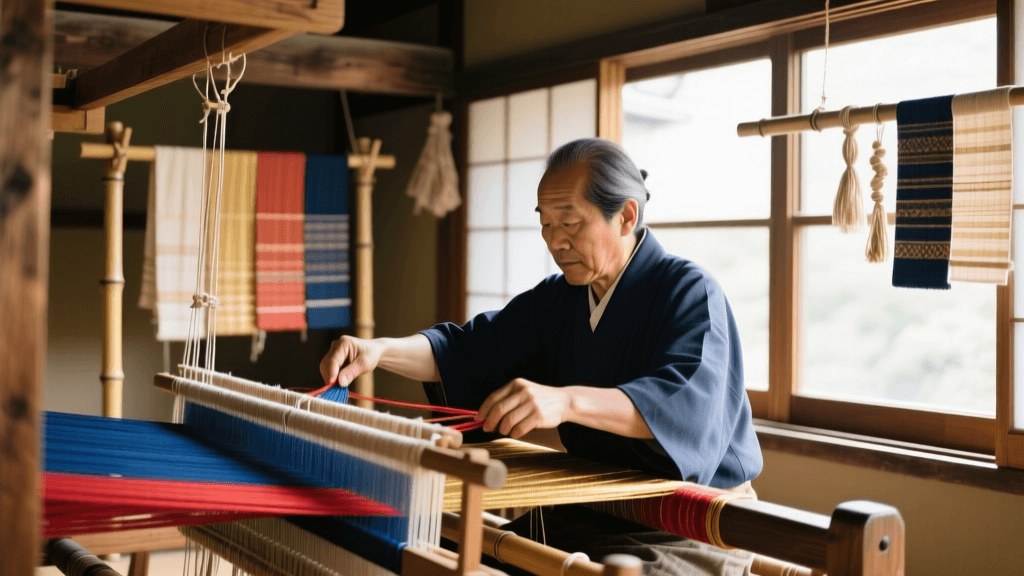
While the kimono is celebrated for its exquisite textiles and T-shaped silhouette, it is the obi (sash) that truly provides the garment with its structure, formality, and artistic expression. According to the Victoria and Albert Museum, the evolution of the obi from a simple thin cord in the 17th century to the broad, heavily brocaded sashes of today fundamentally changed the silhouette and cultural significance of Japanese dress. Among the hundreds of ways to tie an obi, the Otaiko Musubi (drum knot) is the undisputed queen of versatility.
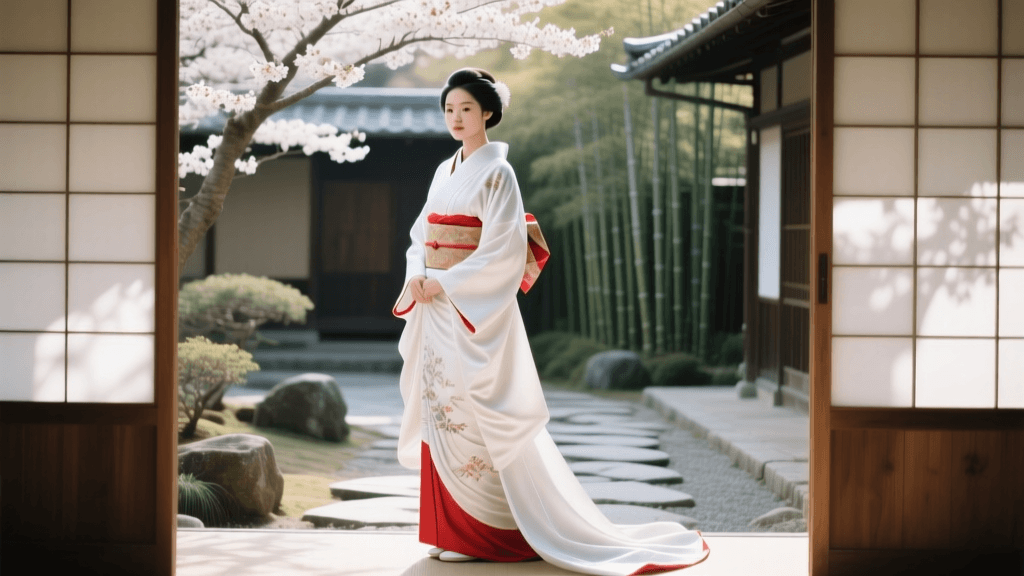
The Otaiko knot is characterized by its smooth, rounded, drum-like shape at the back. It is elegant, modest, and universally appropriate for married and unmarried women alike, making it the standard choice for formal and semi-formal occasions, including tea ceremonies, weddings, and graduation ceremonies. For tourists and enthusiasts engaging in kimono rental experiences or purchasing their first authentic set, mastering the Otaiko knot is a rite of passage. This comprehensive guide will walk you through the exact measurements, essential tools, and step-by-step techniques required to tie the classic Otaiko musubi using a Nagoya obi.
Essential Tools and Measurements for Obi Tying
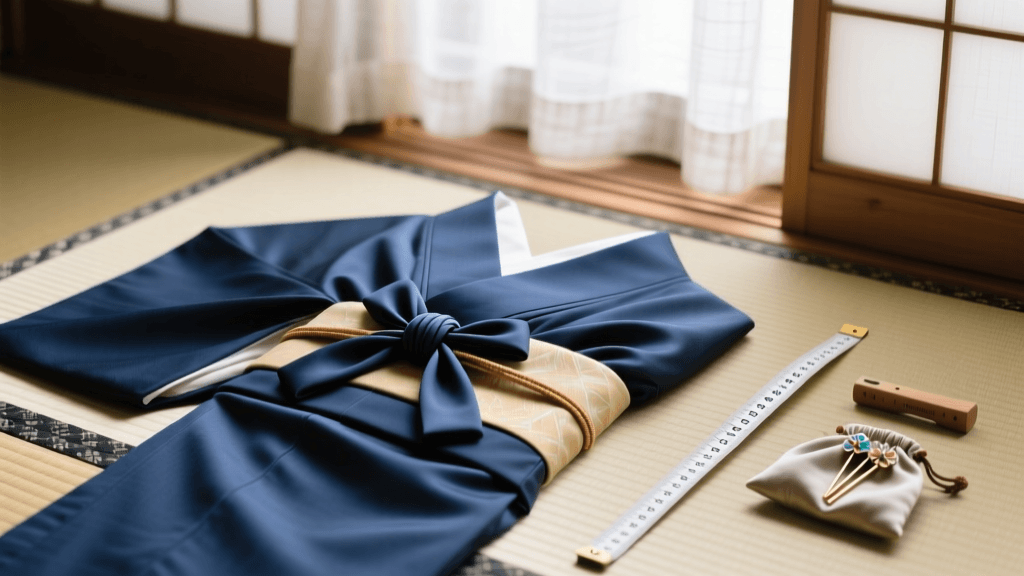
Tying an obi is not merely about wrapping fabric; it is an architectural endeavor known as kitsuke (the art of dressing). To achieve a flawless Otaiko knot, you cannot rely on the obi alone. You will need a specific set of undergarments and accessories. A beginner should allocate 20 to 30 minutes for the entire process.
| Accessory | Japanese Name | Purpose & Specifications | Avg. Cost (USD) |
|---|---|---|---|
| Nagoya Obi | 名古屋帯 | Semi-formal sash. Standard length: 3.6 meters; Width: 30 cm. Pre-folded at one end for easier tying. | $80 - $300+ |
| Obi-ita | 帯板 | Front stiffening board. Prevents the obi from wrinkling across the stomach. Dimensions: ~15cm x 30cm. | $10 - $25 |
| Obimakura | 帯枕 | The 'obi pillow'. A small, padded cushion used to give the Otaiko knot its signature volume and lift. | $8 - $20 |
| Obiage | 帯揚げ | A silk scarf-like cloth that wraps over the obimakura, hiding the pillow and adding a pop of color. | $20 - $60 |
| Obijime | 帯締め | A decorative braided cord tied around the center of the knot to secure the structure and add contrast. | $15 - $50 |
| Koshihimo | 腰紐 | Thin cotton tying strings. You will need at least two to secure the obi before the decorative cords are added. | $5 - $12 (each) |
Step-by-Step Tutorial: Tying the Nagoya Otaiko Knot
The Nagoya obi is specifically designed with one end pre-folded and sewn (the teh or tehon) to make tying the Otaiko knot significantly easier than using a wider, flat Fukuro obi. Follow these steps carefully in front of a full-length mirror.
Step 1: Preparation and the 'Tehon' Fold
Begin by draping the obi over your shoulders. The pre-folded, narrower end (the tehon) should hang down your front. Measure exactly 45 centimeters from the tip of the tehon and pinch it. This 45cm section will form the top edge of your drum knot. Let the rest of the obi wrap around your back, ensuring the wider, patterned section sits perfectly at the small of your back. Insert your obi-ita (front board) between the obi layers at your front to ensure a smooth, wrinkle-free finish.
Step 2: Wrapping and Securing the Base
Wrap the wide end of the obi around your waist twice, overlapping the layers neatly. The tension here is critical: it must be tight enough to support the weight of the knot, but not so tight that it restricts breathing. Once you have completed two full wraps, bring the wide end to the front and cross it over the pre-folded tehon end. Take your first koshihimo (tying string) and tie it tightly around your waist, securing both layers of the obi in place. Tuck the excess string away neatly.
Step 3: Forming the Drum (Otaiko)
This is the most complex step. Reach behind you and locate the point where the wide section of the obi begins to taper back into the narrower section (this point is called the taresaki). Pull the wide fabric upward to create the 'drum' shape. The 45cm tehon section you measured in Step 1 should form the top, flat roof of the drum. Take your obimakura (pillow), wrap it in your obiage (silk scarf), and slide it up into the hollow space inside the drum you just created. Tie the strings of the obimakura tightly at the front, just above your main obi tie, to lock the pillow in place.
Step 4: The Obiage and Obijime Finish
Now, arrange the obiage cloth so it beautifully covers the pillow and peeks out just slightly above the top edge of the obi at the back. Tuck the ends securely into the front of the obi. Finally, take your obijime (decorative cord) and wrap it around the exact center of the Otaiko drum. Pull it taut—this cord is what visually 'slices' the drum and holds the tension of the entire structure. Tie it at the front using a secure, flat knot (such as a honmusubi), and tuck the tassels neatly into the sides of the obi.
Pro-Tip from Kitsuke Masters: The Metropolitan Museum of Art notes that the structural integrity of historical Japanese garments relied heavily on precise tension rather than tailoring. When tying your obijime, pull it as tight as you comfortably can. A loose obijime will cause the heavy brocade of the Otaiko knot to sag and collapse within an hour of walking.
Comparison of Popular Obi Knots
While the Otaiko is the standard for adult women, the Japan National Tourism Organization highlights that different knots denote different ages, marital statuses, and levels of formality. If you are renting a kimono or buying an obi for a specific event, use this chart to ensure your knot matches the occasion.
| Knot Name | Visual Shape | Best Worn By | Formality Level | Difficulty |
|---|---|---|---|---|
| Otaiko Musubi | Smooth, rounded drum | Married & older unmarried women | Semi-Formal to Formal | Moderate |
| Bunko Musubi | Bow / Butterfly shape | Young, unmarried women (Yukata) | Casual / Summer | Easy |
| Fukura-suzume | Puffed sparrow / large bow | Young, unmarried women (Furisode) | Highly Formal (Coming of Age) | Very Hard |
| Tateya Musubi | Vertical, crossed arrows | Young, unmarried women (Furisode) | Formal (Weddings/Graduations) | Hard |
Modern Alternatives and Tourist Tips
If the prospect of measuring 45-centimeter folds and managing multiple pillows and cords feels overwhelming, the modern kimono industry offers a brilliant solution: the Tsuke-Obi (pre-tied obi). A tsuke-obi is constructed with the Otaiko knot already permanently sewn into place. It features a rigid core and attaches to the waist using simple velcro or a single hidden clip, covered by a faux obijime.
For tourists participating in a one-day kimono rental in Kyoto or Tokyo, rental shops almost exclusively use high-quality tsuke-obi or employ professional dressers who can execute a flawless traditional Otaiko in under five minutes. If you are purchasing a kimono set to take home as a sustainable, reusable garment, investing in a traditional Nagoya obi and practicing the steps above will yield the most authentic, comfortable, and culturally respectful silhouette.
Conclusion
Tying the Otaiko musubi is a meditative practice that connects the wearer to centuries of Japanese textile history. By understanding the precise measurements, utilizing the correct architectural accessories like the obimakura, and maintaining proper tension, you can transform a flat piece of woven silk into a stunning, sculptural masterpiece. Whether you are attending a formal tea gathering or simply exploring the streets of Higashiyama, a well-tied obi ensures your kimono is worn with grace, dignity, and impeccable style.