Swedish Folkdräkt Bodice Construction: 2026 Pattern Guide
Introduction to the Swedish Liv (Bodice)
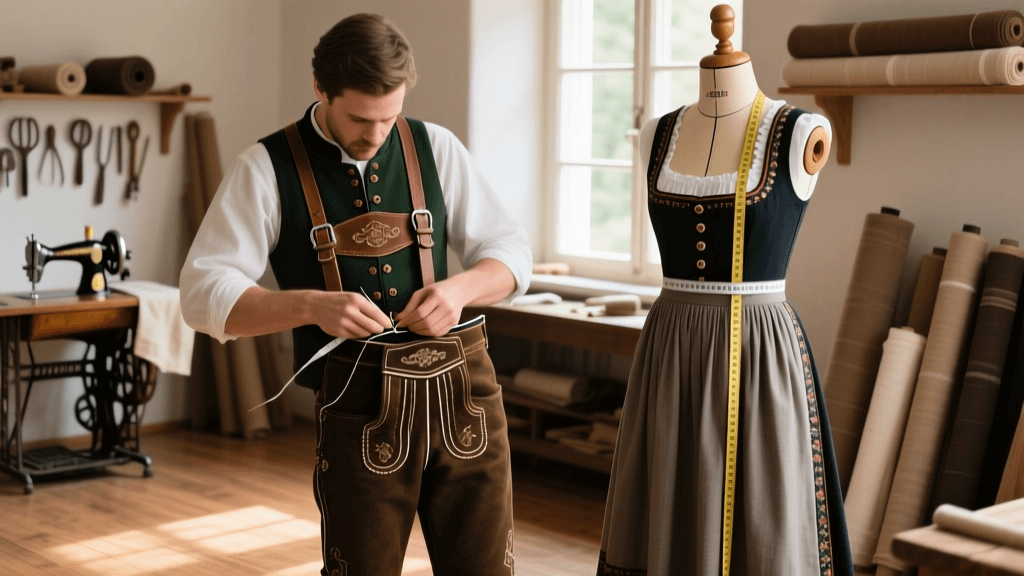
The Swedish folkdräkt (folk costume) represents a rich, deeply localized tapestry of regional identity, with each parish historically boasting its own distinct color palette, embroidery motifs, and garment proportions. At the structural core of the women's ensemble is the liv, or bodice. Unlike the heavily boned, conical stays of the 18th-century aristocratic courts, the traditional Swedish liv was designed for agrarian labor, offering support through geometric tailoring, strategic gusset insertion, and sturdy natural fabrics. For modern makers and historical costumers in 2026, reconstructing the liv offers a masterclass in zero-waste pattern drafting and functional tailoring.
In this comprehensive 2026 guide, we will explore the construction patterns and techniques required to draft and sew a traditional Swedish bodice. We will bridge the gap between 19th-century heritage methods and modern sustainable sewing practices, ensuring your garment is both historically grounded and perfectly fitted for the contemporary body.
Essential Tools and Materials for 2026 Makers
While historical seamstresses relied on chalk, wooden rulers, and sheer intuition, the 2026 maker has access to precision tools that streamline the drafting process without compromising historical accuracy. Before beginning your pattern draft, gather the following specialized equipment:
- Digital Fabric Projectors: Many 2026 makers utilize overhead smart projectors linked to pattern-making software to project grainlines and cutting layouts directly onto expensive heritage wool, eliminating the need for physical paper patterns and reducing fabric waste.
- Flexible Metal Rulers and French Curves: Essential for drafting the subtle curves of the armscye and neckline.
- Heavyweight Hemp Canvas: Used as a modern, sustainable alternative to historical paste-stiffened linen layers for bodice interfacing.
- GOTS-Certified Organic Linen: For the inner lining, providing breathability and historical accuracy.
- Recycled Brass Eyelets and Hooks: Sourced from eco-conscious hardware suppliers, replacing historically used iron or silver-plated brass.
Geometric Pattern Drafting: The Rectangular Base
Historically, rural garments were drafted using proportional geometry rather than the complex, multi-dart slopers developed in the Victorian era. Archival garments documented on DigitaltMuseum reveal that many regional bodices were based on simple rectangles and triangles, minimizing waste of precious hand-woven wool. The liv is typically drafted in three main sections: the front panel, the back panel, and the underarm gusset.
Drafting the Front and Back Panels
To begin your flat pattern draft, take the following measurements over a lightweight chemise or modern linen underlayer:
- Bust Circumference: Measure around the fullest part of the bust.
- Underbust Circumference: Measure snugly directly beneath the bust.
- Waist Length: Measure from the nape of the neck to the natural waistline.
- Back Width: Measure across the shoulder blades from armscye to armscye.
The back panel is drafted as a modified rectangle. The top edge corresponds to half of your Back Width measurement. The bottom edge corresponds to half of your Underbust measurement, plus 2 cm for ease. The height is your Waist Length. Because historical bodices often featured a slight curve at the side seam to accommodate the ribcage, use a French curve to gently taper the side seam inward by 1.5 cm at the mid-ribcage point before flaring it back out to the underbust measurement.
The front panel follows a similar geometric logic but is typically cut on the fold if the bodice is a pullover style, or as two separate pieces if it features a front lacing closure. For a front-lacing liv (common in regions like Dalarna), add a 2.5 cm seam allowance at the center front for the eyelet facing.
The Crucial Underarm Gusset (Kil)
The defining feature of many historical European folk bodices is the kil, or underarm gusset. Rather than cutting a deep, curved armscye that wastes fabric and restricts overhead arm movement, the traditional pattern utilizes a high, tight armscye combined with a square or diamond-shaped gusset. This technique, heavily studied by institutions like the Textile Research Centre (TRC), allows the garment to move with the body during agricultural tasks like scything or weaving.
To draft the gusset, cut a perfect square measuring 10 cm by 10 cm (adjust to 12 cm for larger sizes). When setting the gusset, one corner points toward the underbust, one toward the shoulder, and the remaining two points are integrated into the front and back side seams. This creates a three-dimensional pivot point that provides remarkable mobility without the need for modern stretch fabrics or complex sleeve caps.
Tailoring and Construction Techniques
Once your pattern is drafted and transferred to your fabric, the construction phase begins. The longevity of a folkdräkt bodice relies on robust seam finishes and proper structural layering.
Interfacing and Stiffening
Historical bodices achieved their stiff, supportive silhouette through multiple layers of coarse linen, sometimes stiffened with wheat paste or reinforced with thin strips of reed or baleen. In 2026, we prioritize breathable, washable, and cruelty-free materials. The best modern technique is to flat-line your outer wool fabric with a layer of heavyweight hemp canvas. Baste the wool and canvas together along all seam lines before assembly, treating them as a single layer of fabric. This provides the necessary rigidity to support the lacing tension without the discomfort of rigid boning.
Seam Finishes: The Flat-Felled Seam
Because the lining and outer fabric are often sewn separately and then whipstitched together at the edges, internal seams must be impeccably finished. The flat-felled seam is the gold standard for historical linen linings. To execute this:
- Sew the seam with right sides together using a 1.5 cm seam allowance.
- Trim one side of the seam allowance down to 0.5 cm.
- Fold the longer seam allowance over the trimmed edge and press flat.
- Topstitch the folded edge down to the garment using a sturdy linen thread, either by machine or with a historical running stitch by hand.
This technique encloses all raw edges, preventing fraying and creating a remarkably strong seam that can withstand decades of wear.
Material Comparison: Historical vs. 2026 Alternatives
The sustainable sewing movement of 2026 has prompted makers to rethink traditional material sourcing. While historical accuracy is important, ethical and environmental considerations often guide modern fabric choices. Below is a comparison of 19th-century materials and their best 2026 equivalents.
| Component | 19th Century Historical Material | 2026 Sustainable Alternative |
|---|---|---|
| Outer Fabric | Hand-woven, locally dyed wadmal wool | Deadstock melton wool or recycled wool blends |
| Lining | Unbleached, coarse tow linen | GOTS-certified organic mid-weight linen |
| Stiffening | Layered linen paste / bundled reeds | Heavyweight hemp canvas / bamboo canvas |
| Thread | Hand-spun linen or silk thread | Long-staple European flax linen thread |
| Hardware | Hand-forged iron hooks / cast brass | 3D-printed recycled brass or nickel-free eyelets |
Hardware, Lacing, and Edge Finishing
The front closure of the liv is typically laced rather than buttoned, allowing for micro-adjustments in fit and accommodating fluctuations in body weight or the bulk of underlying linen shifts. The lacing pattern can be parallel (ladder lacing) or crisscross, depending on the specific parish tradition you are replicating. The V&A Museum's fashion collections highlight how regional variations in lacing hardware often served as subtle indicators of a wearer's marital status or wealth.
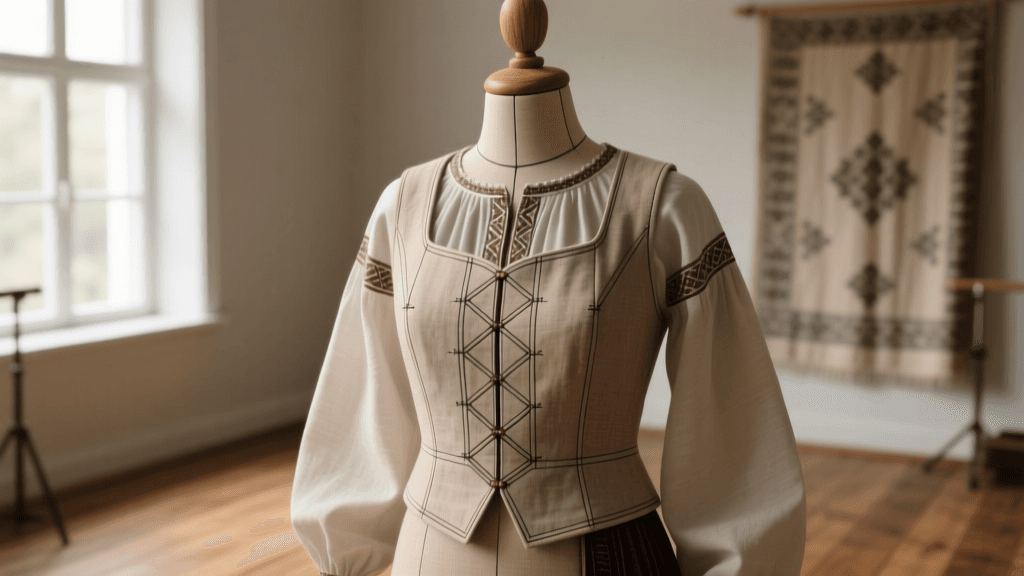
For edge finishing, historical bodices were rarely bound with modern bias tape. Instead, the outer wool layer and the inner linen lining were sewn right-sides together along the neckline and center front, turned inward, and secured with a blind stitch. This creates a remarkably clean, crisp edge that rolls slightly inward, hiding the lining completely from the exterior. To reinforce the eyelet holes, punch the holes with a leather awl (which pushes the fabric threads aside rather than cutting them) and sew around the perimeter using a dense buttonhole stitch or whipstitch with heavy linen buttonhole twist.
Fitting and Final Adjustments
Before attaching your final wool outer layer, it is imperative to sew a mock-up (toile) using a sturdy cotton drill or canvas. Fit the mock-up over the exact undergarments you plan to wear with the finished folkdräkt. Pay close attention to the underarm gusset; if you experience pulling when raising your arms, increase the gusset size by 1 cm on all sides. If the bodice wrinkles horizontally across the bust, you may need to deepen the front armscye slightly or add a subtle bust dart, though purists prefer to adjust the side seam curvature to maintain the zero-waste geometric aesthetic.
Conclusion
Constructing a Swedish folkdräkt bodice is a rewarding exercise in historical engineering. By combining the geometric brilliance of the rectangular base and underarm gusset with modern 2026 sustainable materials and precision tools, you create a garment that honors the past while functioning beautifully in the present. Whether you are building a museum-quality reproduction or a modernized folk-inspired piece, mastering these foundational drafting and tailoring techniques ensures your liv will be structurally sound, historically resonant, and built to last a lifetime.