Mastering the Otaiko Musubi: Step-by-Step Obi Tying Guide
The Art of Kitsuke: Understanding the Otaiko Musubi
The art of kimono dressing, known as kitsuke, is a revered cultural practice in Japan that transforms flat panels of exquisite textile into a sculptural, elegant silhouette. At the very heart of this transformation is the obi, the wide sash that secures the garment and serves as its crowning decorative element. Among the hundreds of traditional knots, the Otaiko Musubi (太鼓結び), or "drum knot," is arguably the most recognizable, widely worn, and culturally significant knot for semi-formal occasions.
Characterized by its smooth, rounded, box-like shape at the back, the Otaiko Musubi resembles a traditional Japanese drum. It is the standard knot for married women or women attending semi-formal events such as tea ceremonies, weddings (as guests), and graduation ceremonies. Mastering this knot requires patience, an understanding of textile tension, and the right accessories. In this comprehensive guide, we will break down the anatomy of the knot, the essential tools required, and provide a meticulous step-by-step tutorial to help you achieve a flawless Otaiko Musubi using a Nagoya obi.
Historical Context and Cultural Significance
The Otaiko Musubi is a relatively modern invention in the grand timeline of Japanese fashion. It was popularized during the Taisho era (1912–1926) and is widely believed to be named after the Taiko-bashi bridge in Shizuoka Prefecture, where it was first showcased by geisha and local women. According to the Victoria and Albert Museum, the evolution of the obi from a simple thin cord in the Heian period to the wide, elaborate sashes of the Edo and Taisho periods reflects a broader shift in Japanese aesthetics, moving the focal point of fashion from the outer robe to the intricately woven sash itself.
Today, the Otaiko Musubi represents a harmonious blend of structural engineering and textile artistry. As noted by the Japan National Tourism Organization, preserving the practices of kitsuke is vital to maintaining Japan's intangible cultural heritage, especially as modern, simplified dressing techniques become more prevalent among younger generations.
Essential Tools and Measurements
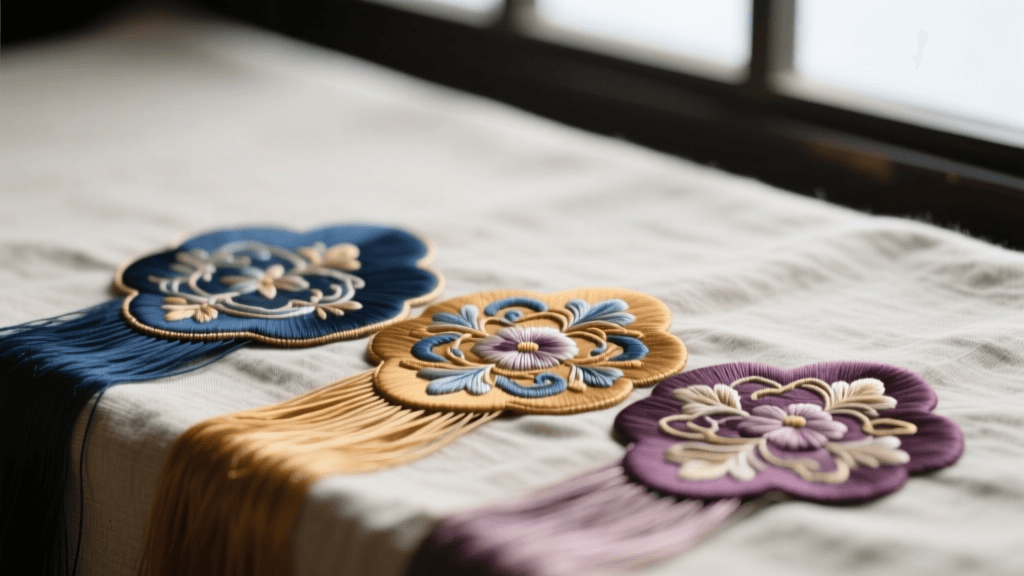
Before attempting the Otaiko Musubi, you must gather the correct tools. Kitsuke relies heavily on a network of hidden ties and stiffeners to maintain the garment's shape without the use of pins or adhesives. Below is a breakdown of the essential items, their purposes, and estimated market costs for authentic pieces.
| Item | Japanese Term | Purpose | Estimated Cost (USD) |
|---|---|---|---|
| Nagoya Obi | 名古屋帯 | Pre-folded semi-formal sash, narrower at the front | $150 - $800+ |
| Obi-ita | 帯板 | Front stiffener to prevent wrinkling | $10 - $25 |
| Obi-age | 帯揚げ | Decorative silk scarf peeking above the obi | $30 - $100 |
| Obi-jime | 帯締め | Decorative braided cord securing the knot | $20 - $80 |
| Koshi-himo | 腰紐 | Long cotton tying cords (need at least 3) | $5 - $15 each |
| Obi-makura | 帯枕 | Small pillow used to give the drum its volume | $10 - $20 |
Note: For the Otaiko Musubi, a Nagoya obi is highly recommended for beginners. Unlike the Fukuro obi, which is fully wide and requires complex pre-folding, the Nagoya obi is pre-sewn to be narrow (about 15 cm) in the section that wraps around the waist, and wide (about 30 cm) in the section that forms the back knot.
Preparation: The Foundation of a Perfect Knot
A flawless Otaiko Musubi begins long before the obi touches your waist. First, ensure your kimono is properly secured with your initial koshi-himo (waist ties) and that the collar is neatly crossed. The obi-ita (front stiffener) should be inserted between the kimono and the obi at the front to ensure a smooth, uncreased surface.
Find the center of your Nagoya obi. The narrow folded part is called the te-saki (the hand/tip), and the wide, open part is the tare (the hanging end). The structural integrity of the drum relies entirely on how you manage the tension between these two sections during the wrapping process.
Step-by-Step Tutorial: Tying the Nagoya Obi
Step 1: The Base Wrap
Stand in front of a mirror. Hold the te-saki (narrow folded end) in your right hand and the tare (wide end) in your left. Place the te-saki at your front right hip, ensuring the folded edge is facing up. Wrap the obi around your back to the left, keeping the tension firm but comfortable. Bring the wide tare end around to the front, overlapping the te-saki. Wrap it around your body a second time. The bottom edge of the obi should align perfectly with your hip bones.
Step 2: Crossing and Securing
At the front center, take the wide tare end and cross it over the narrow te-saki. Pull the tare tightly upward toward your chest, and pull the te-saki downward. This crossing point is the anchor of your entire knot. Take your second koshi-himo and tie it securely around your waist, directly over the obi, to lock this tension in place. Tuck the excess length of the te-saki up into the top of the obi at the front to keep it out of your way.
Step 3: Forming the Otaiko (Drum) Shape
Now, turn your attention to the back. The wide tare end is hanging down. Take your obi-makura (pillow) and place it against your back, right at the top edge of the obi. Gather the wide tare fabric and pull it up and over the pillow. The pillow creates the signature rounded "drum" volume. Use your third koshi-himo to tie the obi-makura securely in place, ensuring the fabric is pulled taut over the pillow without any sagging.
Step 4: Tucking the Tare
The remaining wide fabric of the tare is now hanging down over the pillow. Fold the sides of this hanging fabric inward to create a clean, box-like edge. Tuck this folded fabric up and underneath the bottom layer of the obi that is wrapped around your waist. This is the most challenging step for beginners; you must reach behind your back, find the bottom edge of the waist wrap, and pull the tucked fabric through so it sits flush against your back. Use a specialized clip or your fingers to hold it in place temporarily.
Step 5: Securing with Obi-age and Obi-jime
To finalize the structure, take the obi-age (silk scarf). Wrap it around the top of the obi and the pillow, covering the ties of the obi-makura. Tie it in a simple half-knot at the front, tucking the excess fabric neatly into the top of the obi so only a thin, elegant strip of color (usually 1 to 2 centimeters) is visible.
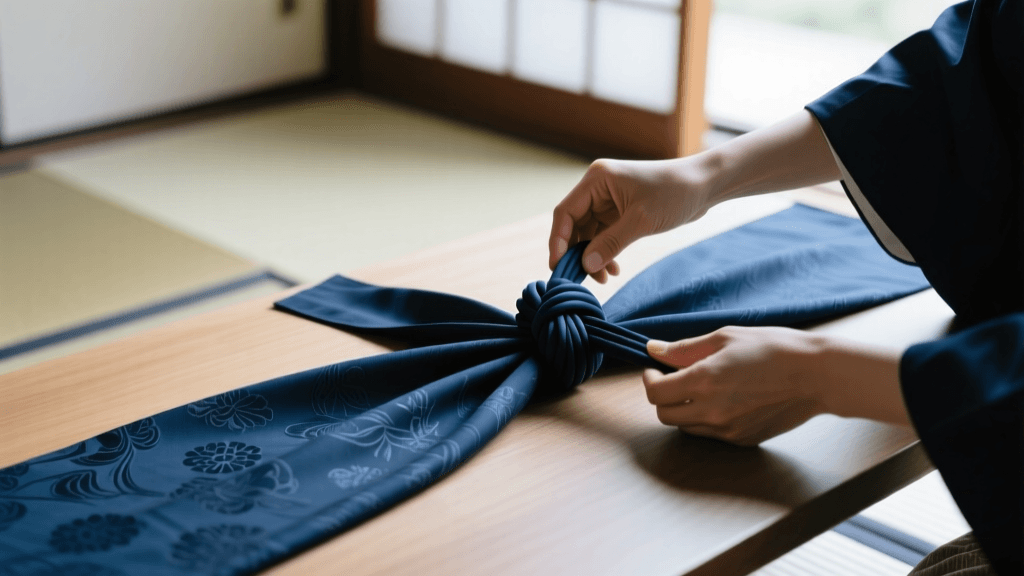
Finally, take the obi-jime (braided cord). Wrap it horizontally around the exact center of the drum knot at the back, bringing it to the front. Tie it securely using a flat, symmetrical knot (such as the hon-musubi or square knot). The obi-jime acts as the final structural lock, holding the tucked fabric and the drum shape firmly in place. Adjust the front knot so it sits perfectly centered.
Troubleshooting Common Mistakes
- The Drum is Sagging: This occurs when the obi-makura is not tied high enough, or the tension on the tare was lost before tucking. Always pull the tare upward at a 45-degree angle before securing the pillow.
- The Front is Wrinkling: Ensure your obi-ita is correctly placed. If the wrinkles persist, your initial waist ties (koshi-himo) on the kimono may be too loose, causing the heavy silk of the obi to drag the garment down.
- Asymmetrical Drum Shape: When folding the sides of the tare inward in Step 4, measure with your hands to ensure both left and right folds are equidistant from the center spine before tucking.
- Elbow Posture: A common tip from professional kimono dressers is to keep your elbows elevated and parallel to the floor while wrapping. Dropping your elbows naturally loosens the tension on the silk.
Cultural Etiquette and Modern Styling
The Otaiko Musubi is highly versatile but carries specific cultural weight. It is considered a humble, elegant knot, making it inappropriate for the bride herself (who would wear a much larger, more flamboyant knot like the Bunko or Fukura-suzume), but perfect for wedding guests. According to a cultural retrospective in The Japan Times, the modern revival of kimono fashion has seen younger women experimenting with vintage Taisho-era Nagoya obi, pairing the traditional Otaiko Musubi with modern accessories like lace obi-jime and contrasting, vibrant obi-age to create a personalized, neo-classical aesthetic.
When attending a traditional tea ceremony (chanoyu), the Otaiko Musubi is practically mandatory for guests. Its flat, unobtrusive back allows the wearer to sit comfortably on tatami mats and lean against walls without damaging the delicate silk or disrupting the serene geometry of the tea room.
Conclusion
Tying the Otaiko Musubi is more than a mere dressing routine; it is an exercise in mindfulness, spatial awareness, and respect for Japanese textile heritage. While the physical act of wrapping, tucking, and tying can be daunting for a first-time learner, the result is a timeless silhouette that has graced the streets of Kyoto and Tokyo for over a century. With the right tools, a high-quality Nagoya obi, and dedicated practice in front of a mirror, the drum knot will soon become a beautiful, intuitive part of your traditional wardrobe.