Master the Otaiko Knot: Step-by-Step Obi Tying Guide
The Art of the Obi: Understanding the Otaiko Musubi
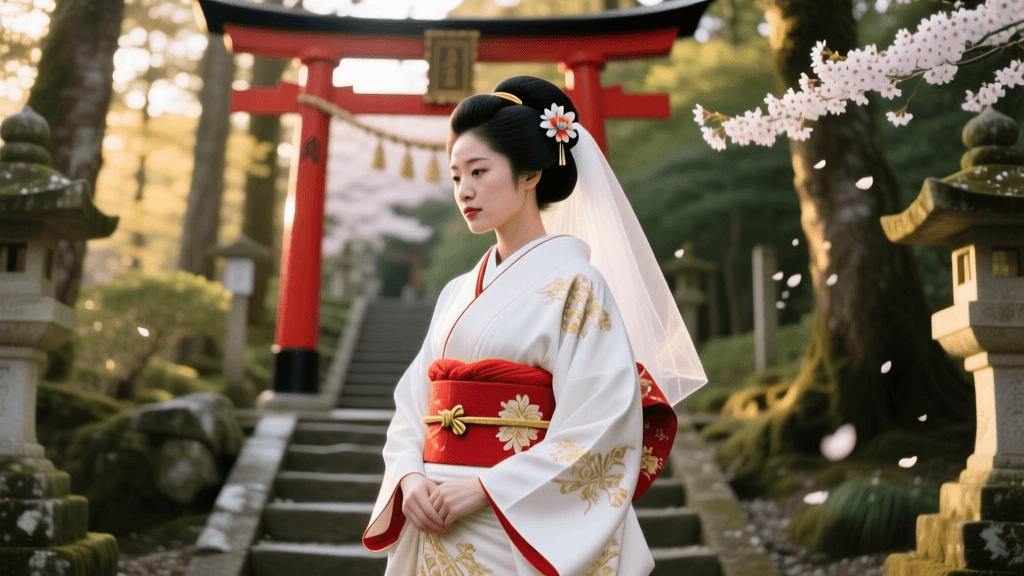
The obi is far more than a simple belt; it is the structural and aesthetic soul of the traditional Japanese kimono ensemble. While the kimono itself provides a flowing, elegant canvas, the obi provides the focal point, dictating the formality and seasonal appropriateness of the outfit. Among the hundreds of ways to tie an obi, the Otaiko musubi (drum knot) stands out as the most iconic, elegant, and widely worn knot for women's formal and semi-formal kimono.
Invented in the 1820s by geisha in the Fukagawa district of Edo (modern-day Tokyo), this knot revolutionized kimono fashion. Prior to its invention, obi were tied in elaborate, bulky knots at the front. The Otaiko musubi shifted the decorative focus to the back, creating a sleek, cylindrical silhouette that aligned with the Edo-period aesthetic of iki (understated chic elegance). According to the Metropolitan Museum of Art, the evolution of the obi from a narrow cord to a wide, elaborate sash mirrors the shifting aesthetics, textile advancements, and social structures of Japanese history.
Essential Tools and Measurements for Obi Tying
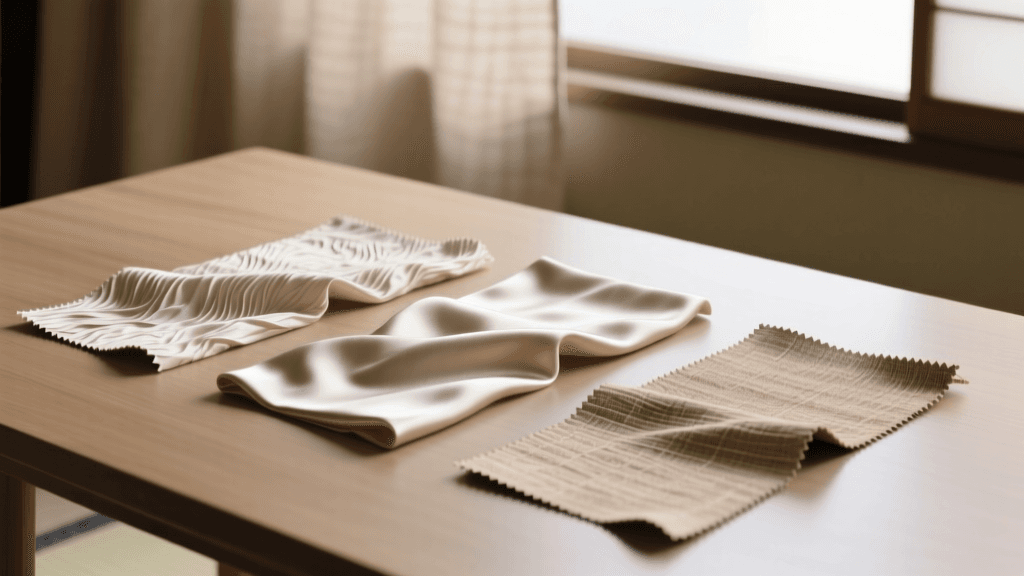
To achieve a flawless Otaiko knot, you cannot rely on the obi fabric alone. Traditional kimono dressing (kitsuke) requires a specific arsenal of accessories designed to create smooth lines, provide structural support, and ensure the knot stays secure throughout the day. Below is a comprehensive breakdown of the tools you will need.
| Accessory | Japanese Name | Standard Dimensions | Purpose |
|---|---|---|---|
| Waist Tie | Koshihimo | 100cm x 5cm | Long cotton or silk ties used to secure the kimono and the obi base tightly against the body. |
| Under Belt | Datejime | 100cm x 8cm | An elastic or silk belt that flattens the obi base and prevents the fabric from slipping or buckling. |
| Obi Board | Obiita | 25cm x 12cm | A stiff, felt-covered board inserted at the front of the waist to keep the obi smooth and wrinkle-free. |
| Obi Pillow | Makura | 15cm x 8cm | A small, padded cushion that gives the Otaiko knot its signature voluminous 'drum' shape. |
| Inner Sash | Obiage | 120cm x 30cm | A silk crepe sash used to cover and hide the makura (pillow) while adding a vibrant pop of color. |
| Decorative Cord | Obijime | 150cm x 1cm | A braided silk cord threaded through the center of the knot to secure it and provide a finishing accent. |
Choosing the Right Obi for the Otaiko Knot
Not all obi are created equal, and attempting to tie an Otaiko musubi with the wrong type of sash will result in a collapsed or disproportionate shape. The Otaiko knot requires specific dimensions and fabric weights to form correctly.
- Fukuro Obi: Measuring approximately 31cm wide and 450cm long, this is the most formal option. It is fully patterned on one side and made of heavy brocade or silk. It is used for formal events, weddings, and tea ceremonies.
- Nagoya Obi: Measuring 31cm wide at the broadest point but pre-folded and stitched to a narrower width at one end, it is about 360cm long. As noted by the Japan Guide, the Nagoya obi was specifically designed in the 1920s to make the Otaiko knot easier and faster to tie for modern women. It is ideal for everyday wear, sightseeing, and semi-formal gatherings.
- Hanhaba Obi: Measuring only 15cm wide, this casual cotton or polyester obi is not suitable for the Otaiko knot. It is reserved for simpler knots like the Bunko (bow knot) worn with yukata.
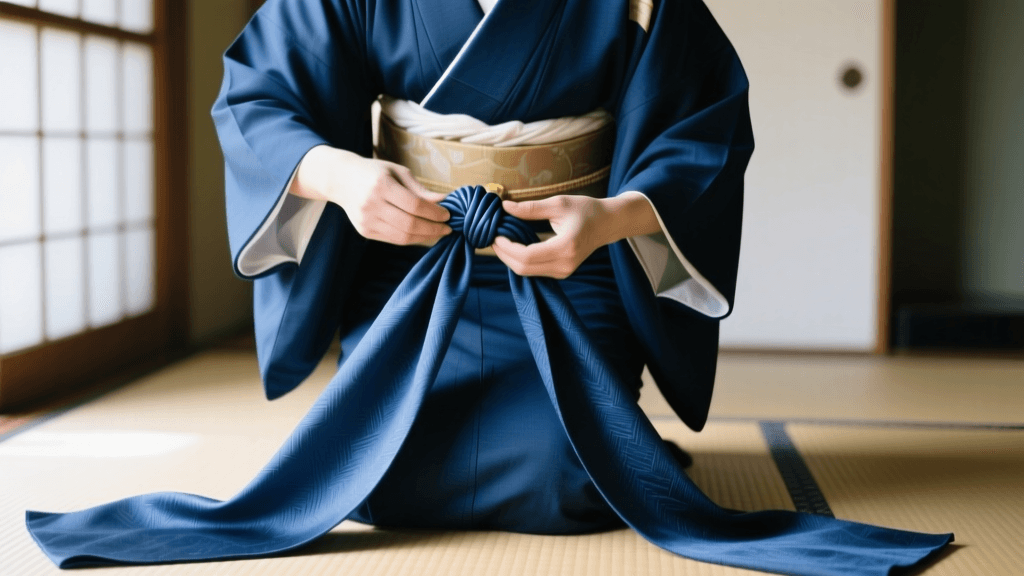
Step-by-Step Tutorial: Tying the Otaiko Musubi
Tying an obi requires practice, patience, and an understanding of fabric tension. Ensure your kimono is already properly fitted and secured with a koshihimo at the waist before beginning.
Step 1: Preparation and the Tesaki
Begin by finding the center mark of your obi, or measure from the end to create the tesaki (the narrow, folded end of the knot). For a Nagoya obi, the pre-folded section is your tesaki. Fold the first 50 centimeters of the obi in half lengthwise. This folded section will eventually form the top edge of the drum.
Step 2: Wrapping the Base
Place the folded tesaki over your left shoulder, letting it hang down your back to about the length of your arm. Take the wider, un-folded portion of the obi and wrap it tightly around your waist twice, from left to right. Ensure the fabric is pulled taut to maintain the cylindrical silhouette of the kimono. Insert your obiita (obi board) between the first and second wrap at the front of your waist to guarantee a smooth, flat surface.
Step 3: The Base Knot
Bring the wide end of the obi around to your back, crossing it over the hanging tesaki. Pull both ends firmly in opposite directions to secure the base against your lower back. The bottom edge of the obi should sit just below your hip bones, while the top edge rests at your natural waistline.
Step 4: Forming the Drum with the Makura
This is the most critical step. Take your makura (obi pillow) and place it horizontally against your back, resting it on top of the crossed obi base. Take the wide end of the obi and pull it up and over the makura. You must leave exactly 40 to 45 centimeters of the tare (the tail end) hanging down past the makura. This tail will form the bottom fold of the drum.
Step 5: Shaping and Tucking
Fold the wide section of the obi over the makura to create a smooth, rounded dome. Take the hanging tare (tail) and fold it upward, tucking it neatly underneath the wide section you just draped over the pillow. The goal is to create a seamless, continuous curve that resembles a traditional Japanese taiko drum. Use a temporary koshihimo tie around your waist, just above the obi, to hold the heavy fabric and the makura in place while you adjust the shape.
Step 6: Securing the Tesaki
Bring the tesaki (the end you left hanging over your shoulder at the very beginning) down over the center of the drum shape. Tuck the raw edge of the tesaki neatly inside the fold of the tare at the bottom of the knot. This interlocking mechanism is what gives the Otaiko knot its structural integrity without the need for pins or glue.
Step 7: The Obiage (Inner Sash)
Remove the temporary koshihimo. Take your obiage (silk crepe sash) and wrap it around your waist, covering the top edge of the obi and the makura pillow. Tie it in a simple half-knot at the front, tucking the excess fabric neatly into the top of the obi. Only a sliver of the obiage (about 1 to 2 centimeters) should be visible, adding a subtle contrast to the main kimono.
Step 8: The Obijime (Decorative Cord)
Finally, take your obijime (braided cord) and thread it horizontally through the exact center of the Otaiko drum at the back. Bring the ends to the front and tie them using a decorative knot, such as the awaji musubi or a simple flat square knot. The obijime acts as the final anchor, locking the tesaki and tare together while providing a striking visual accent.
Troubleshooting Common Mistakes
- The Drum is Sagging: This usually happens if the base wraps were not pulled tightly enough, or if the makura was placed too low. Ensure the makura rests high on the back, and pull the koshihimo tie tightly before adjusting the fabric.
- Wrinkles at the Front: If the front of your obi looks bunched, your obiita board may have slipped. Always ensure the obiita is placed securely between the first and second wraps of the obi, and use a datejime under-belt to lock it in place.
- Uneven Tare (Tail): If the bottom fold of the drum looks asymmetrical, you likely did not measure the 45cm tail accurately before folding it up. Use a mirror or ask a dressing assistant to check the alignment before threading the obijime.
Cultural Etiquette and Modern Styling
Wearing a kimono and tying an obi correctly is not merely an exercise in fashion; it is an act of cultural participation. When visiting historic districts, temples, or attending traditional events, proper kitsuke demonstrates a deep respect for Japanese heritage. The Official Kyoto Travel Guide emphasizes that understanding the etiquette of traditional garments enhances the experience of walking through preserved cultural landscapes like Gion or Higashiyama.
In modern styling, the Otaiko knot remains incredibly versatile. While traditionally paired with subdued, elegant kimono patterns for older or married women, contemporary fashion enthusiasts often play with contrasting colors between the kimono, the obi, and the obijime cord. For instance, pairing a vintage, muted indigo kimono with a vibrant, gold-threaded Fukuro obi and a crimson obijime creates a striking, modern silhouette that honors traditional techniques while embracing individual expression. Mastering the Otaiko musubi opens the door to a lifelong appreciation of Japanese textile arts, transforming the act of getting dressed into a meditative and deeply rewarding cultural practice.