Top Kyoto Kimono Photoshoot Locations & Camera Tips
The Intersection of Heritage and Photography
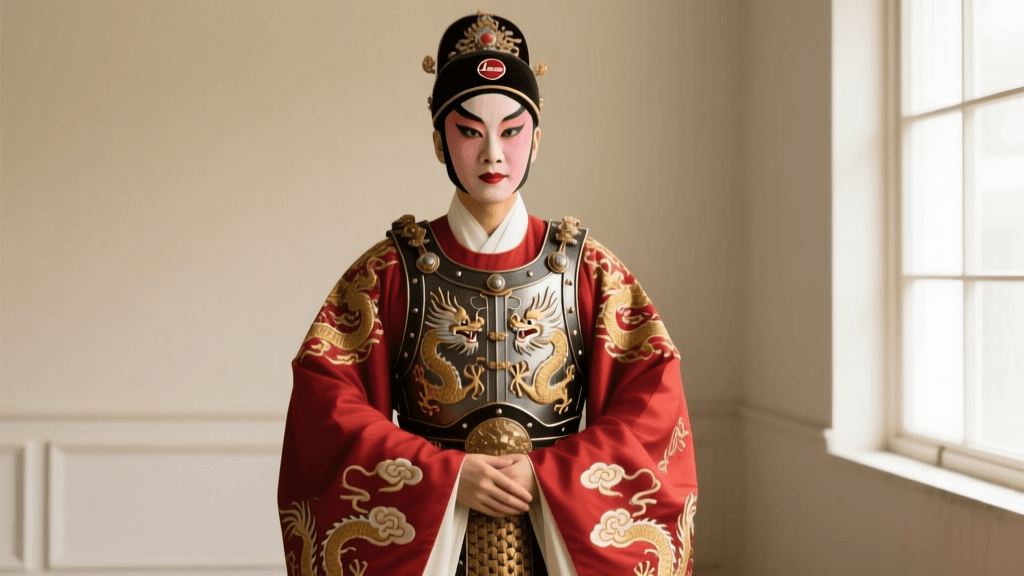
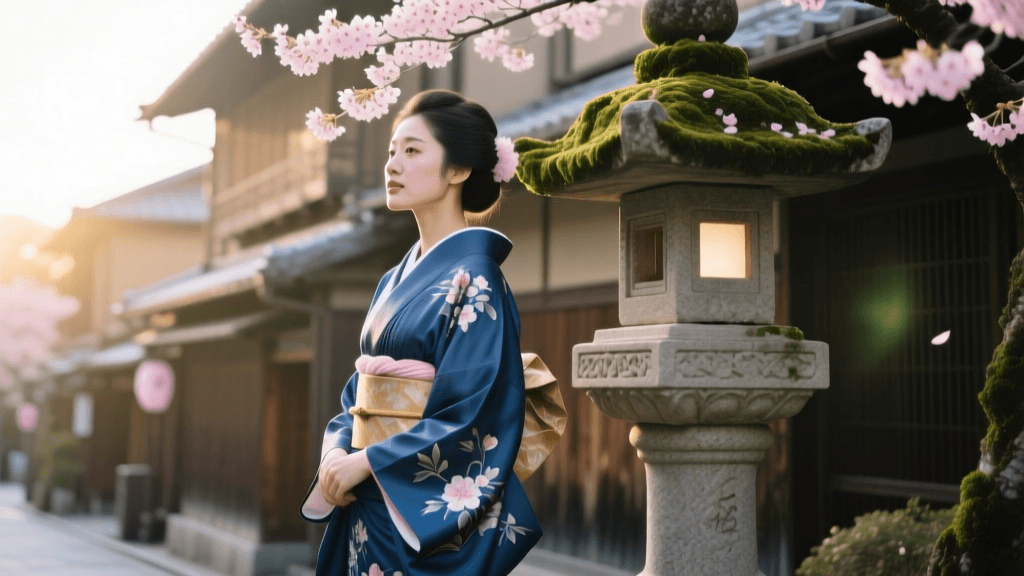
Capturing the essence of a traditional Japanese kimono requires more than just a beautiful backdrop; it demands a deep understanding of the garment's architecture, the behavior of natural light on silk, and the cultural nuances of the environment. According to the Metropolitan Museum of Art, the kimono's distinct T-shape silhouette and intricate surface designs—ranging from yuzen dyeing to complex shibori tie-dye techniques—transform the wearer into a walking canvas. For photographers, this means that standard portraiture rules must be adapted to honor the drape, the collar alignment, and the vibrant textiles.
Kyoto, the cultural heart of Japan, offers an unparalleled array of locations for kimono photography. However, the city's immense popularity means that timing, lens selection, and lighting strategies are critical to avoiding crowds and capturing authentic, serene imagery. This guide provides actionable insights into the best photoshoot locations in Kyoto and the technical camera settings required to elevate your traditional garment photography.
Premier Kyoto Locations for Kimono Photography
The Japan National Tourism Organization (JNTO) highlights Kyoto's preservation of historical districts, making it the ultimate destination for traditional fashion photography. Below is a strategic breakdown of the best locations, optimized for lighting and crowd avoidance.
| Location | Best Time to Shoot | Lighting Condition | Crowd Level | Recommended Lens |
|---|---|---|---|---|
| Yasaka Pagoda (Hokan-ji) | 6:00 AM - 6:45 AM | Soft Morning Glow | Low | 35mm or 50mm |
| Arashiyama Bamboo Grove | 6:30 AM - 7:15 AM | Diffused, Dappled | Low to Medium | 24mm or 85mm |
| Shogunzuka Seiryuden | 3:30 PM - 5:00 PM | Golden Hour / Backlit | Very Low | 85mm or 135mm |
| Fushimi Inari Taisha | 7:00 AM - 8:00 AM | High Contrast / Shadowy | Medium | 35mm |
Yasaka Pagoda and the Sannenzaka Slopes
The iconic five-story Yasaka Pagoda, viewed from the sloping stone-paved streets of Sannenzaka, is arguably the most famous kimono photography spot in Kyoto. To capture the pagoda framing the subject without hundreds of tourists in the background, you must arrive by 6:00 AM. Use a 35mm lens to capture the environmental context of the traditional machiya (wooden townhouses) while keeping the subject sharp. Position your model slightly off-center, utilizing the leading lines of the stone path to draw the eye toward the pagoda.
Arashiyama Bamboo Grove
The towering bamboo stalks create a natural vignette and beautiful leading lines. However, the dense canopy creates tricky, dappled lighting that can cause harsh shadows on the face and the silk garment. Shoot on an overcast day or arrive exactly at dawn when the light is soft and diffused. An 85mm prime lens is ideal here to compress the bamboo stalks in the background, creating a lush, green bokeh that makes the vibrant colors of a silk kimono pop.
Shogunzuka Seiryuden
For a panoramic backdrop of the Kyoto basin and traditional wooden architecture without the crushing crowds of Kiyomizu-dera, head to Shogunzuka. The wooden decks offer expansive views, perfect for full-body shots showcasing the kimono's trailing hem and the intricate obi knot. Late afternoon golden hour provides a warm, directional backlight that highlights the texture of the fabric.
Mastering Lighting and Silk Textures
Traditional Japanese textiles react to light in vastly different ways, and understanding these nuances is key to professional kimono photography.
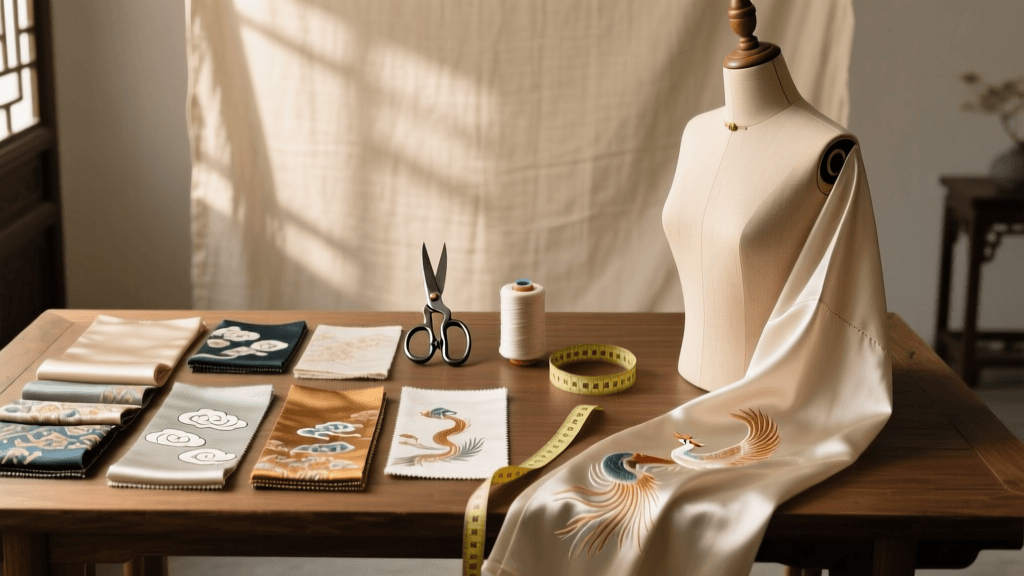
- Chirimen (Silk Crepe): This matte, textured fabric absorbs light beautifully. It is forgiving under harsh midday sun, but it truly shines under soft, directional window light or overcast skies, which accentuate the crepe's subtle grain.
- Rinzu (Silk Damask): Highly reflective with a glossy finish. Rinzu kimonos will blow out (overexpose) easily in direct sunlight. Use a circular polarizer filter to manage specular highlights on the silk, and expose for the highlights to preserve the woven damask patterns.
- Tsumugi (Pongee): A slubbed, rustic silk with a matte finish. Tsumugi absorbs light and requires even, flat lighting to showcase its intricate kasuri (ikat) patterns. Avoid harsh shadows, which can obscure the subtle geometric designs.
When shooting outdoors, always carry a 5-in-1 reflector. Bouncing soft white or silver light into the shadows under the model's chin and the deep folds of the obi is essential. The traditional collar (eri) creates a natural shadow trap; a subtle fill flash or reflector bounce ensures the neck and the back of the collar (eri-ashi) remain visible and detailed.
Camera Settings and Gear Recommendations
Photographing a kimono is an exercise in balancing depth of field. You want the subject's face and the front panels of the kimono to be tack sharp, but you also need enough depth to capture the width of the obi and the side seams.
"The kimono is not merely a garment; it is an architectural structure of fabric. Photographing it requires respecting its geometric lines and the intentional asymmetry of its patterns."
Optimal Camera Settings
- Aperture: Avoid shooting wide open at f/1.4 or f/1.8. The shallow depth of field will blur the obi and the side patterns. Stick to f/4.0 to f/5.6 for single subjects to ensure the entire front panel and the obi knot are in focus. For group shots, stop down to f/8.0.
- Shutter Speed: Kimono sleeves (furisode) are long and heavy. If capturing movement, such as the model turning to show the sleeve drape, use a minimum of 1/250th of a second to prevent motion blur on the silk.
- ISO: Keep ISO as low as possible (100-400) to minimize noise, which can muddy the fine details of yuzen-painted motifs and shibori tie-dye dots.
Lens Selection
The 85mm f/1.8 or f/1.4 is the undisputed king of kimono portraiture. It provides flattering facial compression and allows you to isolate the subject from busy Kyoto streets. However, a 35mm lens is crucial for environmental storytelling, allowing you to include the wooden lattice doors (koshi) and paper lanterns (chochin) that provide cultural context.
Posing, Silhouette, and Cultural Etiquette
Posing a subject in a kimono differs drastically from Western fashion photography. The goal is to highlight the garment's structure while adhering to traditional aesthetics.
Traditional Posing Cues
- The Feet: For feminine kimono styling, the toes of the zori (sandals) should be pointed slightly inward (pigeon-toed). This creates a graceful, demure silhouette and prevents the hem from splaying open awkwardly.
- The Hands: Hands should be relaxed, often resting gently over the obi or holding a wagasa (paper umbrella). Fingers should be kept together, avoiding wide gaps.
- The Collar (Eri): The left side of the collar must always cross over the right. (Right over left is strictly reserved for dressing the deceased). Ensure the collar forms a clean, sharp V-shape at the throat, and that the nape of the neck (unaji) is exposed elegantly.
- The Hem (Hashiori): The folded hem at the waist indicates the wearer's status and age. A deeper fold is traditional for younger, unmarried women wearing furisode, while a shallower fold is used for older women. Ensure this fold remains neat and is not obscured by the arms.
Respecting the Environment and Culture
As kimono photography surges in popularity, local friction has occasionally arisen. To preserve the dignity of these historical spaces, the Kyoto City Official Travel Guide outlines strict etiquette that all photographers and models must follow. Never block public thoroughfares, especially the narrow streets of Gion. Do not trespass into private machiya gardens or touch the wooden facades of historic properties. Furthermore, if you encounter geiko or maiko (apprentice geisha) on the street, maintain a respectful distance. Chasing them for photographs or blocking their path is highly frowned upon and, in some districts of Gion, strictly prohibited and subject to fines.
Conclusion
A successful kimono photoshoot in Kyoto is a harmonious blend of technical precision, historical appreciation, and logistical planning. By arriving early to secure serene locations, adjusting your camera settings to accommodate the unique reflective properties of Japanese silk, and guiding your subject through traditional, respectful poses, you will capture images that transcend standard travel photography. These photographs will serve as a timeless tribute to the enduring elegance of Asian sartorial traditions.