How to Tie an Obi: Step-by-Step Bunko and Otaiko Guide
The Art of the Obi: More Than Just a Belt
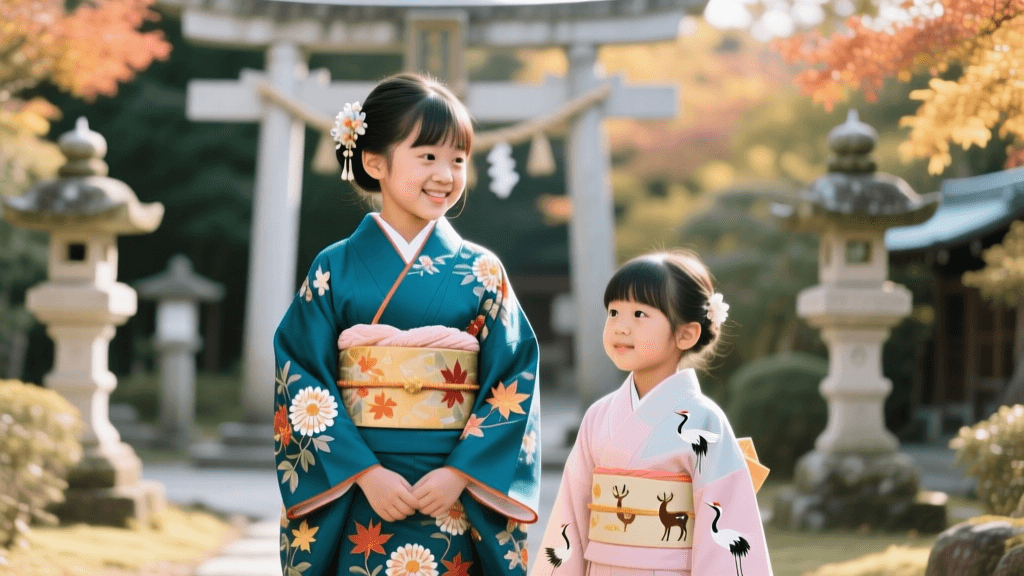
The obi is the defining element of traditional Japanese dress. Far from being a simple belt, the obi is a structural and artistic masterpiece that dictates the formality, silhouette, and aesthetic balance of a kimono or yukata. According to the Metropolitan Museum of Art's Heilbrunn Timeline of Art History, the obi evolved from a narrow, functional cord in the 16th century into the wide, elaborately woven sashes seen today, becoming the focal point of Japanese sartorial expression.
For tourists participating in kimono rental experiences, cosplayers, and cultural enthusiasts, learning to tie an obi can seem deeply intimidating. However, with the right measurements, tools, and step-by-step guidance, mastering the foundational knots is entirely achievable. This guide will walk you through the two most essential and widely used obi knots: the Bunko Musubi (the classic bow) and the Otaiko Musubi (the formal drum knot).
Understanding Obi Terminology and Tools
Before wrapping, you must understand the anatomy of the obi and the vocabulary used in kitsuke (the art of kimono dressing).
- Te (Tail): The shorter end of the obi, used to anchor the knot.
- Tare (Drape): The longer end of the obi, which forms the decorative part of the knot.
- Koshihimo: Long, thin cotton or silk tie strings used to secure the kimono and obi in place.
- Datejime: A wide, elastic under-belt that keeps the kimono fabric smooth and supports the obi.
- Obimakura: A small, foam-filled pillow used to give volume and shape to formal knots.
- Obiage: A silk sash that wraps around the obimakura, adding a pop of color and hiding the pillow.
- Obijime: A decorative braided cord tied over the center of the obi to secure the knot and add elegance.
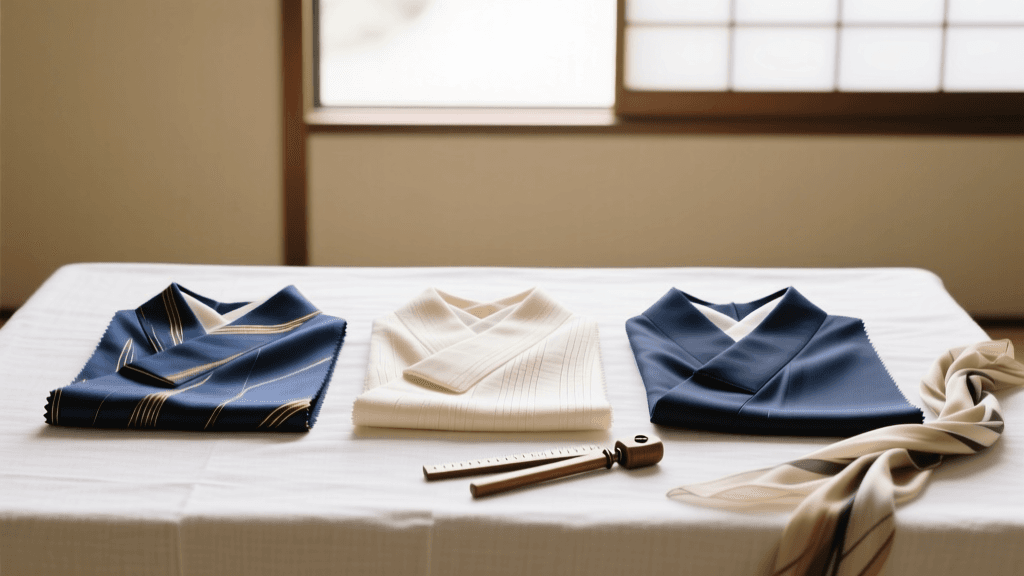
Obi Types and Measurements
| Obi Type | Width | Length | Formality | Best Knots |
|---|---|---|---|---|
| Hanhaba (Half-Width) | ~15 cm (6 in) | ~300 cm (118 in) | Casual (Yukata) | Bunko, Katakana |
| Nagoya | ~30 cm (12 in) | ~315 cm (124 in) | Semi-Formal | Otaiko (Single layer) |
| Fukuro (Pouch) | ~30 cm (12 in) | ~420 cm (165 in) | Formal | Otaiko (Double layer), Furi-sode |
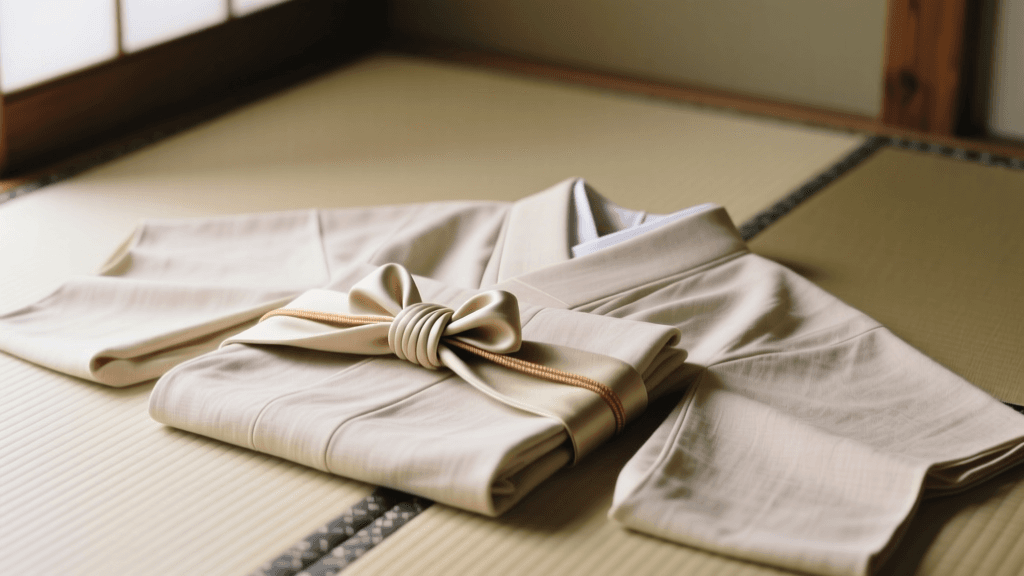
Tutorial 1: The Bunko Musubi (Bow Knot)
The Bunko Musubi resembles a large, elegant bow. It is the standard knot for yukata (casual summer cotton kimono) and is typically worn by younger, unmarried women. It requires a hanhaba (half-width) obi and takes beginners about 15 to 20 minutes to complete.
Step 1: Measuring the Te (Tail)
Hold the obi behind your back. Measure out exactly 40 centimeters (about 16 inches) from the right end. This is your te. Fold it in half lengthwise and drape it over your left shoulder, securing it temporarily with a clip or by holding it in your teeth (a traditional kitsuke trick!).
Step 2: Wrapping the Body
Take the long end (tare) and wrap it tightly around your waist from right to left. The top edge of the obi should align with the bottom of your ribcage. Wrap it around twice, ensuring the tension is firm but allows you to take a shallow breath. The second wrap should overlap the first by about 2 centimeters.
Step 3: Crossing and Tying
Bring the tare up from the bottom and cross it over the te hanging down from your shoulder. Pull the tare through the loop to create a basic square knot. Pull it as tight as possible—this anchor knot must be secure to prevent sagging.
Step 4: Pleating the Tare
Take the long tare end and create three accordion-style pleats, each about 5 centimeters wide. Pinch the center of these pleats firmly. This will form the 'wings' of your bow.
Step 5: Forming and Flipping the Bow
Take the shorter te end and wrap it tightly around the pinched center of your pleated tare. Tuck the end of the te into the back of the obi wrap to hide it. Finally, grasp the entire knot and rotate it clockwise around your waist until the bow sits perfectly centered on your back. Fluff the pleats to resemble an open book or butterfly wings.
Tutorial 2: The Otaiko Musubi (Drum Knot)
The Otaiko Musubi translates to 'drum knot.' It creates a smooth, flat, rectangular shape on the back, resembling a traditional Japanese drum. It is the most common knot for formal kimono, worn by married women or older women for tea ceremonies, weddings, and graduations. This tutorial uses a Nagoya obi.
'The Otaiko knot represents maturity and refined elegance. Unlike the playful Bunko, the Otaiko emphasizes the luxurious textiles and metallic threads of formal Fukuro and Nagoya obi, acting as a canvas for Japanese weaving traditions.' — Victoria and Albert Museum, Kimono: Kyoto to Catwalk
Step 1: Prepping the Obi
Fold the Nagoya obi in half lengthwise. Measure the te (tail) to be about 50 centimeters. Wrap the obi around your waist twice, keeping the folded edge facing up. Secure the wraps tightly with a koshihimo tie string.
Step 2: Creating the Drum Shape
Take the long tare end and pull it up over the tie string. Insert your obimakura (foam pillow) into the fold of the obi at the back to create the signature volume. Tie the strings of the obimakura securely in the front, under your bust.
Step 3: Securing the Obiage
Wrap the obiage (silk sash) over the obimakura to conceal it. Tie it in a simple knot at the front and tuck the excess fabric into the top of the kimono collar.
Step 4: The Final Tuck and Obijime
Bring the tare end down across the back of the obi and tuck it securely into the bottom fold of the obi wrap, creating a clean, flat bottom edge (the 'drum' surface). Finally, wrap the obijime (decorative cord) around the exact center of the drum, tie it in a flat square knot at the front, and tuck the fringed ends neatly to the sides.
Comparison Chart: Bunko vs. Otaiko
| Feature | Bunko Musubi (Bow) | Otaiko Musubi (Drum) |
|---|---|---|
| Formality | Casual / Summer Festivals | Semi-Formal to Highly Formal |
| Obi Type Required | Hanhaba (Half-width) | Nagoya or Fukuro |
| Time to Tie (Beginner) | 15 - 20 Minutes | 25 - 40 Minutes |
| Difficulty Level | Beginner | Intermediate |
| Age / Status Association | Younger / Unmarried Women | Older / Married Women (General rule) |
| Essential Accessories | None (Optional Koshihimo) | Obimakura, Obiage, Obijime |
Pro-Tips for All-Day Comfort and Posture
Wearing a tightly bound obi can be physically taxing if done incorrectly. Follow these professional tips to ensure you can enjoy your day in traditional garments without discomfort:
- The Posture Rule: Always stand with your feet shoulder-width apart and your back perfectly straight while wrapping. Slouching during the wrapping process will cause the obi to dig into your ribs or slip down when you stand up straight.
- Breathing Technique: Take a deep breath in before pulling the obi tight, then exhale fully as you secure the knot. This ensures the obi is tight enough to stay in place but leaves enough room for your diaphragm to expand when you breathe normally.
- The 'Golden Hour' Adjustment: After wearing the obi for about an hour, the fabric will naturally settle and stretch slightly. Excuse yourself to a restroom, reach around to the back, and gently tug the bottom edge of the obi downward to re-center the drum or fluff the bow pleats.
- Friction is Your Friend: If you are using a slippery silk Fukuro obi, use a piece of double-sided kimono tape or a textured cotton koshihimo underneath to prevent the heavy brocade from sliding down your back throughout the day.
Conclusion
Mastering the obi is a journey into the heart of Japanese culture, blending structural engineering with breathtaking artistry. Whether you are tying a playful Bunko knot for a summer fireworks festival or an elegant Otaiko drum for a traditional tea gathering, the key lies in precise measurements, firm tension, and respect for the garment's history. With practice, the ritual of kitsuke becomes a meditative and deeply rewarding experience, connecting you to centuries of Asian textile traditions.