How to Tie an Obi: Step-by-Step Otaiko and Bunko Tutorials
The Art of the Obi: More Than Just a Belt
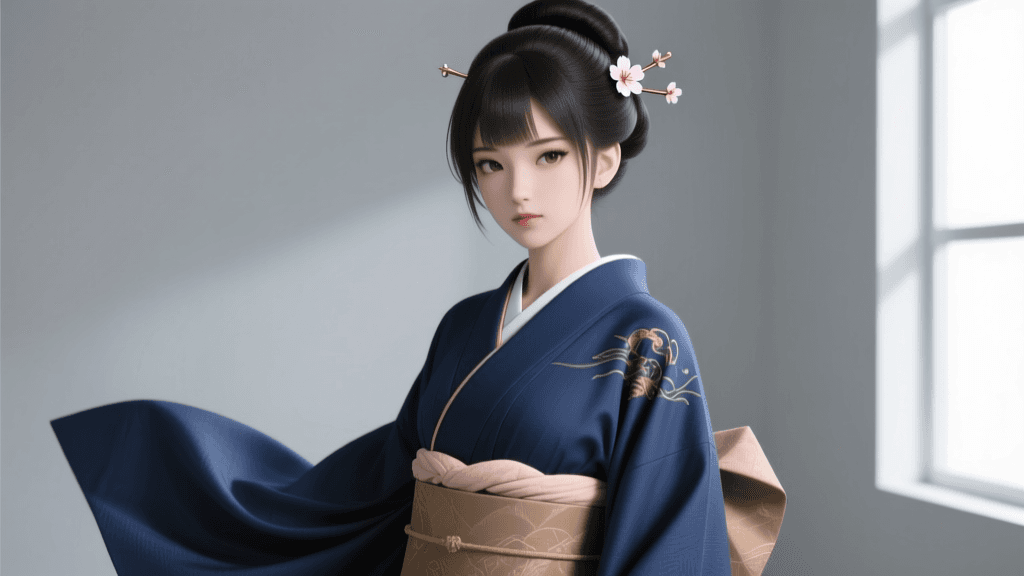
In the world of traditional Japanese garments, the obi is far more than a functional belt; it is the aesthetic and cultural anchor of the entire ensemble. According to the Victoria and Albert Museum, the obi transformed from a simple, narrow cord in the early Edo period into the wide, heavily brocaded sashes that dictate the formality of a kimono ensemble today. Tying an obi—known as kitsuke—is a respected art form. The Japan National Tourism Organization highlights that mastering the obi is considered a rite of passage for those engaging deeply with Japanese cultural arts, often requiring years of practice for professional certification.
For beginners and intermediate enthusiasts, learning to tie the two most fundamental knots—the Bunko Musubi (butterfly bow) and the Otaiko Musubi (drum knot)—will prepare you for 90% of occasions, from casual summer festivals to formal tea ceremonies. This comprehensive guide provides actionable steps, exact measurements, and tool recommendations to help you master these iconic knots.
Essential Tools and Measurements
Before you begin tying, you must gather the correct accessories. The modern kimono silhouette relies on internal padding and structural supports to maintain its elegant, cylindrical shape without wrinkling.
| Tool Name | Purpose | Standard Dimensions / Type | Average Cost (USD) |
|---|---|---|---|
| Hanhaba Obi | Half-width obi for yukata and casual wear | 15 cm wide x 3.6 m long | $20 - $45 |
| Fukuro Obi | Formal, double-layered brocade obi | 30 cm wide x 4.2 m long | $80 - $300+ |
| Koshi-himo | Cotton tying cords to secure the waist | 2.5 cm wide x 120 cm long | $8 - $12 (set of 3) |
| Obi-ita | Front stiffening board to prevent creases | 15 cm x 45 cm (felt or mesh) | $10 - $15 |
| Obi-makura | Pillow used to give volume to the Otaiko knot | Standard cylindrical cotton pad | $8 - $12 |
| Obiage & Obijime | Silk sash cover and decorative braided cord | Standard silk crepe and braided silk | $25 - $50 (pair) |
Tutorial 1: The Bunko Musubi (Butterfly Bow)
The Bunko Musubi is a classic, youthful bow typically worn by unmarried women and girls. It is the standard knot for the casual cotton yukata worn during summer fireworks festivals. It is best tied using a Hanhaba Obi (half-width obi).
Step-by-Step Instructions
- Measure the Tesaki: Drape the obi over your right shoulder so the finished edge faces up. Measure exactly 40 cm from the end. This short end is called the tesaki. Hold this 40 cm mark securely at your right front hip.
- Wrap the Waist: Wrap the long end of the obi (the tare) around your waist twice, pulling tightly to ensure the fabric lies flat against your body. Overlap the second wrap slightly higher than the first to create an upward slant.
- Cross and Tie: Bring both the tesaki and the tare to your front. Cross the tare over the tesaki and pull it up tightly from underneath, securing a firm base knot. Use a koshi-himo to temporarily pin the tesaki to your chest so it doesn't fall while you work.
- Create the Bow Folds: Take the long tare end and fold it into an accordion shape to create the 'wings' of the bow. For a standard Hanhaba obi, make four to six folds, each about 20 cm wide. Pinch the exact center of these folds tightly.
- Form the Knot Core: Take the tesaki (which you unpinned from your chest), wrap it tightly around the center of the accordion folds you just created. Tuck the remaining tail of the tesaki neatly behind the knot.
- Position and Secure: Rotate the entire obi clockwise until the bow sits perfectly centered on your back. Adjust the wings to fan out beautifully like a butterfly.
Time required: 10-15 minutes for beginners.
Tutorial 2: The Otaiko Musubi (Drum Knot)
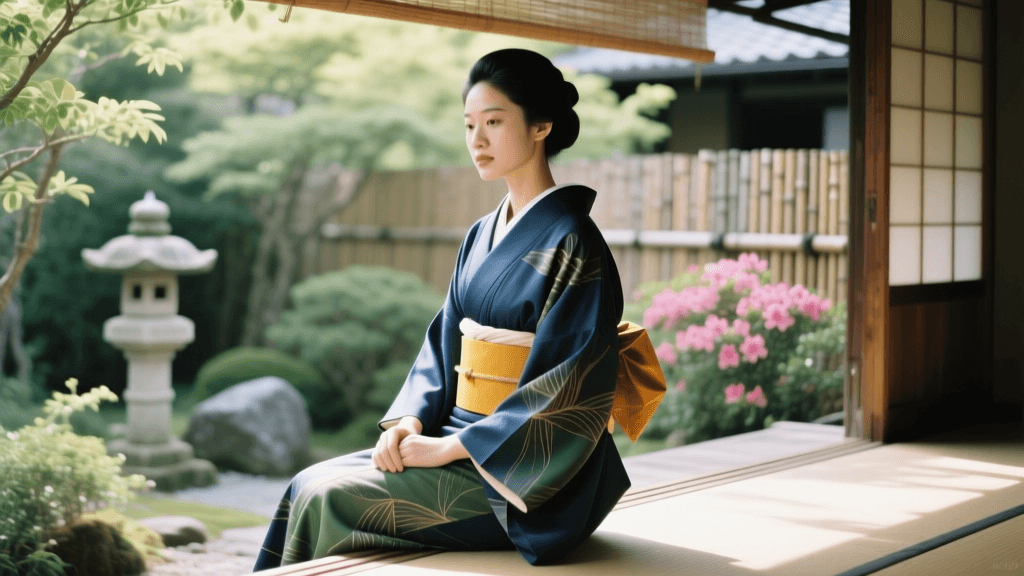
The Otaiko Musubi is the most ubiquitous formal knot, characterized by a smooth, drum-like curve at the back. It is predominantly worn by married women or for highly formal occasions, requiring a wider Fukuro Obi or Nagoya Obi.
Step-by-Step Instructions
- Measure and Wrap: Leave a tesaki of exactly 50 cm. Wrap the obi around your body twice, ensuring the lower edge aligns perfectly with your hip bones. The tension must be firm; a loose obi will cause the kimono collar to collapse.
- Insert the Obi-ita: Before making the final wrap across your front, slide the obi-ita (front board) between the obi layers to keep the front completely smooth and crease-free.
- Secure the Base: Cross the ends in the front and tie a tight, single knot. Tuck the tesaki temporarily into the upper bust area of your kimono.
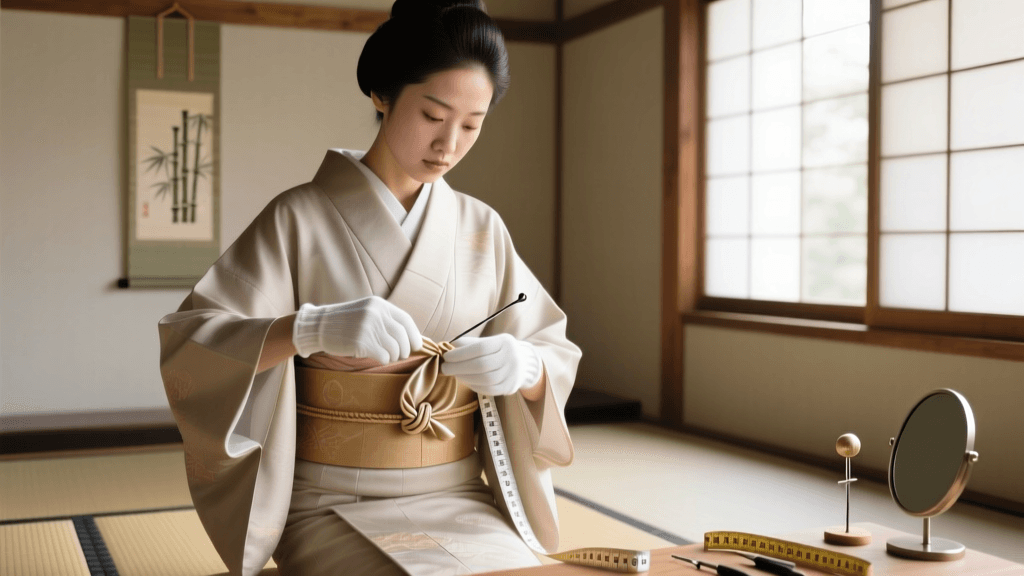
- Prepare the Tare and Pillow: Move the long tare end to your back. Slide the obi-makura (pillow) underneath the tare at the exact height where you want the top of the drum to sit (usually just below the shoulder blades). Tie the pillow's strings tightly at your front.
- Shape the Otaiko: Fold the wide tare end upward and over the pillow, creating a smooth, rounded canopy. The bottom edge of this fold should align with the lower wrap of the obi around your waist.
- Secure with the Obiage: Wrap the silk obiage sash over the pillow and the top of the knot, tucking the ends neatly into the front of the obi to hide the pillow strings.
- Finish with the Obijime: Wrap the braided obijime cord around the exact center of the drum knot, tying it securely at the front with a flat, decorative knot (such as the honmusubi).
- Final Rotation: Carefully rotate the obi clockwise to the back. Ensure the front obi-ita remains centered and the back drum is perfectly symmetrical.
Time required: 20-30 minutes for beginners.
Comparing the Knots: When to Wear What
Choosing the correct knot is just as important as the kimono itself. Wearing an overly casual bow to a formal event, or a heavy drum knot to a summer festival, is considered a faux pas in traditional Japanese dress codes.
| Feature | Bunko Musubi (Bow) | Otaiko Musubi (Drum) |
|---|---|---|
| Formality Level | Casual to Semi-Formal | Semi-Formal to Highly Formal |
| Best Obi Type | Hanhaba (Half-width) | Fukuro or Nagoya (Full-width) |
| Traditional Demographic | Young, unmarried women / Children | Married women / Older adults |
| Common Occasions | Summer festivals, casual outings, yukata | Tea ceremonies, weddings, graduation |
| Difficulty Level | Beginner-friendly | Intermediate (requires padding tools) |
Expert Tips for Comfort and Longevity
- Maintain Posture: When wrapping the obi, stand with your feet shoulder-width apart and keep your back perfectly straight. Slouching while tying will cause the obi to gap and loosen the moment you stand upright.
- The 'Paper' Test: A properly tied obi should be snug. You should be able to slide a single piece of paper between the obi and your body, but not your fingers. If it is too tight, it will restrict breathing; too loose, and the kimono will unravel.
- Care for Silk Obi: Never wash a silk Fukuro obi at home. Sweat and oils from the skin can stain the delicate brocade. Always air out your obi in a shaded, well-ventilated room for 24 hours before folding it back into its tatoushi (storage paper) to prevent permanent creasing and mold growth.
Mastering the obi takes patience, but the reward is the ability to wear one of the world's most beautiful traditional garments with authenticity, grace, and confidence. Whether you are tying a playful Bunko bow for a summer evening or an elegant Otaiko drum for a formal ceremony, understanding the structure and history of these knots connects you directly to centuries of Japanese sartorial heritage.