Master the Obi: Step-by-Step Bunko and Otaiko Knot Guide
Introduction to Kitsuke and the Art of the Obi
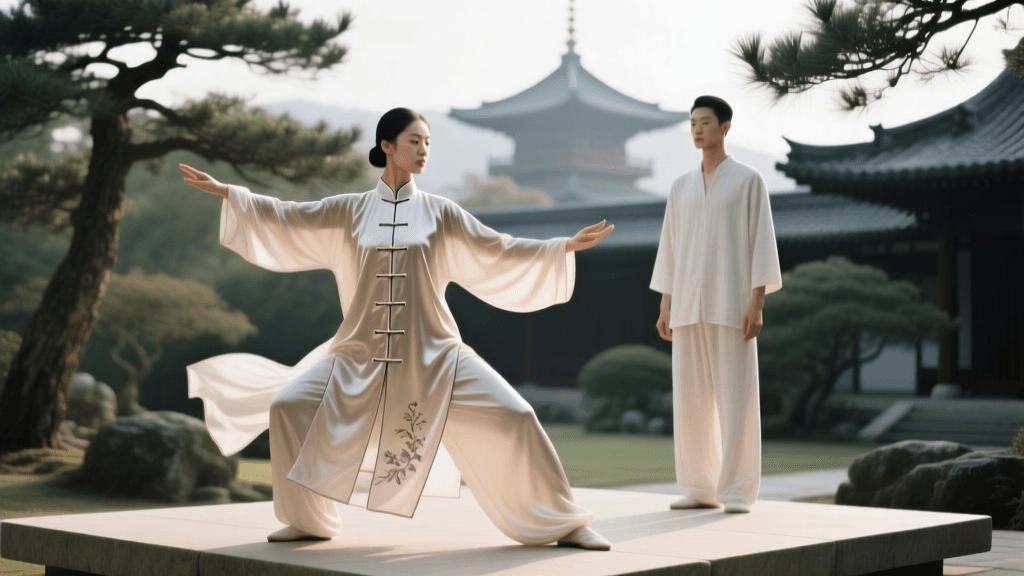
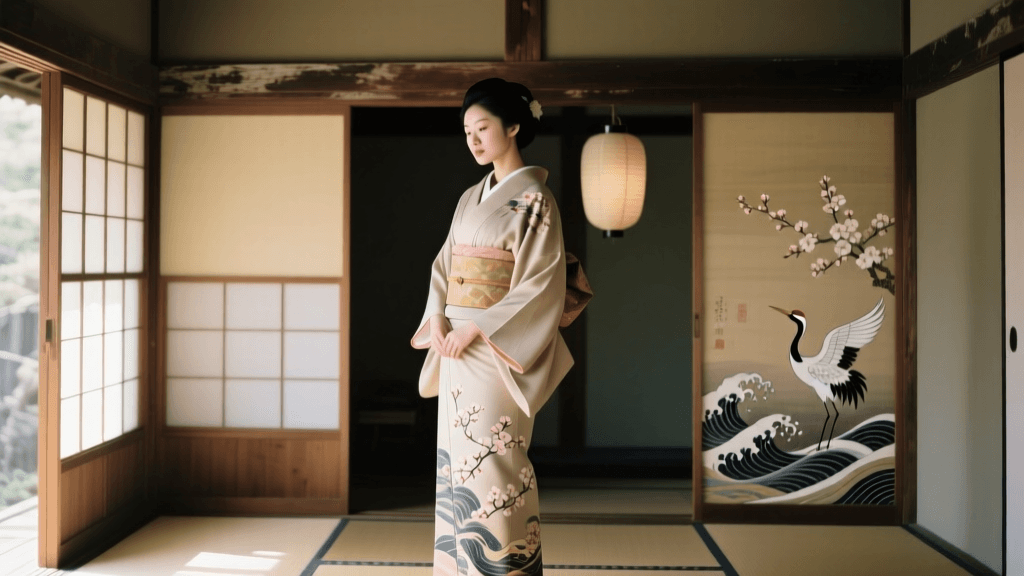
The art of Japanese kimono dressing, known as kitsuke, is a meticulous and deeply cultural practice that transforms flat panels of fabric into a structured, elegant garment. At the very heart of this transformation is the obi, the wide sash that secures the kimono and serves as its most prominent decorative element. According to the Victoria and Albert Museum, the obi evolved from a simple, narrow cord in the early Edo period to the wide, elaborate sashes we see today, fundamentally changing the silhouette and dressing techniques of Japanese fashion.
For beginners, tourists participating in kimono rentals, and enthusiasts looking to dress themselves, mastering the obi is the most challenging yet rewarding step. The tension, the folding, and the final knot dictate the overall formality and aesthetic of the outfit. In this comprehensive guide, we will walk you through the two most essential and widely used obi knots: the Bunko (butterfly bow) and the Otaiko (drum knot). Whether you are wearing a casual summer yukata or a sophisticated silk kimono for a tea ceremony, these step-by-step tutorials will provide you with the practical skills needed to tie your obi with confidence.
The obi is not merely a belt; it is the structural anchor and the artistic focal point of the Japanese silhouette.
Essential Tools for Obi Tying
Before attempting to tie any knot, you must gather the proper dressing accessories. You cannot achieve the correct tension or shape using only your hands and the obi fabric. A standard dressing kit includes:
- Koshihimo (Waist Ties): Long, thin cotton or silk cords used to temporarily secure the kimono and obi in place while you work. You will need at least three.
- Datejime (Under-Belt): A wide, elastic or stiff fabric belt that wraps around the waist over the koshihimo to smooth out wrinkles and provide a stable base for the obi.
- Obi-ita (Front Board): A stiff, felt-covered board inserted between the layers of the obi at the front to prevent creasing and ensure a smooth, flat appearance.
- Obi-makura (Obi Pillow): A small, padded cushion used specifically for formal knots like the Otaiko to give the back of the sash volume and structure.
- Obi-age (Silk Scarf): A decorative piece of dyed silk used to cover the obi-makura and add a pop of color at the top edge of the knot.
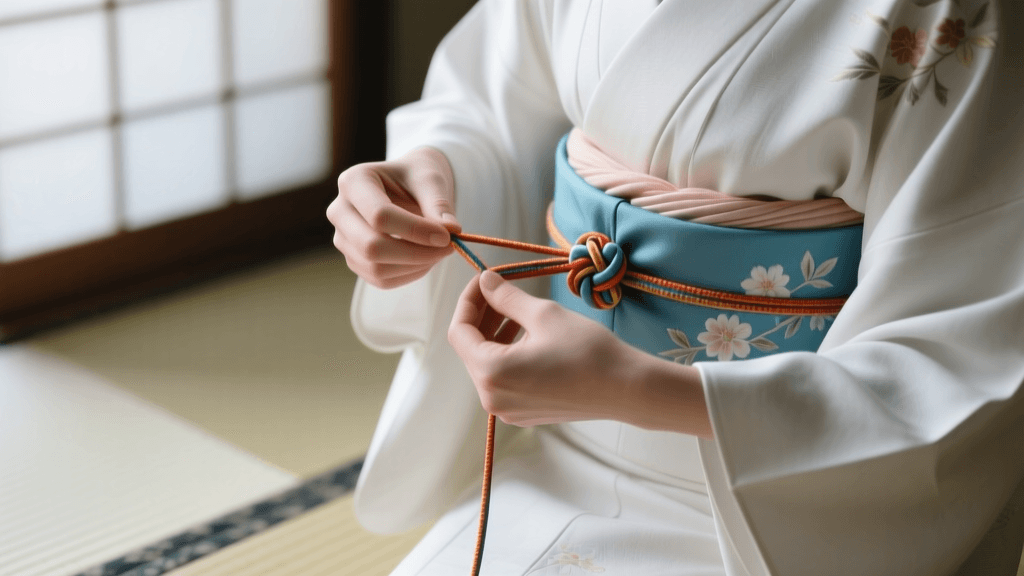
- Obi-jime (Decorative Cord): A braided silk cord tied around the center of the obi knot to secure the folds and add a final layer of elegance.
Tutorial 1: The Bunko (Butterfly Bow) Knot
Best For: Yukata, Hanhaba Obi, and Casual Wear
The Bunko knot is the quintessential bow for the hanhaba obi (half-width obi, measuring approximately 15 cm wide and 3.5 meters long). It is youthful, playful, and highly popular for summer fireworks festivals, casual outings, and beginner practice.
- Prepare the Obi: Fold the hanhaba obi in half lengthwise so the patterned side faces out. Find the center point and mark it mentally or with a small clip.
- Position the Tesaki (Front End): Place the center of the obi at your front right hip. Drape the shorter end, called the tesaki, over your left shoulder, leaving about 45 centimeters (18 inches) hanging in the front. Pin it temporarily to your collar with a clip so it does not fall.
- Wrap the Tare (Long End): Take the longer end, called the tare, and wrap it tightly around your waist twice, moving from right to left. Ensure the bottom edge of the obi sits precisely on your hip bones. Pull firmly to secure your posture.
- Create the Bow Loops: Bring the tare to the front. Accordion-fold the remaining long fabric into two or three loops, each about 20 centimeters wide. Pinch these loops tightly at the center.
- Tie the Knot: Bring the tesaki down from your shoulder. Wrap it tightly around the pinched center of your loops two times. Tie a secure square knot at the front or slightly to the side.
- Adjust and Rotate: Tuck the excess tesaki and tare ends into the top and bottom bands of the wrapped obi. Grasp the entire obi firmly and rotate it clockwise until the bow sits perfectly centered on your back. Fluff the loops to resemble a butterfly.
Tutorial 2: The Otaiko (Drum) Knot
Best For: Nagoya Obi, Fukuro Obi, and Semi-Formal Wear
The Otaiko knot is the hallmark of sophisticated, mature elegance. It creates a smooth, drum-like shape at the back and is the standard knot for married women or formal events. It requires a Nagoya obi (pre-folded and stitched, about 30 cm wide) or a Fukuro obi.
- Prepare the Tesaki: Drape the narrow, folded part of the Nagoya obi over your left shoulder. The tesaki should hang down to about your knee level. Secure it with a clip to your collar.
- Wrap the Tare: Take the wide, open part of the obi (the tare) and wrap it around your waist from right to left, pulling tightly. Wrap it a second time, ensuring the bottom edge aligns with your hips. Secure the overlapping layers at the front with a koshihimo (cotton tie).
- Insert the Obi-makura: Gather the remaining wide fabric at the back. Insert the obi-makura (pillow) into the fold of the fabric. Pull the pillow strings to the front and tie them tightly just above your datejime to lift the back of the obi.
- Form the Drum Shape: Pull the remaining fabric (the tail of the tare) down over the pillow to create the smooth, curved 'drum' shape. Fold the very end of the tail upward and tuck it inside the bottom band of the wrapped obi at the back.
- Secure with Obi-age: Wrap the obi-age (silk scarf) over the top of the obi-makura to hide it. Bring the ends to the front, tie a temporary knot, and tuck the excess fabric neatly into the top of the obi.
- Finish with Obi-jime: Wrap the obi-jime (braided cord) around the exact center of the drum shape. Bring it to the front, tie a specialized flat knot (such as the awaji-musubi), and tuck the fringed ends into the sides of the knot.
- Final Adjustments: Remove the clip from your shoulder, bring the front tesaki down, and tuck it neatly into the front obi band. Rotate the entire ensemble slightly if necessary to ensure perfect symmetry.
Comparison Chart: Bunko vs. Otaiko
| Feature | Bunko (Butterfly Bow) | Otaiko (Drum Knot) |
|---|---|---|
| Obi Type | Hanhaba (Half-width) | Nagoya or Fukuro |
| Formality Level | Casual / Everyday / Yukata | Semi-Formal to Formal |
| Target Demographic | Young women, children, tourists | Mature women, formal ceremonies |
| Required Accessories | Koshihimo, Obi-ita | Koshihimo, Obi-ita, Obi-makura, Obi-age, Obi-jime |
| Dressing Time (Beginner) | 10 - 15 minutes | 25 - 40 minutes |
Practical Advice for Tourists and Rentals
For international tourists visiting cultural hubs like Kyoto, Kanazawa, or Tokyo's Asakusa district, kimono rental is a booming and highly accessible industry. According to the Japan National Tourism Organization, participating in traditional cultural experiences, including kimono dressing, is one of the most sought-after activities for visitors. A standard full-day kimono rental, which includes professional dressing by a certified kitsuke instructor, typically costs between 4,000 and 8,000 JPY ($25 to $55 USD).
If you are renting, you will not need to buy the accessories or tie the knot yourself. However, understanding the mechanics of the Otaiko or Bunko knot will help you communicate your preferences to the dresser. For instance, if you want a more youthful look, you can request a fukura-suzume (puffed sparrow) variation of the Bunko knot. If you are attending a formal tea ceremony, request a conservative, low-profile Otaiko.
Posture and Comfort Tips: When being dressed, or when dressing yourself, maintain a straight back, keep your shoulders relaxed, and breathe out when the dresser pulls the koshihimo tight. The obi should feel like a firm corset; it restricts your stride and forces you into a graceful, gliding walk. If you feel lightheaded, inform the dresser immediately so they can adjust the tension of the datejime.
The Evolution of Kimono Style
Understanding how to tie an obi also connects you to a rich sartorial history. As highlighted by the Metropolitan Museum of Art in their comprehensive exhibition on Kimono Style, the widening of the obi in the 18th and 19th centuries necessitated these complex knots, shifting the decorative focus of the garment from the sleeves to the back and the waist. The obi became a canvas for intricate weaving, gold leaf application, and embroidery, making the knot not just a functional necessity, but a vital frame for textile art.
Conclusion
Tying an obi is a physical meditation that requires patience, practice, and respect for the garment. While the Bunko knot offers a playful and accessible entry point into the world of yukata and casual wear, the Otaiko knot opens the door to the profound elegance of formal Japanese silk. By mastering the measurements, understanding the necessary tools, and practicing the precise folds outlined in this guide, you can confidently wear, appreciate, and preserve the breathtaking tradition of the Japanese obi.