The Ultimate Step-by-Step Guide to Tying Kimono Obi
Introduction to the Kimono Obi
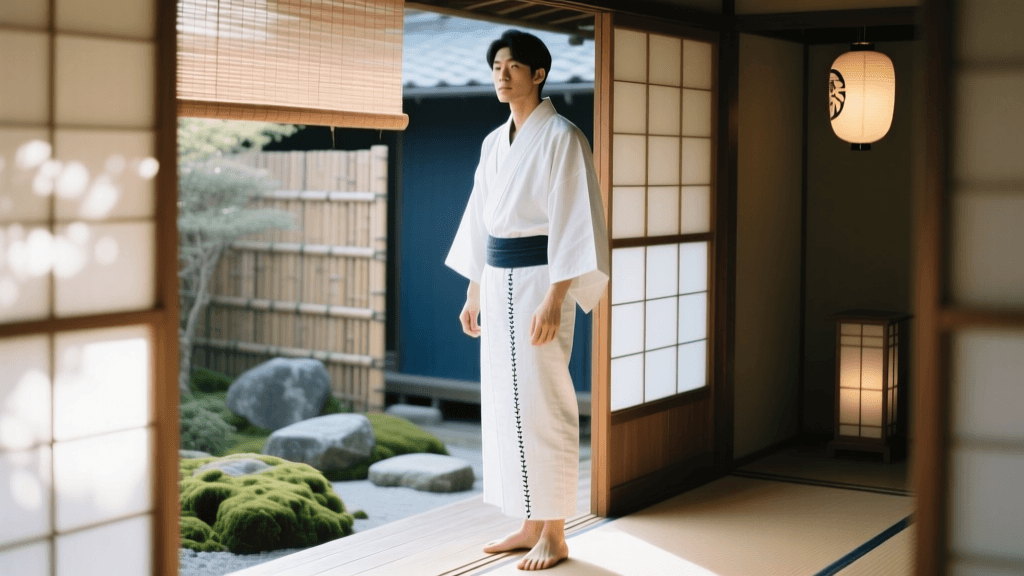
The kimono is globally recognized as a masterpiece of Japanese textile art, but the true focal point of the ensemble is the obi—the wide sash that secures the garment and dictates the wearer's silhouette. According to the Metropolitan Museum of Art's Heilbrunn Timeline of Art History, the obi evolved from a simple, narrow cord used to keep robes closed into a broad, highly decorative canvas that signifies formality, seasonality, and social status. Unlike Western garments that rely on tailoring, darts, and seams to fit the body, the kimono is essentially a flat, T-shaped robe. The obi is the engineering marvel that transforms this flat fabric into a structured, elegant, and deeply cultural garment.
Tying an obi can seem intimidating to beginners. The intricate folds, hidden tucks, and specialized accessories require practice and precision. However, with the right tools and a systematic approach, mastering the art of obi tying is highly achievable. Whether you are preparing for a summer festival in a casual yukata, attending a formal tea ceremony, or exploring gender-inclusive traditional wear, this comprehensive guide will walk you through the most essential obi knots step-by-step.
Essential Tools and Obi Types
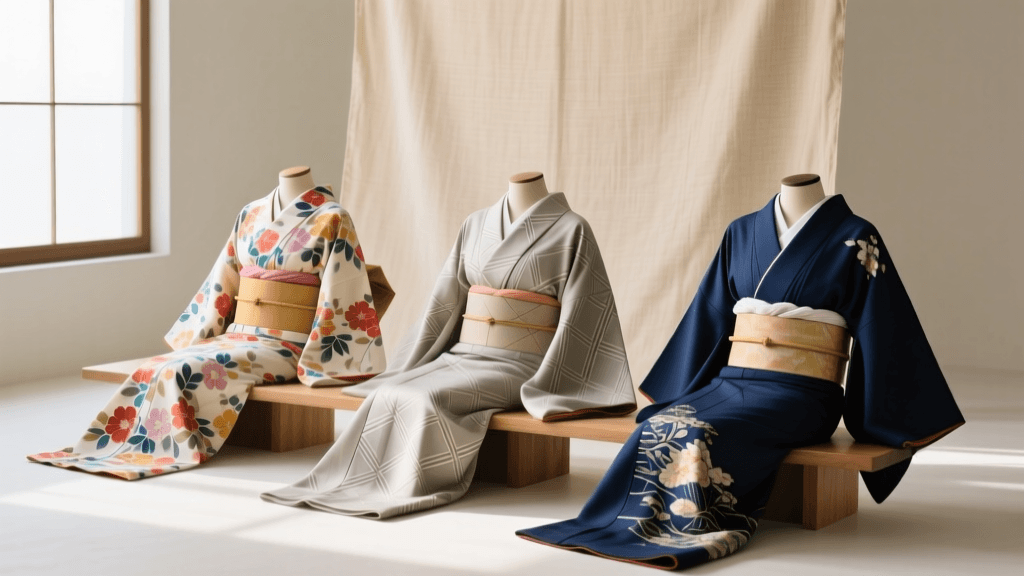
Before you begin wrapping, it is crucial to understand the anatomy of the obi and the accessories required to keep it secure. The Victoria and Albert Museum highlights that the complexity of obi tying led to the development of specialized undergarments and structural supports in the 20th century. You will generally need koshihimo (thin cotton tie sashes), an obijime (decorative braided cord), an obiage (silk scarf), and for formal knots, an obimakura (small pillow).
| Obi Type | Width | Length | Formality | Best Knot |
|---|---|---|---|---|
| Hanhaba | 15 cm | 3 - 4 m | Casual / Yukata | Bunko Musubi |
| Nagoya | 30 cm (tapered) | 3.2 - 3.5 m | Semi-Formal / Everyday | Otaiko Musubi |
| Fukuro | 30 cm | 4 - 4.5 m | Highly Formal | Nijudaiko Musubi |
| Kaku (Men's) | 10 cm | 4 m | Versatile / Formal | Kai-no-kuchi |
Tutorial 1: Bunko Musubi (The Book Knot)
The Bunko Musubi is a classic, bow-shaped knot predominantly worn by women with yukata (summer cotton kimono) and casual komon (patterned silk kimono). It utilizes the narrow hanhaba obi, making it lightweight, forgiving, and perfect for beginners.
Step-by-Step Instructions:
- Find the Center: Fold the hanhaba obi in half to find the exact center point. Mark it with a clip or hold it with your finger.
- Wrap the Base: Place the center of the obi against your front waist. Wrap both ends around your back to the front, crossing them. Pull the right end over the left end tightly. Wrap them around to the back again, crossing them, and bring them back to the front. You should now have two layers wrapped securely around your torso.
- Secure the Waist: Tie the two front ends together in a simple, tight square knot at the center of your stomach. Tuck the excess ends temporarily out of the way.
- Create the Bow: Take the longer hanging end (the te or hand) and fold it into an accordion-style pleat to create the loops of the bow. The width of the pleats should match the width of the hanhaba obi (15 cm).
- Form the Knot Core: Take the shorter end (the tare or hanging end), wrap it tightly around the center of the pleated bow loops, and tuck the remaining fabric under the wrap to hide the tail.
- Rotate and Adjust: Carefully rotate the entire obi clockwise around your waist until the bow is perfectly centered on your back. Fluff the bow loops to resemble an open book or butterfly wings.
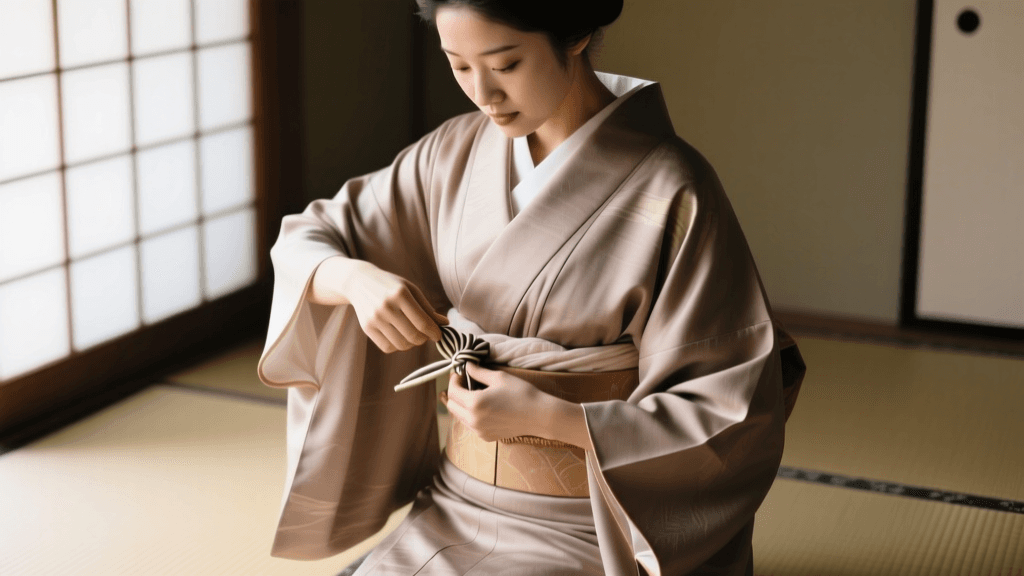
Tutorial 2: Otaiko Musubi (The Drum Knot)
The Otaiko Musubi is the quintessential knot for married women or those attending semi-formal events. It creates a smooth, rounded 'drum' shape at the back and is typically tied using a Nagoya obi. The Nagoya obi is unique because it is pre-folded and stitched in half for the first two-thirds of its length, making the Otaiko knot significantly easier to manage than using a full-width Fukuro obi.
Step-by-Step Instructions:
- Mark the Tare: Unfold the narrow, stitched portion of the Nagoya obi. Measure about 40 cm from the narrow end—this will be your tare (the hanging tail at the back). Drape the obi over your left shoulder with the tare hanging down your back to your desired length (usually mid-calf).
- Wrap the Torso: Take the long, wide end (the te) and wrap it around your waist twice, keeping the bottom edge level. Secure the two layers together at the front using a koshihimo (cotton tie sash).
- Position the Tare: Bring the hanging tare end up from the back and cross it over the wrapped layers at the center front. Secure it with another koshihimo.
- Insert the Obimakura: Gather the long te end and place the obimakura (pillow) inside the fold to give the drum its volume. Bring this pillowed section to your back, resting it above the wrapped waist layers.
- Form the Drum: Wrap the obiage (silk scarf) around the obimakura to conceal it and tie it loosely at the front. Next, take the tare end at the back, fold it up, and tuck it under the pillowed section, creating the smooth, flat face of the 'drum'.
- Secure with Obijime: Thread the obijime (braided cord) through the center of the drum, wrap it around the front of your waist, and tie it in a decorative knot. Tuck the remaining ends of the obiage into the top of the obi for a clean finish.
Tutorial 3: Kai-no-kuchi (The Shell Mouth)
Traditional Japanese fashion is increasingly embraced in gender-inclusive ways. The Kaku obi is a stiff, narrow (10 cm) silk or cotton obi traditionally worn by men, though it is highly popular in modern, avant-garde, and gender-neutral styling. The Kai-no-kuchi is the most common, understated knot for this style.
Step-by-Step Instructions:
- Wrap the Base: Wrap the kaku obi around your waist twice, keeping it positioned low on the hips (below the navel) for a masculine or relaxed silhouette.
- Cross the Ends: Bring both ends to the front. Cross the right end over the left end.
- The Tuck: Take the top (right) end and fold it in half lengthwise. Tuck this folded end down and under the wrapped layers of the obi.
- The Fold and Lock: Take the bottom (left) end, fold it over the tucked right end, and pull it tightly upward. Finally, tuck the tail of this left end down into the top edge of the obi belt to lock the knot in place. The result should be a flat, neat, rectangular knot resembling a closed clam shell.
Pro Tips for All-Day Comfort and Posture
Wearing a kimono and obi is not just about aesthetics; it fundamentally changes how you move and carry yourself. The Japan National Tourism Organization notes that the physical restrictions imposed by traditional garments naturally encourage graceful, deliberate movements. To ensure you remain comfortable while wearing an obi for several hours, keep these practical tips in mind:
- Breathe Before Tightening: When wrapping the initial layers and tying the koshihimo, exhale fully and pull the cotton ties tight. When you inhale naturally afterward, the obi will feel snug but will not restrict your breathing or digestion.
- Maintain a Straight Spine: The obi acts as a back brace. Avoid slouching, as this will cause the fabric to bunch up and dig into your ribs. Keep your shoulders back and your chin parallel to the floor.
- The 'Sliding' Walk: Because the hem of the kimono is restricted by the obi, you must take smaller steps. Practice walking by sliding one foot past the other, keeping your toes pointed slightly inward. This prevents the garment from riding up and exposing your undergarments.
- Use a Corset or Towel: To achieve the traditional cylindrical silhouette (which prevents the obi from sliding down the natural curve of the hips), wrap a thin towel or wear a specialized kimono corset around your waist before putting on the garment. This creates a friction-grip surface for the obi to anchor against.
'The obi is the soul of the kimono. While the fabric may tell a story of the season, the knot speaks of the wearer's intention, age, and the formality of the occasion.' — Traditional Kyoto Kitsuke (Dressing) Proverb.
Conclusion
Mastering the art of tying a kimono obi bridges the gap between historical preservation and modern sartorial expression. Whether you are tying a playful Bunko bow for a summer fireworks display, structuring a formal Otaiko drum for a wedding, or adopting the sleek Kai-no-kuchi for a contemporary gender-neutral look, the discipline required yields a deeply rewarding aesthetic result. With consistent practice, muscle memory will take over, allowing you to dress yourself with the same grace and intentionality that has defined Japanese fashion for centuries.