How to Tie the Bunko Obi Knot: Step-by-Step Guide
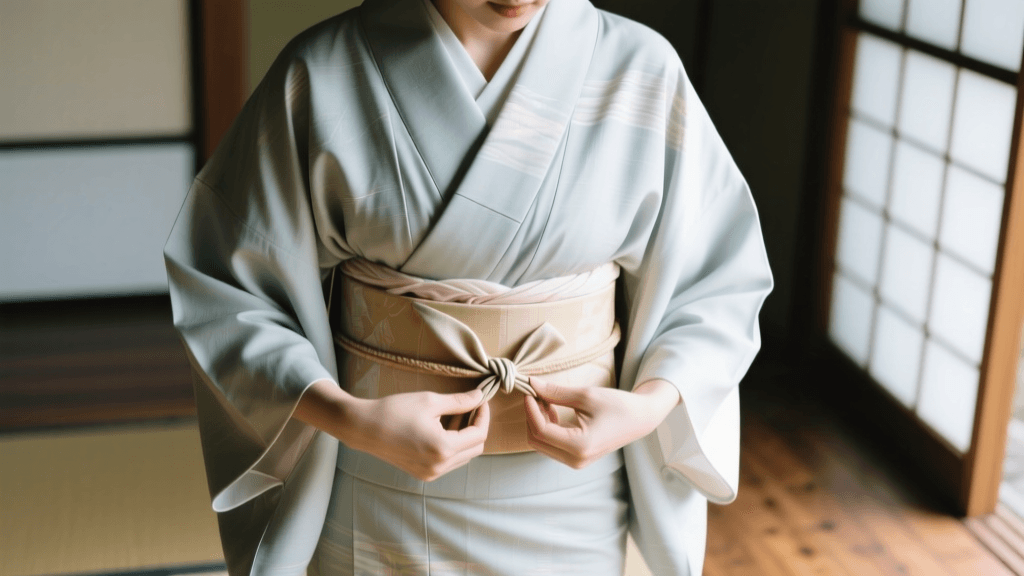
The Art of the Obi: Understanding the Bunko Musubi
The obi is the defining element of Japanese traditional dress, serving as both a structural anchor and a canvas for artistic expression. According to the Metropolitan Museum of Art, the obi evolved from a narrow, functional cord in the Heian period (794–1185) into a wide, highly decorative sash during the Edo period (1615–1868) as the kosode (small-sleeved kimono) became the primary outer garment.
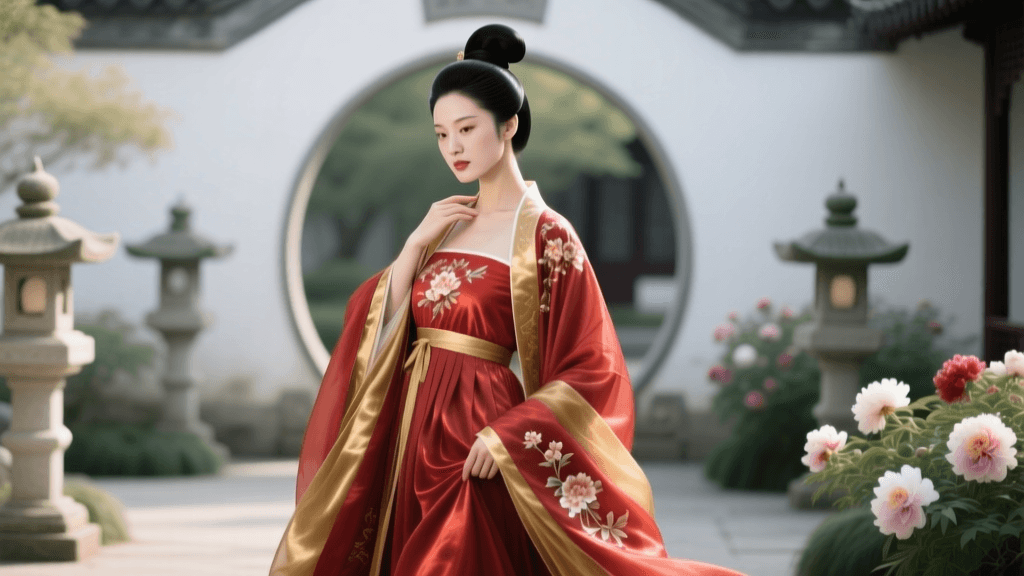
Among the dozens of traditional knots, the Bunko Musubi (文庫結び), or 'library knot,' remains the most iconic and widely used for women's yukata and informal silk kimono. Resembling an open book or a butterfly, the Bunko knot is elegant, relatively forgiving for beginners, and deeply rooted in Japanese sartorial culture. The Victoria and Albert Museum notes that the placement and style of the obi knot historically communicated a wearer's age, marital status, and social standing, with younger, unmarried women wearing large, elaborate bows tied at the back, while married women opted for flatter, more subdued knots like the Otaiko.
Comparison Chart: Selecting the Right Obi
Before attempting the Bunko knot, it is crucial to select the correct type of obi. Not all obi are suited for this knot. Below is a structured comparison to guide your selection.
| Obi Type | Width | Length | Formality | Best Suited Knots |
|---|---|---|---|---|
| Hanhaba Obi | 15 cm (6 in) | 300-400 cm | Casual (Yukata, Wool Kimono) | Bunko, Kai-no-kuchi |
| Nagoya Obi | 30 cm (12 in) | 315-345 cm | Semi-Formal to Informal | Otaiko, Bunko (with modifications) |
| Fukuro Obi | 30 cm (12 in) | 420-450 cm | Formal to Semi-Formal | Niju-daiko, Fukura-suzume |
For this tutorial, we will use a Hanhaba Obi, as it is the standard choice for the classic Bunko knot, especially when wearing a cotton yukata during summer festivals.
Essential Tools and Measurements
Tying an obi requires more than just the sash itself. To achieve a secure and polished look, gather the following accessories:
- Koshihimo (Waist Ties): You will need at least two long, thin cotton or silk cords (approx. 4 cm wide and 150 cm long) to secure the kimono and temporarily hold the obi in place.
- Datejime (Under-Belt): A stiff, elasticized or silk band (approx. 8 cm wide) worn over the koshihimo to smooth the waistline and prevent the kimono from shifting.
- Obi-ita (Front Board): A thin, flexible board covered in fabric that is slipped between the obi folds at the front to prevent wrinkling.
- Obijime (Decorative Cord): A braided silk cord used to cinch the center of the Bunko knot and add a pop of contrasting color.
- Obiage (Sash): A piece of crepe silk used to cover the top edge of the obi and hide the structural ties underneath.
Step-by-Step Tutorial: Tying the Bunko Knot
Ensure your kimono is properly fitted and secured with your koshihimo and datejime before beginning. The entire tying process should take about 5 to 7 minutes once you are familiar with the steps.
Step 1: Measuring the 'Te' (The Bow Center)
Drape the obi around your waist from the front to the back. The end that will form the center of the bow is called the Te. For a standard Bunko knot, measure the Te to be approximately 45 to 50 cm (18 to 20 inches) from your right side. Hold this mark firmly at your right hip. The remaining, much longer end is called the Tare.
Step 2: Wrapping the 'Tare'
Keeping the Te secured at your right hip, take the Tare and wrap it tightly around your waist from right to left, overlapping the starting point. Ensure the bottom edge of the obi sits precisely on your hip bones. Wrap it around a second time, maintaining high tension. A loose wrap will cause the kimono to gape open at the chest throughout the day.
Step 3: Crossing and Securing
Bring both the Te and the Tare to the front center. Cross the Te over the Tare and pull it upward tightly. Take a temporary koshihimo and tie it securely around your waist, directly over the crossed obi, to hold the tension while you form the bow. Tuck the excess Te temporarily over the koshihimo.
Step 4: Pleating the 'Tare' (Forming the Wings)
Take the long Tare end and begin creating accordion pleats. For a standard Hanhaba obi, create three to four even pleats, each about 15 cm (6 inches) wide. The total pleated section should span roughly the width of your shoulders. Pinch the center of these pleats firmly.
Step 5: Assembling the Bow
Bring the pleated Tare to the back. Fold the pleated section in half vertically to create the 'wings' of the bow. Take the Te (which you left at the back) and wrap it tightly around the exact center of the pleated wings, binding them together. Tuck the remaining tail of the Te down into the top of the obi to hide it.
Step 6: Adding the Obijime and Obiage
To secure the center binding and add decorative flair, wrap your obijime cord around the center of the bow and tie it in a secure flat knot at the front. Next, fold your obiage sash, wrap it around the top edge of the obi, and tie it at the front, tucking the ends neatly beneath the obi.
Step 7: The Final Rotation
Carefully grasp the entire obi assembly with both hands on your hips. In one smooth, clockwise motion, rotate the obi until the bow sits perfectly in the center of your back. Adjust the wings so they fan out symmetrically. According to cultural guides from the Japan National Tourism Organization, a properly rotated and centered obi is essential for maintaining the dignified posture required in traditional Japanese etiquette.
Troubleshooting Common Mistakes
- Drooping Wings: If the bow wings sag, your pleats were likely too wide or the Te was not pulled tightly enough during Step 5. Use a small, discreet clip on the inside of the wings to anchor them to the datejime.
- Front Wrinkles: If the front of the obi looks crumpled, you forgot the obi-ita board, or you did not maintain consistent tension while wrapping the Tare.
- Kimono Gaping: If the collar of your kimono pulls open after tying the obi, your initial koshihimo tie beneath the obi was too loose. Always pull the cotton tie taut before knotting it.
Cultural Context and Modern Styling
In contemporary Japan, the art of kitsuke (kimono dressing) is experiencing a renaissance among younger generations who blend traditional techniques with modern fashion sensibilities. While the Bunko knot remains a staple for summer festivals, modern stylists often experiment with the length of the Te to create asymmetrical bows, or incorporate vintage, Western-patterned ribbons as a substitute for the traditional hanhaba obi. This fusion of old and new breathes life into the garment, ensuring its survival in a fast-fashion world.
Furthermore, the tactile experience of tying the obi is deeply meditative. The precise measurements, the focus on breath control while pulling the koshihimo tight, and the spatial awareness required to rotate the knot to the back all contribute to a mindfulness practice inherent in Japanese traditional arts. For international enthusiasts and tourists partaking in kimono rental experiences in cities like Kyoto and Kanazawa, learning even the foundational steps of the Bunko knot transforms a simple photo opportunity into a profound cultural immersion.
Conclusion
Mastering the Bunko Musubi is a rite of passage for anyone interested in Japanese traditional garments. While the mechanics of measuring the Te, pleating the Tare, and managing the tension of the wraps require practice, the result is a stunning, culturally rich silhouette. Whether you are attending a summer matsuri in a cotton yukata or exploring the historic streets of Kyoto, a well-tied obi ensures your garment stays secure and your aesthetic remains impeccable.