DIY Kimono Upcycling: Repurpose Vintage Silk Into Modern Fashion
The Renaissance of Vintage Japanese Textiles
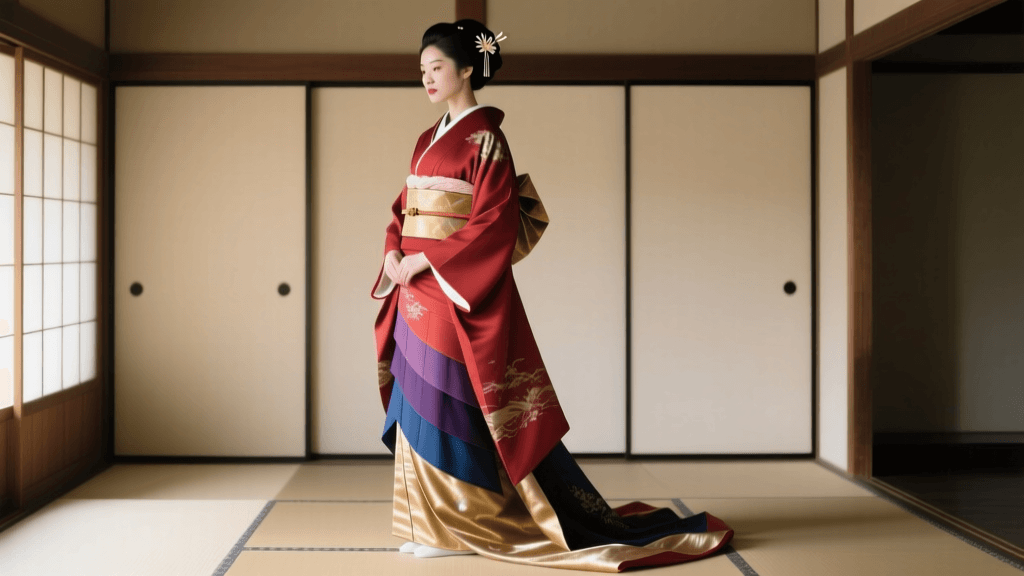
In recent years, the global sustainable fashion movement has sparked a profound interest in vintage Japanese garments. DIY kimono upcycling is no longer just a niche hobby; it is a deliberate practice of textile conservation and circular fashion. With millions of exquisite silk kimonos resting in Japanese tansu (traditional wooden chests), modern makers are finding innovative ways to honor these historical textiles by integrating them into contemporary wardrobes and home decor.
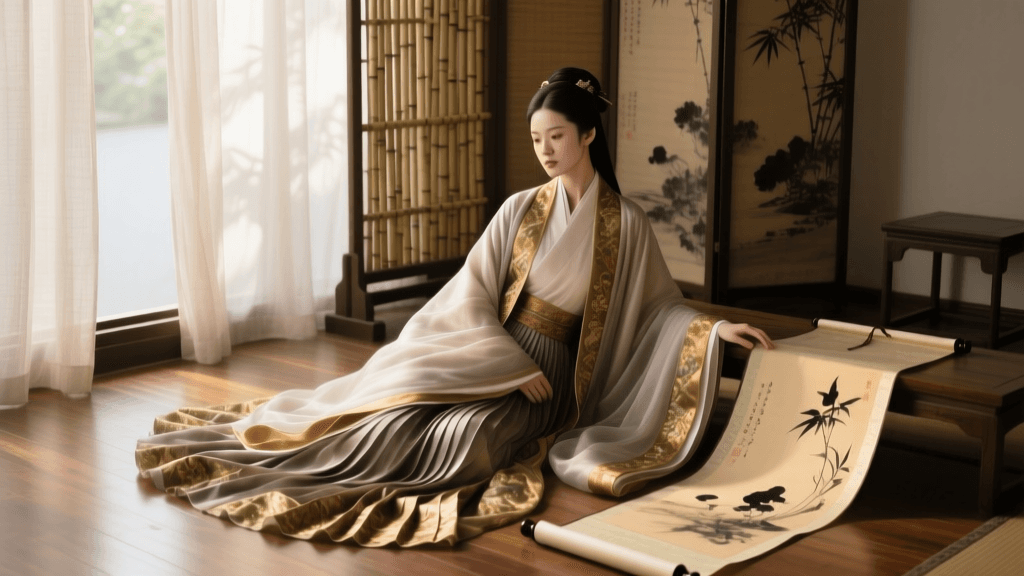
Upcycling a kimono requires an understanding of its unique construction, a gentle touch during the deconstruction phase, and a respect for the artisans who originally wove and dyed the fabric. According to the Victoria and Albert Museum, the traditional kimono is a masterclass in zero-waste pattern cutting. Garments are constructed from straight bolts of fabric known as tanmono, meaning the textile can be entirely unpicked and returned to its original flat state without any offcuts being discarded.
'A kimono is not merely a garment; it is a canvas of cultural memory. When we upcycle, we do not erase its history; we invite it into our modern narrative.'
This inherent zero-waste philosophy aligns perfectly with modern circular fashion principles championed by organizations like the Ellen MacArthur Foundation, which advocate for keeping textiles in use, designing out waste, and regenerating natural systems. By repurposing vintage silk, DIY enthusiasts are actively participating in a global effort to reduce the 92 million tons of textile waste generated annually.
Understanding Kimono Anatomy and Fabric Yields
Before taking a seam ripper to a vintage garment, it is crucial to understand how a kimono is pieced together. Unlike Western tailoring, which relies on curved seams and darts to fit the body, kimono construction uses rectangular panels. This makes the unpicked fabric incredibly versatile for modern sewing patterns. Institutions like the Metropolitan Museum of Art's Asian Art Department frequently highlight the intricate dyeing and weaving techniques—such as shibori and yuzen—that make these vintage rectangular panels highly prized for contemporary repurposing.
Fabric Yield and Repurposing Chart
The following table breaks down the standard components of a deconstructed kimono, their average dimensions, and the best modern applications for each panel.
| Kimono Component | Average Dimensions (Unsewn) | Ideal Upcycling Projects | Sewing Difficulty |
|---|---|---|---|
| Migoro (Main Body Panels) | 14 inches x 45 inches (per panel) | A-line skirts, tote bags, quilt blocks, blouse backs | Beginner |
| Sode (Sleeves) | 12 inches x 35 inches (per sleeve) | Throw pillows, scarves, camisoles, patchwork | Beginner |
| Okumi (Front Overlap Panels) | 6 inches x 45 inches (per panel) | Bias tape, hair accessories, small pouches, bookmarks | Beginner |
| Eri (Collar) | 6 inches x 30 inches | Kanzashi (hair ornaments), fabric flowers, applique | Intermediate |
| Obi (Sash/Belt) | 12 inches x 140 inches (Maru Obi) | Upholstery, statement handbags, table runners, corsets | Advanced |
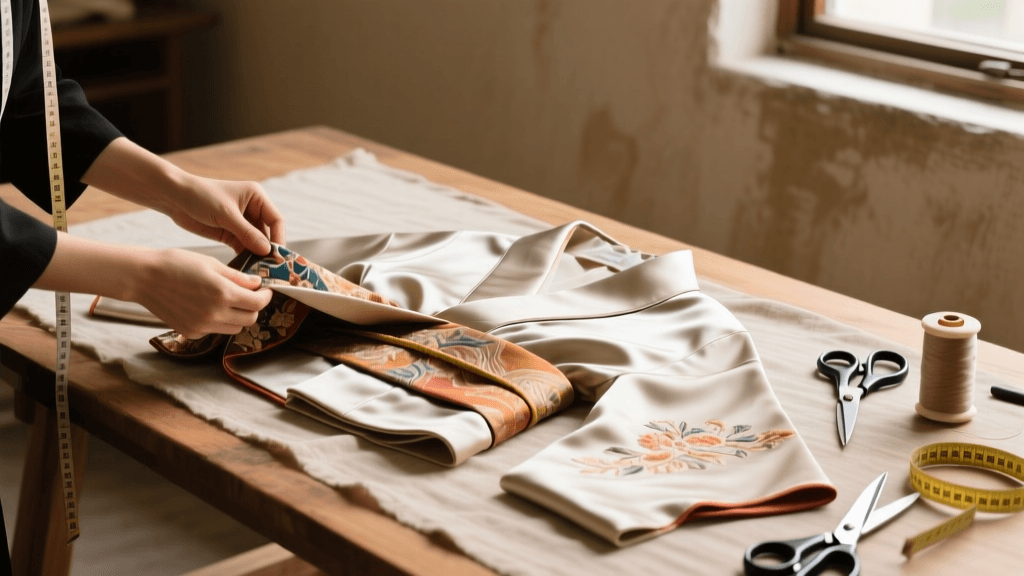
Phase 1: Deconstruction and Preparation
The process of taking apart a kimono is called toka. It is a meditative process that requires patience. You will need a high-quality seam ripper, small embroidery scissors, and a lint roller.
Step-by-Step Unpicking
- Document the Garment: Take photographs of the kimono before you begin, noting the placement of the mon (family crests) and the alignment of the patterns across the seams.
- Remove the Collar (Eri): Carefully snip the threads holding the collar to the main body. The collar often contains the most worn fabric, so inspect it for stains or weak spots.
- Detach the Sleeves (Sode): Cut the basting threads at the shoulder seams. Keep the sleeve pouches intact if you plan to use them for throw pillows.
- Open the Body Panels (Migoro): Separate the front and back panels. Be exceptionally careful around the machigusetsu (underarm gussets), as these small diamond-shaped pieces are vital if you plan to reconstruct a historically accurate garment later.
- Press and Block: Once unpicked, you will have long, narrow rectangles of silk. Use a low-heat iron with a pressing cloth to remove the fold lines. Do not use steam directly on vintage chirimen (crepe silk), as it can cause the fabric to pucker and shrink irreparably.
Cleaning Vintage Silk
Never put vintage kimono silk in a washing machine. Instead, hand wash the unpicked panels in cold water using a pH-neutral detergent specifically designed for protein fibers, such as Orvus WA Paste or Eucalan. Gently agitate the water, let the silk soak for 15 minutes, and roll the fabric in a clean towel to press out excess moisture. Lay flat on a drying rack away from direct sunlight to prevent the natural dyes from fading.
Phase 2: Modern Repurposing Projects
Once your fabric is prepped, the creative possibilities are endless. Here are two detailed, actionable projects tailored for different skill levels and textile types.
Project 1: The Modern Wrap Cardigan (From a Vintage Haori)
A haori is a traditional hip- or thigh-length jacket worn over a kimono. Because it is already open at the front, it is the perfect candidate for a modern wrap cardigan or light duster.
- Materials Needed: 1 vintage silk haori, 2 yards of silk bias tape, matching silk thread, Microtex (Sharp) sewing machine needles (size 70/10).
- The Process: Many vintage haori feature a contrasting silk lining (habutai). Instead of removing the lining, keep it attached to create a reversible, double-faced garment. Carefully unpick the side seams and the underarm gussets to flatten the garment. Trim the side seams to create a more modern, tailored silhouette, removing about 1 inch from the side edges to eliminate the boxy traditional fit.
- Finishing: Encase all raw edges, including the newly trimmed sides and the bottom hem, in silk bias tape. Use a narrow zigzag stitch or a blind hem stitch to secure the bias tape, ensuring the stitching is nearly invisible on the right side of the fabric. Add a long silk ribbon at the waist to serve as a modern tie belt.
- Estimated Cost: Vintage haori ($30-$60 on online auction sites), silk bias tape and thread ($15).
Project 2: The Brocade Statement Tote (From a Maru Obi)
The obi is the sash used to secure a kimono. A maru obi or fukuro obi is often woven with heavy metallic threads, brocade (nishiki-ori), and intricate motifs. Because the fabric is incredibly stiff and heavy, it is unsuitable for draping garments but perfect for structured accessories.
- Materials Needed: 1 vintage brocade obi, heavy-duty upholstery thread, size 100/16 denim or leather needles, woven cotton interfacing, leather scraps for handles.
- The Process: Cut a 24-inch length of the obi for the main body of the tote. Because obi fabric is often folded in half and stuffed with cotton batting during its original construction, you must carefully slice along the edge to open it into a single, wide layer. Remove the old, degraded cotton stuffing.
- Stabilization: Fuse a layer of heavy woven cotton interfacing to the wrong side of the brocade. This prevents the metallic threads from pulling apart under the weight of the bag's contents.
- Construction: Fold the fabric in half, right sides together, and sew the side seams using a 3/8-inch seam allowance. Box the bottom corners by sewing across the folded corners at a 3-inch depth to give the tote a flat, structured base. Attach leather handles using rivets and a heavy-duty walking foot on your sewing machine to ensure the thick layers feed evenly.
- Estimated Cost: Vintage brocade obi ($40-$90), leather handles and hardware ($25).
Essential Tools for the Upcycler's Studio
Working with vintage Asian textiles requires specialized tools to prevent damaging the delicate fibers. Invest in the following to ensure professional results:
- Microtex Needles: Standard universal needles will snag and pull vintage silk. Microtex needles have an exceptionally sharp, slender point that pierces tightly woven silk without breaking the threads.
- Silk Thread: Polyester thread is often stronger than vintage silk, which means that if the garment is subjected to stress, the thread will cut right through the historic fabric. Always use 100% silk thread or a fine, high-quality cotton thread so that the thread breaks before the textile does.
- Rotary Cutter and Mat: Scissors can drag and distort the bias of unpicked silk panels. A sharp 45mm rotary cutter ensures perfectly straight, distortion-free cuts.
- Pattern Weights: Avoid using pins on delicate vintage silk, as they can leave permanent holes or rust spots. Use heavy steel pattern weights to hold the fabric in place while cutting.
Preserving the Narrative
When you upcycle a kimono, you are engaging in an act of cultural preservation. The textiles you hold in your hands may feature motifs of cranes symbolizing longevity, cherry blossoms representing the ephemeral nature of life, or pine trees denoting endurance. By transforming these panels into modern garments, quilts, or accessories, you ensure that the artistry of the shokunin (master artisans) continues to be seen, touched, and appreciated in the modern world. Whether you are sewing a simple silk scarf from a salvaged sleeve or engineering a complex corset from a heavy brocade obi, DIY kimono upcycling is a beautiful intersection of history, sustainability, and modern design.