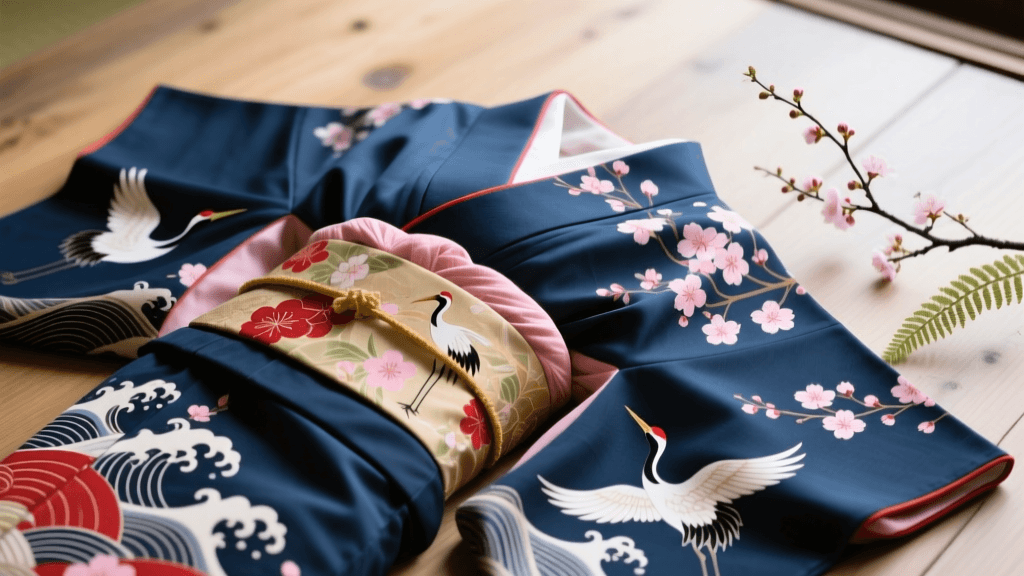
DIY Japanese Resist Dyeing: Shibori, Yuzen, and Kasuri
The Philosophy of Negative Space in Japanese Dyeing
Traditional Japanese textile arts are deeply rooted in the concept of ma (negative space) and the harmonious relationship between the artisan's hand and the unpredictable nature of dyes. Unlike Western surface printing, which often applies color directly to the top layer of a fabric, Japanese resist-dyeing techniques manipulate the fabric or threads to block dye penetration, creating intricate, layered patterns. According to the Japan National Tourism Organization's guide to traditional crafts, these methods have been refined over centuries, transforming simple cotton, hemp, and silk into masterpieces of wearable art.
For modern artisans and textile enthusiasts, mastering these techniques at home is entirely possible with the right materials, precise measurements, and an understanding of the chemical processes involved. This guide breaks down three foundational methods—Shibori, Kata-Yuzen, and Kasuri—providing actionable steps, material costs, and timing to help you build your own traditional dyeing studio.
Shibori: Mastering Itajime and Kanoko at Home
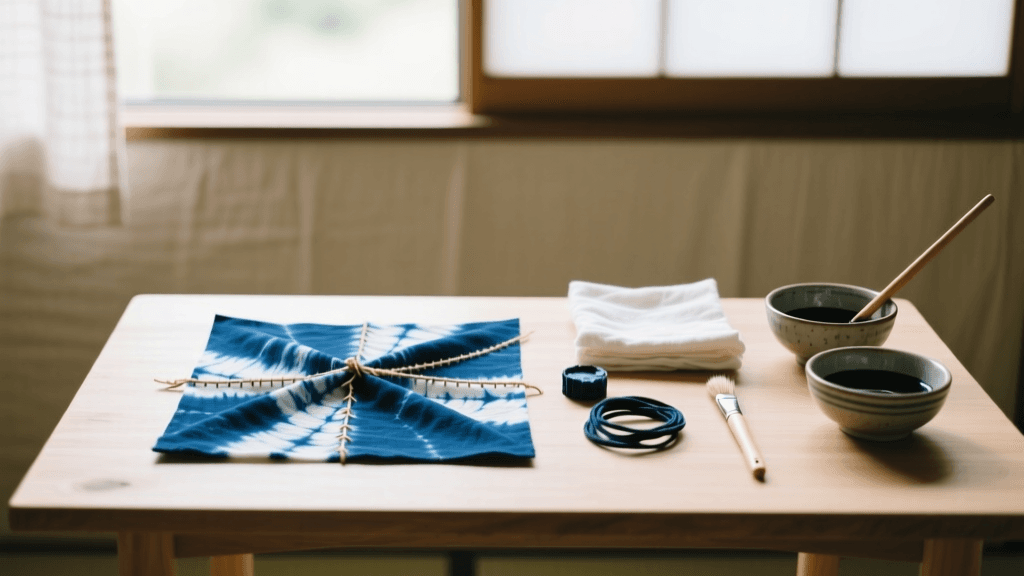
Shibori is a broad category of shaped-resist dyeing, most commonly associated with indigo. While there are dozens of shibori techniques, Itajime (shape-resist using blocks) and Kanoko (binding) are the most accessible for home studios.
Preparation and Scouring
Before any dye touches your fabric, you must remove the sizing and natural oils. For 3 yards of 100% cotton or silk, use 1.5 teaspoons of Synthrapol and 1 tablespoon of soda ash in a gallon of hot water (140°F). Simmer for 30 minutes, rinse thoroughly, and leave the fabric damp. Damp fabric absorbs indigo more evenly than dry fabric.
Itajime (Shape Resist) Step-by-Step
- Folding: Accordion-fold your damp fabric into 2-inch wide strips, then fold those strips into equilateral triangles or squares.
- Clamping: Sandwich the folded fabric between two 3x3 inch wooden blocks. Secure tightly using C-clamps or heavy-duty rubber bands. The pressure must be immense to prevent dye seepage.
- Dyeing: Submerge the clamped bundle into an indigo vat for exactly 60 seconds. Remove and let it oxidize in the air for 5 minutes (it will shift from yellow-green to deep blue). Repeat this dip-oxidize cycle 4 to 6 times for a dark navy.
- Unveiling: Rinse in cold water until it runs clear, unclamp, and hang to dry.
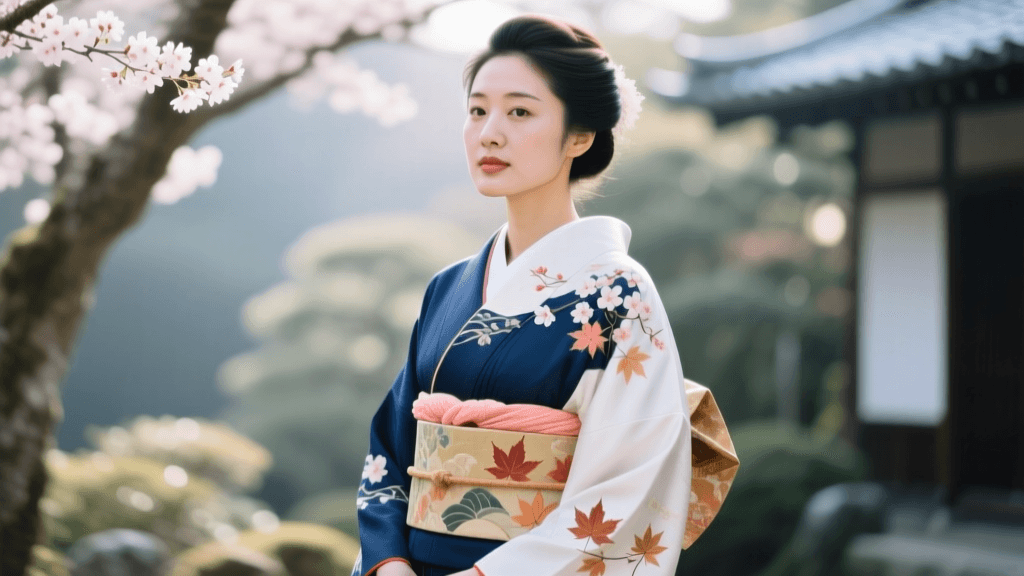
Kata-Yuzen: Stencil Resist for Precision Patterns
While Tegaki-Yuzen involves freehand painting with rice paste, Kata-Yuzen utilizes stencils (kata) to repeat precise, intricate motifs across a bolt of silk. This technique is the backbone of the vibrant, pictorial designs seen on high-end kimono and obi.
Materials and Resist Application
Traditional tsutsu-nori (rice bran resist paste) can be difficult to source outside of Japan and requires specific climate conditions to dry properly. For a home studio, a modern alternative like soy wax or a thick, water-based gutta works exceptionally well. If using traditional rice paste, apply it through a laser-cut or hand-carved mulberry paper stencil using a flexible metal spatula. Ensure the paste layer is about 1/8th of an inch thick to prevent bleeding.
Dye Application and Steaming
Once the resist is bone-dry (allow 12 to 24 hours depending on humidity), you can apply dye. For silk, Jacquard Acid Dyes or Procion MX dyes are ideal. Use a wide hake brush to stipple the dye into the fabric, working from light to dark. To permanently set the dye and melt away certain resists, the fabric must be steamed.
- Roll the dyed, dry fabric in newsprint or unbleached muslin to absorb excess moisture and prevent dye migration.
- Place the roll in a bamboo or metal steamer over boiling water.
- Steam at a rolling boil (100°C / 212°F) for 45 minutes.
- Allow the fabric to cool completely before washing out the resist in warm water (110°F) with a mild detergent.
Kasuri: The Intricacies of Ikat Thread Dyeing
Kasuri is the Japanese equivalent of Ikat, where the threads themselves are resist-dyed before they are woven. The slightly blurred edges of the resulting patterns, known as kasuri-ashi, are highly prized. The intricate thread-binding of Kasuri is so culturally significant that specific regional variations, like Ojiya-chijimi, are recognized by UNESCO's Intangible Cultural Heritage list.
Warp and Weft Bundling
To simulate Kasuri at home without a full loom setup, you can dye pre-measured warp bundles.
- Measurement: Wind a 10-yard cotton warp bundle. Use a Kasuri ruler or a marked wooden stick to determine your pattern repeat (e.g., every 4 inches).
- Binding: Wrap vinyl tape or tightly bound cotton string around the sections you want to remain undyed. Vinyl tape provides the sharpest resist lines.
- Dyeing and Shifting: Dip the bundle in indigo. To create a gradient or a multi-colored geometric pattern, untie the bindings, shift them by exactly 1 inch, and dip again in a different dye bath (such as a madder root or weld vat).
When weaving or laying out these threads, the artisan must carefully align the dyed sections. Even a millimeter of misalignment will distort the geometric pattern, requiring immense patience and mathematical precision.
Technique Comparison Chart
Choosing the right technique depends on your available space, budget, and desired aesthetic. Below is a structured comparison to help you plan your next project.
| Technique | Resist Medium | Ideal Fabric | Setup Cost | Time Investment | Skill Level |
|---|---|---|---|---|---|
| Itajime Shibori | Wooden blocks, C-clamps | Cotton, Linen | $40 - $60 | 2 - 4 hours | Beginner |
| Kanoko Shibori | Sinew thread, beads | Silk, Fine Cotton | $30 - $50 | 10 - 20 hours (binding) | Intermediate |
| Kata-Yuzen | Rice paste / Gutta, Stencils | Habotai or Crepe Silk | $150 - $250 | 2 - 3 days (incl. curing) | Advanced |
| Kasuri (Ikat) | Vinyl tape, cotton twine | Cotton, Hemp, Ramie | $80 - $120 | 3 - 5 days | Expert |
Sourcing Materials and Cost Breakdown
Building a home dyeing studio requires an initial investment, but sourcing the right materials ensures archival-quality results. For historical context and preservation of these textiles, the Victoria and Albert Museum's Asian textile collections showcase how natural dyes and proper resist methods create garments that last centuries.
Essential Starter Kit Costs
- Indigo Vat: A traditional sukumo (fermented indigo) vat is complex to maintain. For beginners, the Jacquard Indigo Tie Dye Kit (approx. $25) provides a reliable, pre-reduced synthetic indigo base that yields brilliant blues without the odor of fermentation.
- Resist Pastes: A 16oz tub of water-based gutta or soy wax costs around $20-$30. Traditional Japanese tsutsu-nori can be imported via specialty suppliers like Dharma Trading Co. for roughly $40, but requires refrigeration and has a short shelf life.
- Tools: A set of bamboo hake brushes ($15), C-clamps ($12), and a 10-yard bolt of PFD (Prepared For Dyeing) cotton ($60) will round out your basic inventory.
- Steaming Equipment: A large tamale steamer or a dedicated textile steam pot is essential for Yuzen. Expect to spend $50-$100 on a stainless steel pot large enough to hold rolled silk without crushing it.
Conclusion
Japanese resist dyeing is not merely a craft; it is a dialogue between the artisan and the elements. Whether you are clamping geometric Itajime patterns, painting delicate floral motifs through Kata-Yuzen stencils, or painstakingly binding Kasuri threads, each technique demands respect for the process. By understanding the chemistry of your dyes, the precision of your resists, and the timing of your oxidations, you can bring the profound beauty of traditional Japanese textile arts into your own home studio.