Step-by-Step Guide to Tying the Classic Otaiko Obi
The Elegance of the Otaiko Musubi
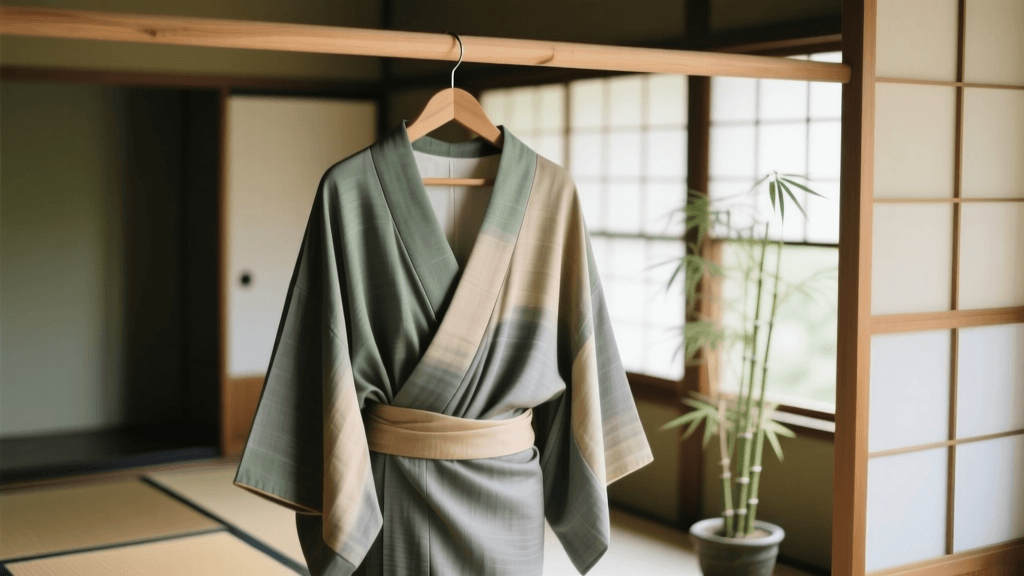
The kimono is an iconic symbol of Japanese culture, but the true artistry of the garment lies in the obi—the wide sash that secures it. Among the myriad of obi knots, the Otaiko Musubi (drum knot) stands out as the most classic, versatile, and widely worn style for adult women. Characterized by its smooth, rounded, drum-like shape at the back, the Otaiko Musubi is elegant, understated, and appropriate for almost all formal and semi-formal occasions.
While tying an obi may seem like a daunting task reserved for professional kitsuke (kimono dressing) experts, the Otaiko Musubi is actually highly structured and logical. With the right tools, precise measurements, and a bit of practice, anyone can master this traditional knot. According to the All Japan Kimono Consultants Association, mastering the Otaiko Musubi is the fundamental milestone that transitions a student from a novice to an intermediate kimono dresser.
Essential Tools and Measurements
Before you begin, you must gather the correct accessories. The Otaiko Musubi relies heavily on internal structure to maintain its shape throughout the day. Attempting to tie this knot without the proper tools will result in a sagging or asymmetrical finish.
| Tool Name | Purpose | Standard Dimensions |
|---|---|---|
| Nagoya Obi | The main sash, pre-stitched for easier tying. | 315-320 cm long, 30 cm wide |
| Obi-ita | Front board to keep the obi smooth and prevent wrinkling. | 45 cm x 15 cm (approx.) |
| Obi-makura | The 'pillow' that gives the Otaiko knot its volume and drum shape. | 20 cm x 10 cm (approx.) |
| Koshihimo | Cotton waist ties used to secure the obi in place during the process. | 130 cm x 5 cm (Need 2-3) |
| Obiage | A silk scarf used to hide the obi-makura and add a pop of color. | 130 cm x 30 cm (approx.) |
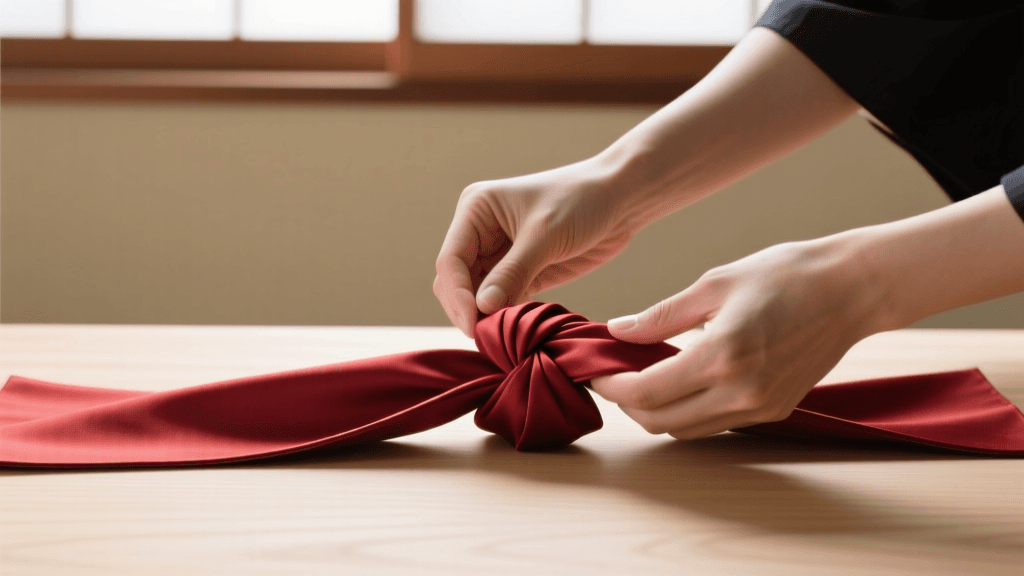
| Obijime | A decorative braided cord tied around the center of the knot. | 150 cm long (approx.) |
Cost Note: A beginner's accessory kit (including obi-ita, makura, koshihimo, obiage, and obijime) typically costs between $20 and $40 USD. A vintage silk Nagoya obi can be sourced for $30 to $80 USD from specialized online retailers.
Preparing Your Nagoya Obi
The Nagoya obi is uniquely constructed. One end, called the tesaki, is folded in half and stitched, while the other end, the tare, remains wide and open. For the Otaiko Musubi, the tesaki will drape over your shoulder, while the wide tare will form the main body of the drum knot. Ensure your kimono is already properly tied and secured with your under-sashes before beginning the obi wrapping process.
Step-by-Step Tutorial: Tying the Otaiko Musubi
Set aside 15 to 20 minutes for your first few attempts. As highlighted by the Japan National Tourism Organization, the preservation of these dressing techniques is vital to experiencing authentic Japanese cultural heritage, and patience is key to achieving the perfect silhouette.
Step 1: The Shoulder Drape and Base Wrap
Locate the boundary where the stitched (narrow) part of the obi meets the unstitched (wide) part. Place this seam on your right hip. Drape the folded tesaki over your left shoulder. The edge of the tesaki should hang down to about your hip bone. Take the wide tare end and wrap it around your back to the left, pulling it tightly to your front. Wrap it around your waist one and a half times, ensuring the bottom edge of the obi sits squarely on your hip bones. The tension must be firm; a loose base will cause the entire knot to collapse.
Step 2: The Kari-Musubi (Temporary Knot)
Bring both the tesaki (from your shoulder) and the tare (from your back) to your front. Cross the wide tare over the narrow tesaki. Take the tare end, pull it up and over the tesaki, and tuck it down through the loop you just created, pulling it tight against your waist. This is your temporary knot (kari-musubi). Take one koshihimo (waist tie) and tie it tightly directly over this temporary knot at the center front of your waist to secure everything in place. Tuck the excess koshihimo strings into the sides.
Step 3: Forming the Otaiko (Drum) Shape
Now, move your hands to your back. Take the wide tare end that is hanging down from your temporary knot. Fold the top edge of the tare down to create the top line of your 'drum'. The width of this fold determines the height of your Otaiko; a standard fold is about 15 to 20 cm down from the top edge. Insert your obi-makura (pillow) into this fold, resting it against your lower back. Tie the strings of the obi-makura tightly at your front, just above your bust line, to hold the pillow in place.
Step 4: Securing the Knot and Tucking the Tare
With the obi-makura secured, take the remaining length of the wide tare and pull it taut over the pillow, wrapping it around to the front. Bring the tip of the tare to the front, cross it over the narrow tesaki, and pull it back around to the rear. At the back, tuck the very tip of the tare up and inside the drum fold you created, hiding it completely. Use a second koshihimo to tie tightly around the base of the drum at your back, securing the folded shape to your body. You can now untie and remove the very first koshihimo from your front, as the structure is now held by the back tie and the pillow strings.
Step 5: Finishing with Obiage and Obijime
To hide the strings of the obi-makura, take your obiage (silk scarf). Wrap it around the top of the drum at your back, covering the pillow strings, and bring the ends to the front. Tie a simple temporary knot at the front. Next, take your obijime (braided cord) and wrap it around the very center of the obi at your front. Bring it to the back, cross it, and bring it back to the front. Tie a secure, flat square knot (hon-musubi) at the center front, tucking the loose ends neatly under the cord itself. Finally, adjust the obiage at the front into a neat, tucked fold.
Otaiko Musubi vs. Bunko Musubi: A Comparison
Understanding when to wear the Otaiko Musubi versus other popular knots is crucial for proper kimono etiquette. Below is a comparison between the Otaiko and the Bunko (bow) knot.
| Feature | Otaiko Musubi (Drum Knot) | Bunko Musubi (Bow Knot) |
|---|---|---|
| Primary Demographic | Married women, older unmarried women, mature adults. | Young unmarried women, children, yukata wearers. |
| Obi Type Used | Nagoya Obi, Fukuro Obi. | Hanhaba Obi, Fukuro Obi. |
| Formality Level | Semi-formal to formal (depending on kimono/obi pattern). | Casual to semi-formal (summer festivals, casual outings). |
| Visual Silhouette | Smooth, structured, rounded 'drum' shape. | Large, winged bow resembling butterfly wings. |
Common Mistakes and Expert Troubleshooting
- The Drum is Sagging: This happens when the obi-makura is not tied tightly enough at the front, or the koshihimo at the base of the drum is too loose. Always pull the pillow strings upward and tie them snugly above the bust.
- The Front is Wrinkled: Forgetting to insert the obi-ita (front board) between the layers of the obi during the initial wrap will result in unsuitable creases. Slide the obi-ita in after the first wrap but before the temporary knot.
- Asymmetrical Tare Folds: When folding the tare down to create the drum shape, ensure you are pulling the fabric evenly from both sides. Uneven tension will cause the 'drum' to tilt to one side.
Dressing in a kimono is not merely about putting on clothes; it is an exercise in mindfulness, posture, and respect for the artisans who wove the silk. The Otaiko knot, with its balanced and unyielding structure, reflects the quiet strength and grace inherent in Japanese aesthetics.
Conclusion
Tying the Otaiko Musubi is a rewarding endeavor that connects you directly to centuries of Japanese sartorial tradition. While the initial learning curve requires focus and physical dexterity, the muscle memory will develop over time. By investing in the proper tools, respecting the measurements, and practicing the tension required for each fold, you will soon be able to tie a flawless, elegant drum knot ready for any traditional occasion.