Carpathian Folk Blouse Zero-Waste Pattern Drafting 2026

The Renaissance of Heritage: Zero-Waste Carpathian Construction in 2026
The traditional Carpathian folk blouse—widely recognized through the Romanian Ie and the Ukrainian Vyshyvanka—is experiencing a massive revival in the 2026 sustainable fashion movement. Long before modern eco-conscious brands popularized the concept of zero-waste design, rural artisans in Eastern Europe engineered garments that utilized every single thread woven on the loom. By relying on strict rectangular geometry and strategic gusset placement, these historical patterns produce a beautifully draped, highly mobile garment with absolutely no fabric waste.
For modern sewists and textile historians, mastering this construction method is both an homage to ancestral techniques and a practical solution to today's textile waste crisis. According to the Fashion Revolution's 2026 transparency index, zero-waste pattern cutting remains one of the most effective ways to reduce pre-consumer textile waste. This comprehensive guide will walk you through the exact measurements, drafting techniques, and counted-thread embroidery mapping required to construct an authentic, zero-waste Carpathian blouse this year.
The Philosophy of the Rectangular Loom Cut
Historically, the width of handwoven linen or hemp fabric was strictly dictated by the size of the weaver's loom harness, typically yielding narrow panels between 40 cm and 50 cm (15.7 to 19.7 inches) wide. Because fabric was incredibly labor-intensive to produce, cutting curved armholes or shaping side seams was considered wasteful and structurally unsound, as it severed the continuous warp and weft threads.
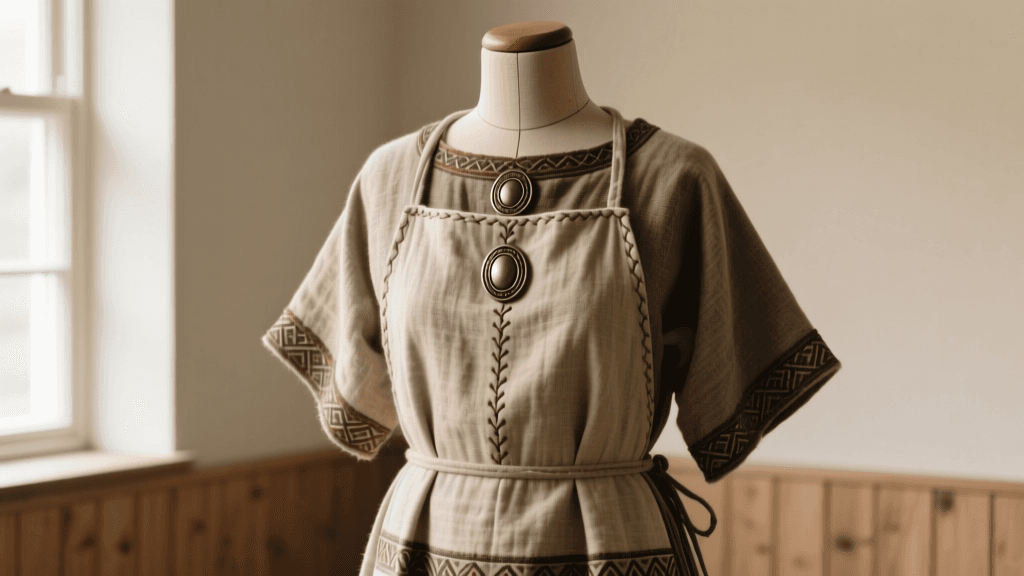
Instead, the Carpathian blouse is constructed entirely from rectangles and squares. The shaping and mobility of the garment are achieved through strategic gathering at the neckline and the insertion of a crucial underarm gusset, known regionally as the pavlic or lastovica. This gusset acts as a pivot point, allowing the wearer to raise their arms fully without pulling the entire bodice upward—a functional necessity for agrarian life that translates beautifully to modern comfort.
2026 Material Sourcing and Fabric Preparation
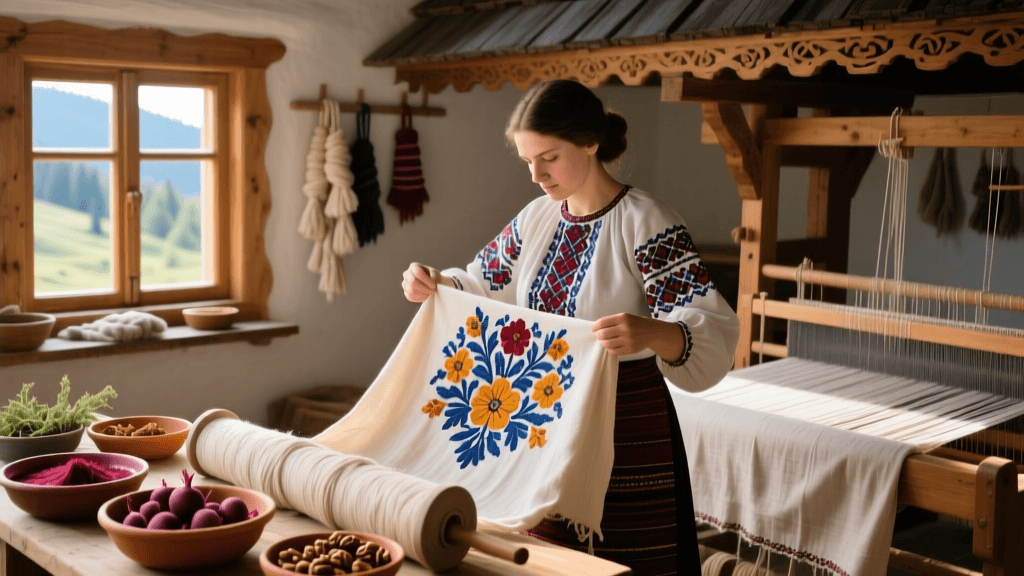
To achieve an authentic drape and support heavy counted-thread embroidery, your choice of fabric is paramount. In 2026, artisanal mills across Eastern Europe have seen a resurgence, offering historically accurate, shuttle-woven linens that perfectly mimic 19th-century textiles. When sourcing materials, always consult archival standards, such as those maintained by the Victoria and Albert Museum's textile archives, to ensure your thread count is appropriate for traditional needlework.
Recommended Fabric Specifications
| Fabric Type | Weight (g/m²) | Thread Count | Best Use Case |
|---|---|---|---|
| Shuttle-Woven Linen | 160 - 190 | 28 - 32 count | Authentic replication, heavy cross-stitch |
| Linen/Cotton Blend | 130 - 150 | 24 - 28 count | Lighter summer blouses, everyday wear |
| Raw Hemp Linen | 200+ | 20 - 24 count | Outerwear shirts, rugged historical reenactment |
Crucial Preparation Step: Natural fibers shrink significantly. You must pre-wash your linen at 60°C (140°F) and tumble dry on high heat at least twice before cutting. This ensures that your meticulously counted embroidery grid will not distort after the garment's first wash.
Drafting the Core Pattern Pieces
The beauty of this pattern is that it requires no curved rulers or complex slopers. You will need a measuring tape, a clear quilting ruler, and tailor's chalk. The standard blouse requires two main body panels, two sleeve panels, two gussets, and a collar stand.
Step-by-Step Measurement Guide
- Determine Your Base Rectangle Width: Measure your bust circumference, divide by 2, and add 10 cm (4 inches) for ease. If your loom-width fabric is 45 cm, and your calculated half-bust plus ease is 55 cm, you will use one full width for the front and one full width for the back, relying on the side gussets to make up the remaining 10 cm of circumference.
- Body Panel Length: Measure from the top of your shoulder down to your desired hemline (usually hip or mid-thigh). Cut two identical rectangles (Front and Back) to this length.
- Sleeve Rectangles: Measure from the edge of your shoulder (where the sleeve seam will sit) down to your wrist. The width of the sleeve rectangle should be your bicep circumference plus 8 cm (3 inches) of ease. Cut two identical sleeve rectangles.
- The Gusset (Pavlic): Cut two perfect squares, typically measuring 12 cm x 12 cm (4.7 x 4.7 inches). This square connects the side seam of the body panel to the underarm seam of the sleeve.
- The Collar Band: Cut a long rectangle, 4 cm (1.5 inches) wide. The length should equal your neck circumference plus 5 cm (2 inches) for overlap and seam allowance.
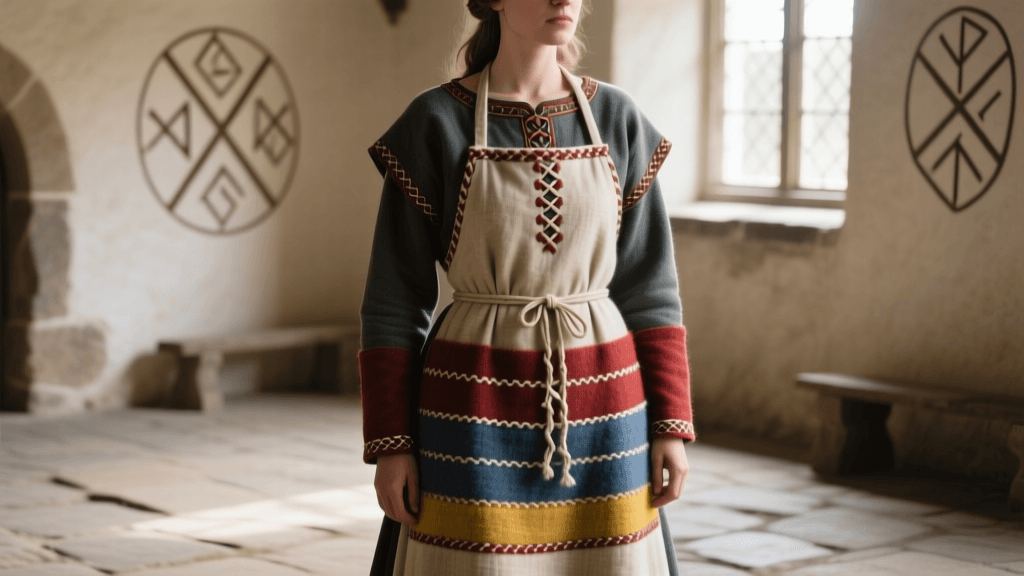
Mapping the Altiniță and Counted-Thread Geometry
The visual hallmark of the Carpathian blouse is the altiniță—the dense, horizontal band of geometric embroidery that sits squarely on the upper sleeve. Beneath it, vertical streams of embroidery (the râuri or "rivers") flow down the length of the arm.
Because traditional patterns rely on counted-thread techniques (like cross-stitch or satin stitch over a specific number of warp/weft threads), the embroidery must be mapped and completed before the garment is assembled. Attempting to hoop and embroider a fully constructed sleeve often results in distorted tension and puckered seams.
Designing Your Geometric Grid
Historical motifs are deeply symbolic, relying on solar rhombuses, protective zig-zags, and stylized tree-of-life geometry. To draft your pattern for 2026:
- Find the Center: Fold your sleeve rectangle in half lengthwise and mark the exact center warp thread with a water-soluble pen. This is your primary axis.
- Establish the Grid: Using a contrasting basting thread, sew horizontal and vertical lines every 10 threads across the upper third of the sleeve. This creates a physical grid that prevents miscounting during complex cross-stitch sequences.
- The Altiniță Placement: Map a horizontal band 8 to 12 cm wide, positioned exactly where the shoulder slopes down to the bicep. Flank this main band with narrower, complementary geometric borders.
Assembly: Felled Seams and Drawn Thread Work
Because the garment is constructed from raw-edged rectangles, the seam finishing is integral to both the structural integrity and the aesthetic of the blouse. Modern sergers were obviously not available to 19th-century artisans; instead, they utilized flat-felled seams and intricate drawn thread hemstitching.
The Traditional Assembly Sequence
- Join the Body Panels: Sew the front and back body panels together at the shoulders using a flat-felled seam. This encloses all raw edges and provides a sturdy foundation for the heavy neckline gathering.
- Attach the Sleeves: Pin the top edge of the sleeve rectangle to the shoulder seam. The center mark of your sleeve should align perfectly with the shoulder seam.
- Insert the Gusset: This is the most complex step. One edge of the gusset square attaches to the side seam of the body panel, and the adjacent edge attaches to the underarm seam of the sleeve. The remaining two edges of the gusset will seamlessly continue the side and sleeve seams. Pivot your needle exactly at the corners to ensure sharp, clean angles.
- Close the Side Seams: Sew from the hem, up through the gusset, and down to the wrist in one continuous flat-felled seam.
Mastering the Neckline Gathering
Carpathian blouses do not use curved necklines or darts. Instead, the wide, rectangular neck opening is gathered into the narrow collar band. In 2026, the most historically accurate method for this is the smocking or honeycomb gather.
Run two parallel rows of heavy-duty gathering stitches (or use a traditional running stitch pattern) along the raw top edge of the front, back, and sleeve panels. Pull the threads tightly until the total circumference of the gathered fabric matches the length of your collar rectangle. Secure the gathers with a whipstitch to the collar band, then fold the band over and blind-stitch it to the inside. This creates a beautifully textured, ruffled neckline that sits comfortably against the collarbone.
Contemporary Revival and Ethical Sourcing
As we navigate the fashion landscape of 2026, the intersection of cultural preservation and ethical production has never been more vital. The UNESCO Intangible Cultural Heritage registry has been instrumental in protecting the regional variations of Eastern European embroidery, ensuring that indigenous patterns are respected rather than appropriated by fast-fashion conglomerates.
When sourcing your embroidery floss, look for artisanal, plant-dyed threads or high-quality, colorfast mercerized cottons from heritage brands. Avoid synthetic poly-blends, as they do not absorb natural dyes properly and will degrade faster than the linen base. By investing time in zero-waste drafting and counted-thread geometry, you are not merely sewing a garment; you are participating in a living, breathing textile tradition that honors the earth and the artisans who came before us.