How to Tie the Otaiko Musubi Obi Knot: Step-by-Step
Mastering the Otaiko Musubi: The Quintessential Kimono Knot
The Otaiko Musubi, often translated as the 'drum knot,' is arguably the most iconic and widely recognized obi knot in traditional Japanese dress. Characterized by its smooth, rounded, and box-like shape at the lower back, this knot exudes elegance, maturity, and refined grace. It is the standard choice for married women, older unmarried women, and anyone attending formal or semi-formal events such as tea ceremonies, weddings, and graduation ceremonies.
While modern kimono rental shops in Kyoto and Tokyo often use pre-tied, clip-on obi for tourists, learning to tie the Otaiko Musubi yourself is a deeply rewarding endeavor. It connects you to centuries of sartorial tradition and allows for a custom fit that pre-tied knots simply cannot replicate. According to the Metropolitan Museum of Art's Heilbrunn Timeline of Art History, the evolution of the obi from a simple, narrow sash in the Edo period to the wide, elaborate focal point of modern kimono fashion necessitated complex tying techniques like the Otaiko Musubi to support the heavy, ornate textiles.
Essential Tools and Materials
Before you begin, you must gather the correct accessories. Tying a traditional obi is less about the fabric itself and more about the structural engineering provided by the underpinnings. Below is a comprehensive list of the tools required, along with standard measurements and estimated costs for beginners purchasing entry-level silk or synthetic blends.
| Item Name | Purpose | Standard Measurements | Estimated Cost (USD) |
|---|---|---|---|
| Nagoya Obi | The main sash (pre-folded for easier tying) | ~3.2 meters long, 30 cm wide | $80 - $300+ |
| Obijime | Decorative braided cord to secure the knot | ~150 cm long, 1 cm thick | $20 - $60 |
| Obiage | Silk scarf used to hide the knot pad | ~30 cm x 100 cm | $25 - $75 |
| Obimakura | Cushion pad that creates the 'drum' volume | ~20 cm x 10 cm | $10 - $20 |
| Koshihimo (x3) | Long, thin cotton ties for securing layers | ~4 cm x 130 cm | $5 each |
| Datejime | Wide under-belt to smooth the kimono fabric | ~8 cm x 100 cm | $15 - $30 |
| Obi-ita | Stiffener placed in the front to prevent wrinkling | ~45 cm x 20 cm | $10 - $25 |
Nagoya Obi vs. Fukuro Obi: Which Should You Choose?
For beginners learning the Otaiko Musubi, the Nagoya Obi is highly recommended. Invented in the 1920s in the city of Nagoya, this obi is pre-stitched and folded in half along its length, making it significantly easier to manage and lighter on the waist. It is appropriate for semi-formal occasions.
Conversely, the Fukuro Obi is a fully wide, heavy, and often lavishly brocaded sash reserved for highly formal events. Tying an Otaiko Musubi with a Fukuro Obi requires advanced folding techniques (such as the Niju-Daiko or 'double drum' knot) and considerable physical stamina. Master the Nagoya Obi first before attempting the Fukuro.
Step-by-Step Tutorial: Tying the Nagoya Otaiko Musubi
Ensure your kimono is properly fitted, the collar is pulled tight at the back of the neck (eri-nuki), and your Datejime is securely fastened just below the bust. You are now ready to tie the obi.
Step 1: Positioning the Obi and Finding the 'Te'
Unfold the narrow, folded portion of the Nagoya Obi. Locate the Te (the short end used to form the top of the drum). Measure exactly 40 to 45 centimeters from the end of the Te. Hold this mark against your right hip, with the folded edge facing up and the wide, open edge facing down. The long end, called the Tare, will wrap around your body.
Step 2: Wrapping the Body
Wrap the Tare around your waist, keeping the bottom edge aligned with the top of your hip bones. The wrap should be slightly angled upward at the back. Bring the Tare around to the front, overlapping the Te. Wrap it a second time, ensuring the fabric is pulled taut. The tension here is critical; a loose wrap will cause the entire knot to sag within minutes.
Step 3: The Kari-Musubi (Temporary Knot)
At the front center, cross the Tare over the Te. Pull the Tare up and through the loop you've created, pulling it tight against your body. Take one of your Koshihimo (tying strings) and tie it firmly around your waist, directly over the obi fabric at the front, to hold everything in place. Tuck the excess string away.
Step 4: Shaping the Drum (The Otaiko)
Move to the back. Unfold the wide part of the Tare so it lies flat. Insert your Obimakura (cushion pad) into the fold of the Tare, positioning it horizontally where you want the top of the drum to sit. Pull the Tare fabric tightly up and over the pad. The pattern of the fabric should be perfectly centered and facing outward. Bring the end of the Tare down and tuck it securely under the Koshihimo you tied at the front, or use a specialized obi clip to hold it temporarily at the back.
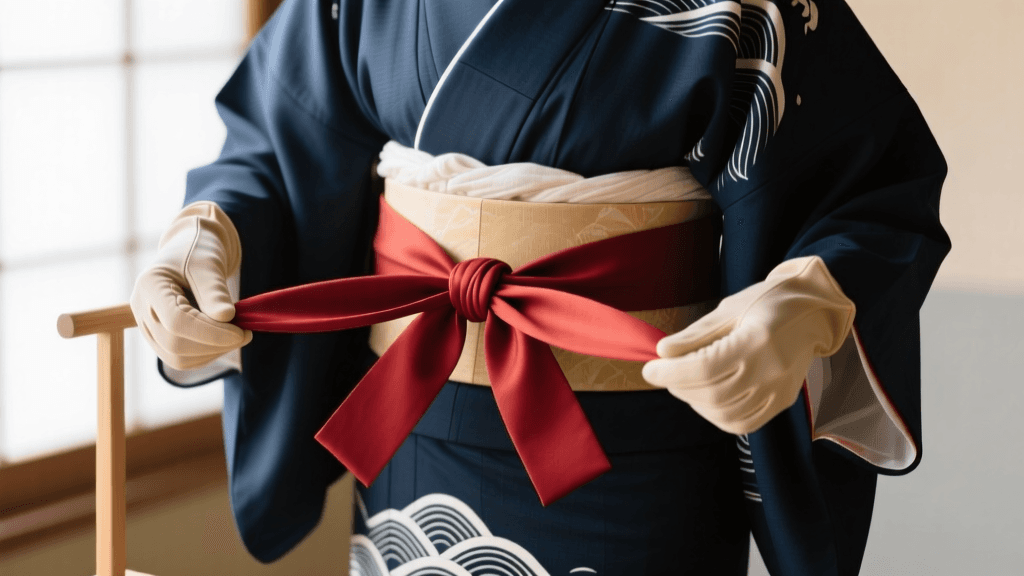
Step 5: Securing with Obijime and Obiage
Take your Obijime (braided cord) and wrap it around the exact center of the drum shape you just created. Pull it tightly to cinch the fabric together, tying a secure, flat knot at the front center. Next, take the Obiage (silk scarf), wrap it around the top edge of the drum to conceal the Obimakura pad, and tie it in a temporary knot at the front. Finally, take the Te end (which has been hanging at the back), fold it neatly, and tuck it into the space between the Obijime and the drum to form the bottom support of the 'box.' Adjust the front Obijime and Obiage knots neatly.
Troubleshooting Common Mistakes
Even experienced kimono dressers encounter structural issues. Use this diagnostic chart to correct common Otaiko Musubi errors.
| Common Issue | Probable Cause | Corrective Action |
|---|---|---|
| The drum is sagging or drooping downwards. | Insufficient tension during the initial wrap, or the Obimakura is too soft. | Re-wrap the Tare tighter, angling upward at a 15-degree incline. Use a firmer Obimakura. |
| The pattern on the back is off-center. | Miscalculating the starting position of the Te or uneven pulling of the Tare. | Measure the Te precisely before wrapping. Use a mirror to check pattern alignment before inserting the pad. |
| The front obi fabric is wrinkled or buckling. | Missing or improperly placed Obi-ita (front stiffener). | Insert a rigid Obi-ita between the first and second layers of the obi wrap at the front center. |
| The Obijime cord keeps slipping out of place. | Tied too loosely, or the drum shape lacks structural tension. | Pull the Obijime with significant force before knotting. Ensure the drum fabric is pulled taut over the pad. |
Cultural Context and Modern Etiquette
Understanding the cultural weight of the Otaiko Musubi is just as important as the physical mechanics of tying it. The knot is deeply tied to concepts of modesty, respect, and occasion-appropriate dressing. According to the Victoria and Albert Museum's extensive Kimono collection archives, the standardization of obi knots in the 20th century helped codify Japanese dress etiquette, separating everyday wear from ceremonial garb.
Today, the Agency for Cultural Affairs in Japan continues to recognize and protect the traditional textile crafts that produce these garments, from Nishijin-ori brocades to Yuzen dyeing techniques. When you wear an Otaiko Musubi, you are not just wearing a piece of fabric; you are participating in a living heritage.
For modern wearers, the Otaiko Musubi remains highly versatile. While traditionally paired with subdued, elegant kimono (like Iromuji or Tsukesage), younger generations and fashion-forward individuals are increasingly pairing it with bold, vintage Meiji or Taisho-era kimono, creating a striking juxtaposition of classic structure and retro aesthetics. Whether you are attending a traditional tea gathering in Uji or a modern cultural festival in Tokyo, mastering the Otaiko Musubi ensures you will do so with impeccable grace and authenticity.