Step-by-Step Guide: Tying the Classic Otaiko Musubi Obi Knot
The Art of Kitsuke: Understanding the Otaiko Musubi
The kimono is an iconic symbol of Japanese culture, but it is the obi—the wide, intricately woven sash—that truly anchors the ensemble and dictates the formality of the outfit. Among the myriad of knots, known as musubi, used to secure the obi, the Otaiko Musubi (often referred to as the 'drum knot' or 'taiko knot') stands as the undisputed queen of formal and semi-formal occasions. Whether you are attending a traditional tea ceremony, a wedding, or a university graduation ceremony, mastering the Otaiko Musubi is essential for any kimono enthusiast or tourist seeking an authentic dressing experience.
According to the Victoria and Albert Museum, the evolution of the obi from a thin, functional cord in the early Edo period to the wide, elaborate brocade sashes seen today fundamentally changed how kimono were worn, layered, and tied. The Otaiko Musubi, characterized by its smooth, drum-like box shape at the back, was popularized in the late 19th and early 20th centuries. It is considered highly appropriate for married women and older unmarried women for formal events, projecting an air of maturity, elegance, and refined grace. For those exploring traditional experiences in Japan, local experts at the Kyoto City Official Travel Guide frequently recommend the taiko knot for its dignified, historically accurate silhouette when visiting historic temples and participating in cultural ceremonies.
Choosing the Right Obi for the Drum Knot
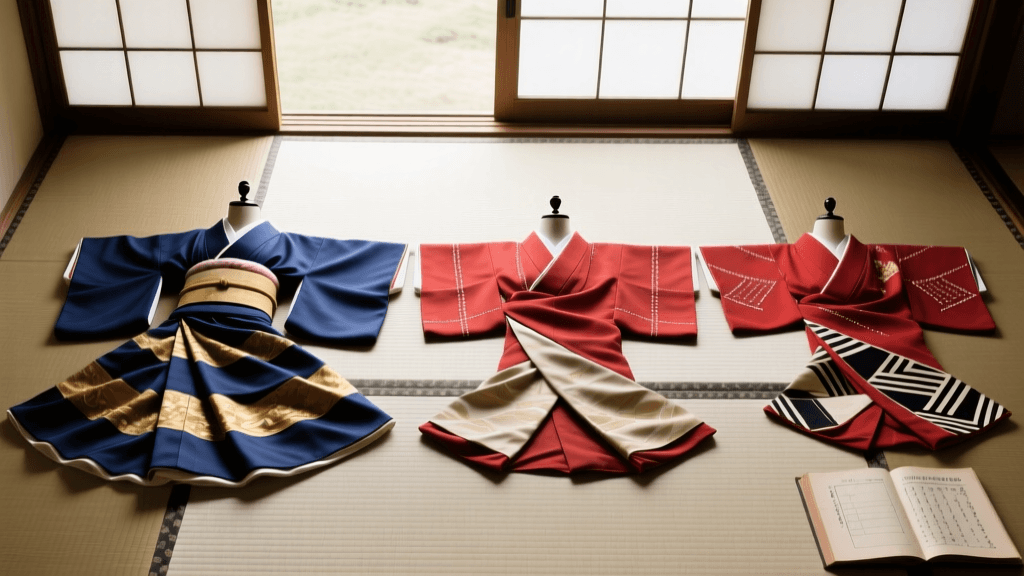
Not all obi are created equal, and selecting the correct type is crucial for achieving the perfect Otaiko shape. For this specific knot, you will primarily use one of two types:
- Nagoya Obi: This obi is pre-folded and stitched for half its length, making it significantly easier to tie. It typically measures around 3.6 meters in length and is ideal for semi-formal wear, such as tsukesage, komon, or edo komon kimono.
- Fukuro Obi: A fully wide, heavy brocade sash used for formal occasions like furisode, tomesode, and houmongi. Measuring between 4.2 to 4.5 meters, it requires more skill to manage due to its weight and length, but it yields the most luxurious and structured drum shape.
Essential Tools for Tying the Otaiko Musubi
Unlike Western clothing, which relies on buttons and zippers, the kimono relies on tension, folding, and a specific set of accessories to maintain its shape throughout the day. Before you begin wrapping, ensure you have the following tools on hand:
| Tool Name | Japanese Term | Primary Purpose | Average Cost (USD) |
|---|---|---|---|
| Hip Padding | Hip Pad / Towel | Creates a cylindrical torso shape, preventing the obi from slipping. | $10 - $25 |
| Waist Ties | Koshihimo | Long, thin cotton or silk ties used to secure the obi layers temporarily. | $5 - $15 (each) |
| Inner Belt | Datejime | A wide, stiff elastic or silk belt that keeps the front of the obi flat. | $15 - $30 |
| Obi Pillow | Obimakura | A small cushion that provides the structural volume for the 'drum' shape. | $8 - $20 |
| Obi Board | Obiita | A stiff board inserted at the front to prevent wrinkling and buckling. | $10 - $25 |
| Silk Scarf | Obiage | Decorative cloth that covers the obimakura and adds a pop of color. | $30 - $100+ |
| Decorative Cord | Obijime | A braided cord tied around the center of the drum to secure and decorate. | $20 - $150+ |
Step-by-Step Tutorial: Tying the Otaiko Musubi
Dressing in a kimono, known as kitsuke, is a disciplined art form. Find a full-length mirror, ensure your posture is straight, and follow these precise steps to achieve a flawless Otaiko Musubi.
Step 1: Measuring the 'Te' (Hand)
The 'te' refers to the short end of the obi. Drape the obi over your shoulders, letting the short end hang down your back. For a standard Otaiko knot, the te should measure exactly the width of the obi plus about 5 to 7 centimeters to allow for the final fold. For most standard obi, this means leaving approximately 45 to 50 centimeters of fabric hanging from your shoulder blade. Hold this measurement firmly in place.
Step 2: The Initial Wraps
Take the long end of the obi, known as the 'tare', and wrap it around your waist from back to front. Ensure the bottom edge of the obi sits squarely on your hip bones. Wrap the tare around your body twice, pulling tightly to ensure the fabric is smooth and secure. The two layers should overlap perfectly at the front. Use your first koshihimo (waist tie) to secure the wrapped layers firmly at the front of your waist, tying it in a tight square knot.
Step 3: Forming the Cross and the 'Tare' (Tail)
Bring the te (the short end you were holding) from the back, passing it under the wrapped layers and pulling it up to the front. Now, take the remaining tare (the long tail) and bring it around to the back. Cross the tare over the te at the center of your back. The te should point upwards, while the tare should point downwards. This cross is the structural foundation of the drum. Take your second koshihimo and tie it tightly around your waist, directly over the crossed fabric, to lock the tension in place.
Step 4: Inserting the Obimakura (Pillow)
Partially wrap your obiage (silk scarf) around the obimakura (pillow), leaving the ends of the scarf hanging loose. Lift the upward-pointing te and slide the obimakura underneath it, positioning it horizontally across your upper back. The te should drape over the pillow, creating the top curve of the drum. Tie the ends of the obiage loosely at the front of your chest to hold the pillow in place while you work on the lower half of the knot.
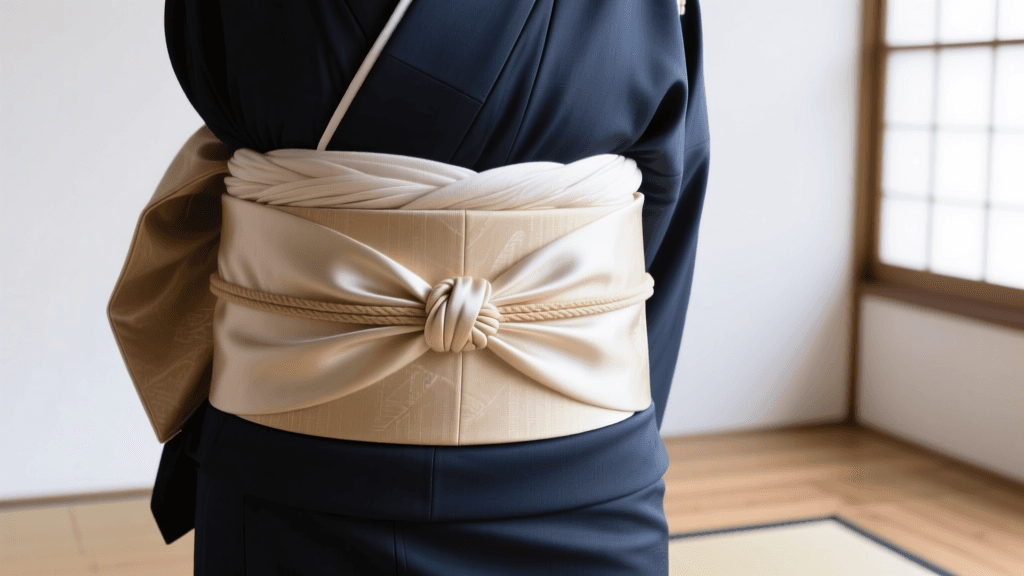
Step 5: Securing the Obiita (Board) and Folding the Drum
At the front of your body, slide the obiita (board) between the two wrapped layers of the obi to create a perfectly flat, wrinkle-free surface. Return to the back. Take the downward-pointing tare and fold it upward, bringing it over the bottom of the obimakura. The width of this fold dictates the height of your drum. Tuck the folded edge of the tare underneath the koshihimo that is securing the waist wraps. Adjust the fabric so the sides of the drum are neat, flat, and symmetrical.
Step 6: Arranging the Obiage (Silk Scarf)
Untie the obiage from the front of your chest. Carefully tuck the edges of the obiage into the top of the drum at the back, ensuring only a precise, even band of the silk (usually about 1 to 2 centimeters) is visible above the obi. Bring the ends to the front and tie them in a temporary knot. The obiage acts as a beautiful transition between the kimono collar and the obi.
Step 7: Tying the Obijime (Decorative Cord)
Take your obijime and wrap it around the exact center of the drum at the back. Bring the ends to the front and tie a flat, secure hon-musubi (square knot). The obijime not only adds a striking decorative element but also provides the final structural tension that keeps the heavy folds of the Fukuro or Nagoya obi from collapsing. Tuck any excess cord neatly under the knot or into the sides of the obi.
Pro-Tips for a Flawless Silhouette
'The beauty of the kimono lies not just in the silk, but in the architectural precision of the obi. A well-tied Otaiko Musubi should look as though it was carved from a single piece of brocade, resting effortlessly against the spine.' — Master Kitsuke Instructor
- Maintain Tension: The most common mistake beginners make is losing tension during the cross at the back. Always pull the fabric taut before securing the koshihimo.
- Use Adequate Padding: The human body is naturally curved, but the kimono requires a cylindrical shape. Do not skip the hip padding; it prevents the heavy obi from sliding down throughout the day.
- Posture is Key: When wearing an Otaiko Musubi, you must sit carefully. Avoid leaning back against chairs, as this will crush the delicate drum shape. Sit upright, slightly forward, to preserve the knot's integrity.
Conclusion
Tying the Otaiko Musubi is a rewarding practice that connects you deeply with Japanese textile heritage. While it requires patience, precise measurements, and a bit of physical dexterity, the resulting silhouette is unmatched in its elegance and formality. Whether you are preparing for a formal tea gathering or simply engaging in a high-end kimono rental experience in Tokyo or Kyoto, understanding the mechanics of the drum knot will vastly enhance your appreciation for the garment. As noted by the Japan National Tourism Organization, the immersive experience of wearing traditional attire is one of the most profound ways to connect with Japan's living history. Grab your obimakura, take a deep breath, and begin wrapping.