DIY Kimono Upcycling: Crafting Tote Bags and Cushions
The Renaissance of Kimono Upcycling
The global fashion industry produces millions of tons of textile waste annually, prompting a massive shift toward sustainable practices. Within the Asian traditions community, DIY kimono upcycling has emerged as a beautiful intersection of heritage preservation and modern eco-consciousness. Rooted in the Japanese philosophy of mottainai (a profound sense of regret concerning waste), repurposing vintage garments honors the incredible craftsmanship and labor that originally went into weaving, dyeing, and stitching the silk.
Historically, Japanese textiles were rarely discarded. As noted by the Metropolitan Museum of Art, the high value of silk and the labor-intensive weaving processes meant that garments were continuously repurposed, patched, or rewoven into new items like boro workwear or zanshi rugs. Today, modern upcycling aligns seamlessly with global circular fashion initiatives. According to the Ellen MacArthur Foundation, keeping materials in use through redesign and upcycling significantly reduces the carbon, water, and chemical footprint associated with new textile production.
In this comprehensive guide, we will explore how to source, prepare, and transform damaged or unwearable vintage kimono silk into two stunning, functional home and wardrobe staples: a structured silk tote bag and an envelope-style cushion cover.
Sourcing and Preparing Vintage Kimono Silk
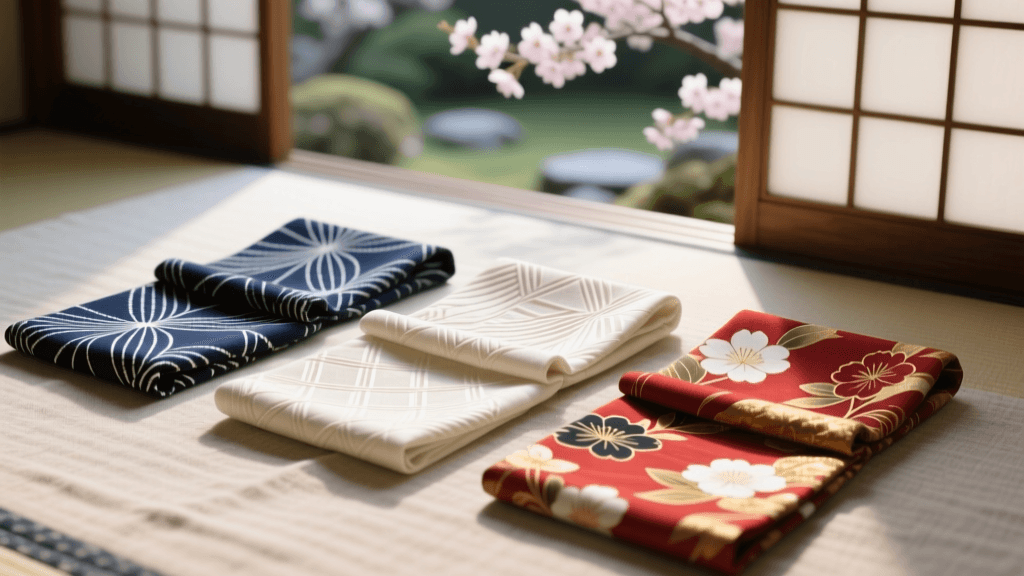
Before you can sew, you must source your materials. Vintage kimonos can be found at local thrift stores, specialized online vintage dealers, or through Japanese auction proxy services. When selecting a kimono for upcycling, look for pieces labeled as "craft grade" or "damaged." These garments often have stains on the collar or hem, or suffer from shattered silk in high-stress areas, making them unwearable but perfect for cutting around the flaws.
Essential Tools for Silk Upcycling
- Needles: Schmetz Microtex/Sharp needles (size 60/8 or 70/10). Standard universal needles will snag and pull delicate silk threads.
- Thread: 100% silk thread (such as Gutermann) or high-quality polyester. Cotton thread can be too abrasive and may cut the silk fibers over time.
- Interfacing: Pellon SF101 Shape-Flex woven interfacing to give lightweight silk the structure needed for bags.
- Cutting: A sharp rotary cutter and a self-healing mat to prevent the slippery fabric from shifting.
- Unpicking: A high-quality seam ripper for the traditional unpicking process.
The Art of Toka (Unpicking)
Traditional kimonos are constructed from straight, rectangular panels of fabric (tanmono) sewn together with a running stitch. To maximize your usable fabric, you must perform toka—the careful unpicking of these seams. Use a seam ripper to gently cut the threads every few inches, then pull the long continuous thread out. Once disassembled, gently press the panels flat using a steam iron on the "silk" setting, always utilizing a cotton press cloth to prevent water spots and heat damage.
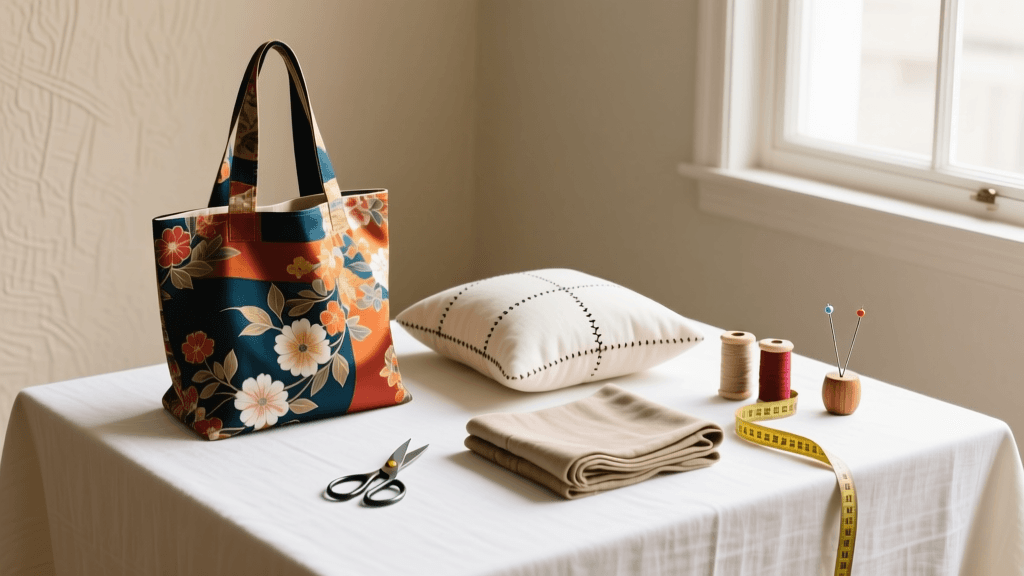
Project 1: The Structured Silk Obi Tote Bag
For this project, we recommend using the obi (the traditional sash) or the heavier silk crepe found in formal kimonos. The intricate brocade or yuzen-dyed patterns of an obi make for a breathtaking statement bag.
Materials and Measurements
- Main Fabric: Two 14" x 16" rectangles of vintage obi or heavy kimono silk.
- Lining: Two 14" x 16" rectangles of medium-weight cotton canvas or linen.
- Interfacing: Two 14" x 16" rectangles of woven fusible interfacing.
- Handles: One pair of 24" pre-made leather or cotton webbing bag handles.
- Estimated Cost: $45 - $75 (assuming $25 for a craft-grade obi, $10 for lining/interfacing, and $15-$40 for handles).
Step-by-Step Construction
- Fuse the Interfacing: Following the manufacturer's instructions, iron the fusible interfacing to the wrong side of your silk panels. This step is non-negotiable for bags, as it prevents the silk from stretching and gives the tote a professional, structured drape.
- Sew the Outer Shell: Place the two silk panels right sides together. Sew the sides and bottom using a 1/2" seam allowance. Because silk frays easily, finish the raw edges with a zigzag stitch or, for a premium finish, sew French seams.
- Create the Lining: Sew the lining panels together exactly as you did the outer shell, but leave a 4" gap in the bottom seam for turning later.
- Attach the Handles: Pin the leather or webbing handles to the top raw edge of the silk outer shell. Baste them in place within the 1/2" seam allowance.
- Assemble the Bag: Slide the outer shell inside the lining (right sides together). Pin the top edges and sew all the way around. Pull the bag right-side out through the gap left in the lining, then hand-stitch the lining gap closed.
- Topstitch: Press the top edge flat and topstitch 1/4" from the edge to secure the handles and give a crisp finish.
Project 2: Envelope-Style Kimono Cushion Covers
The body panels of a komon (everyday kimono) or the vibrant red linings of a haori (jacket) are ideal for home decor. An envelope-style back allows you to easily swap out the cushion insert without needing to install zippers, which can be tricky on delicate, fraying silk.
Materials and Measurements
- Main Fabric: One 18" x 18" square for the front panel.
- Back Panels: Two 18" x 13" rectangles for the overlapping envelope back.
- Insert: One 18" x 18" feather or poly-fill cushion insert.
- Estimated Cost: $20 - $35 (using salvaged kimono body panels and a basic insert).
Step-by-Step Construction
- Hem the Overlaps: Take the two 18" x 13" back panels. On one of the 18" edges of each panel, press a 1/4" double fold hem and stitch it down. These will be the overlapping edges in the center of the cushion back.
- Layer the Pieces: Lay the 18" x 18" front panel face up on your work surface. Place the two back panels face down on top of it. The hemmed edges should meet in the middle, overlapping each other by about 8 inches. The raw edges of all three pieces should align perfectly around the perimeter.
- Pin and Sew: Pin heavily around the entire outer perimeter. Using a Microtex needle and silk thread, sew around all four sides with a 1/2" seam allowance.
- Finish the Seams: Trim the corners diagonally to reduce bulk, and finish the raw edges with a serger or a zigzag stitch to prevent future fraying.
- Turn and Stuff: Turn the cover right-side out through the overlapping envelope opening on the back. Press the edges carefully with a steam iron and insert your cushion form.
Fabric Comparison and Yield Chart
Understanding the anatomy of vintage Japanese garments is crucial for planning your upcycling projects. Different garments offer varying widths, weights, and drape qualities. Use the chart below to determine the best use for your sourced textiles.
| Vintage Garment | Average Usable Dimensions | Silk Weight & Drape | Ideal Upcycling Project |
|---|---|---|---|
| Furisode (Long Sleeve) | 18" x 36" (per sleeve) | Heavy, ornate crepe silk | Statement Tote Bags, Wall Art |
| Komon (Everyday Kimono) | 14" x 45" (body panels) | Lightweight, smooth silk | Cushion Covers, Silk Scarves |
| Maru Obi (Formal Sash) | 12" x 160" (folded) | Stiff, brocade, metallic | Clutch Bags, Table Runners |
| Haori (Jacket) | 24" x 30" (back panel) | Medium weight, soft drape | Jacket Back Panel, Throw Pillows |
| Michiyuki (Overcoat) | 20" x 35" (front panels) | Medium, often textured crepe | Wrap Skirts, Lampshades |
Caring for Upcycled Silk Creations
Once you have invested time and effort into upcycling your vintage textiles, proper maintenance is essential to ensure their longevity. Silk is a protein fiber, much like human hair, and requires gentle handling to maintain its luster and structural integrity.
When caring for your finished upcycled projects, proper maintenance is crucial. Michigan State University Extension recommends avoiding harsh alkaline detergents and high heat, which can degrade silk fibers and cause irreversible yellowing. For cushion covers, spot cleaning with a mild, pH-neutral soap and cool water is usually sufficient. If a full wash is necessary, hand wash the cover gently in cool water using a specialized silk wash or baby shampoo, and never wring the fabric—instead, roll it in a clean towel to absorb excess moisture before laying it flat to dry.
For structured items like the obi tote bag, avoid water entirely, as it can stain the metallic threads or cause the interfacing to separate. Instead, use a soft-bristled brush to remove dust, and store the bag stuffed with acid-free tissue paper in a breathable cotton dust bag to protect it from light and humidity.
Conclusion
Upcycling vintage kimono silk is more than just a DIY craft; it is an act of cultural preservation and environmental stewardship. By transforming forgotten, damaged garments into modern tote bags and elegant home decor, you breathe new life into decades-old artistry. Whether you are carefully unpicking the seams of a Showa-era komon or structuring a heavy brocade obi into a luxurious handbag, you are participating in a long, honored tradition of textile reverence. Gather your tools, source your silk, and let the rich history of Asian textile traditions inspire your next sustainable sewing project.