Master the Bunko Musubi: Step-by-Step Obi Tying Guide
Introduction to the Bunko Musubi
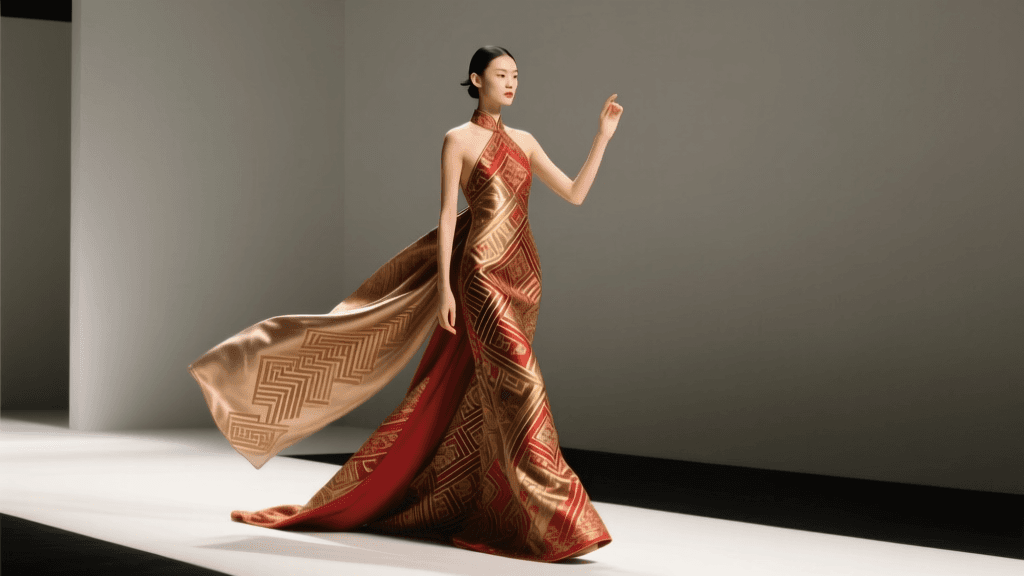
The obi is far more than a simple belt; it is the structural and aesthetic centerpiece of Japanese traditional dress. Historically, the obi evolved dramatically. According to the Metropolitan Museum of Art's Heilbrunn Timeline of Art History, the widening of the obi in the 18th century necessitated new tying techniques, transforming it from a functional cord into a highly visible marker of social status, age, and marital status. Today, mastering the art of tying an obi is a deeply respected skill, bridging the gap between historical preservation and modern cultural appreciation.
For beginners, tourists engaging in kimono rentals, and enthusiasts of casual traditional wear, the Bunko Musubi (文库结び) is the ultimate starting point. Translating roughly to the 'library knot' or 'book cover knot,' this style resembles the fluttering wings of a butterfly or the tied strings of a traditional Japanese book. It is predominantly worn with the hanhaba obi (half-width obi) and is the standard knot for yukata (summer cotton kimono) and casual wool or polyester everyday kimono.
This comprehensive guide will walk you through the exact measurements, essential tools, and step-by-step techniques required to tie a flawless Bunko Musubi, ensuring your garment stays secure and culturally accurate throughout your day.
Essential Tools for Tying an Obi
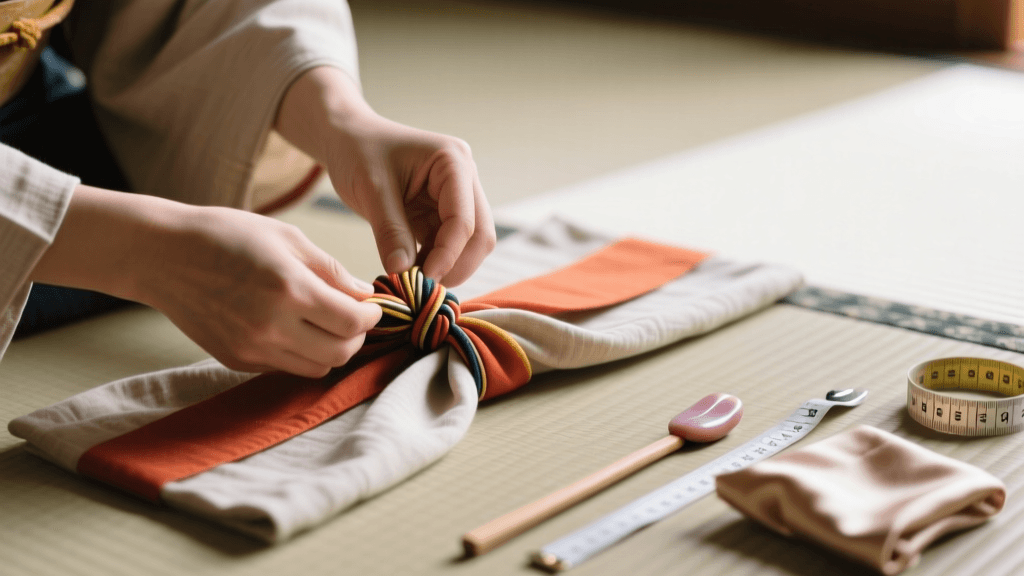
Before attempting to tie the Bunko Musubi, you must gather the correct accessories. The modern obi is rarely tied directly over the kimono without a foundation; it requires a specific layering system to maintain the garment's silhouette and prevent wrinkling. Below is a detailed breakdown of the tools you will need, including standard dimensions and approximate costs for modern practitioners.
| Tool Name | Purpose | Standard Dimensions | Approx. Cost (USD) |
|---|---|---|---|
| Hanhaba Obi | Half-width sash for casual wear and yukata | 15-17 cm wide, 300-400 cm long | $25 - $60 |
| Koshihimo | Thin cotton ties to secure the kimono and obi | 4 cm wide, 120 cm long | $5 - $10 (pack of 3) |
| Datejime | Stiff under-belt to prevent wrinkling | 8-10 cm wide, 300 cm long | $10 - $20 |
| Obi-ita | Flat board inserted to keep the front smooth | 15 x 30 cm (felt-covered) | $8 - $15 |
| Obijime | Decorative braided cord tied over the knot | 1.5 cm thick, 150 cm long | $15 - $40 |
| Obiage | Decorative silk scarf peeking above the obi | 25 x 100 cm | $15 - $35 |
Preparation and Posture
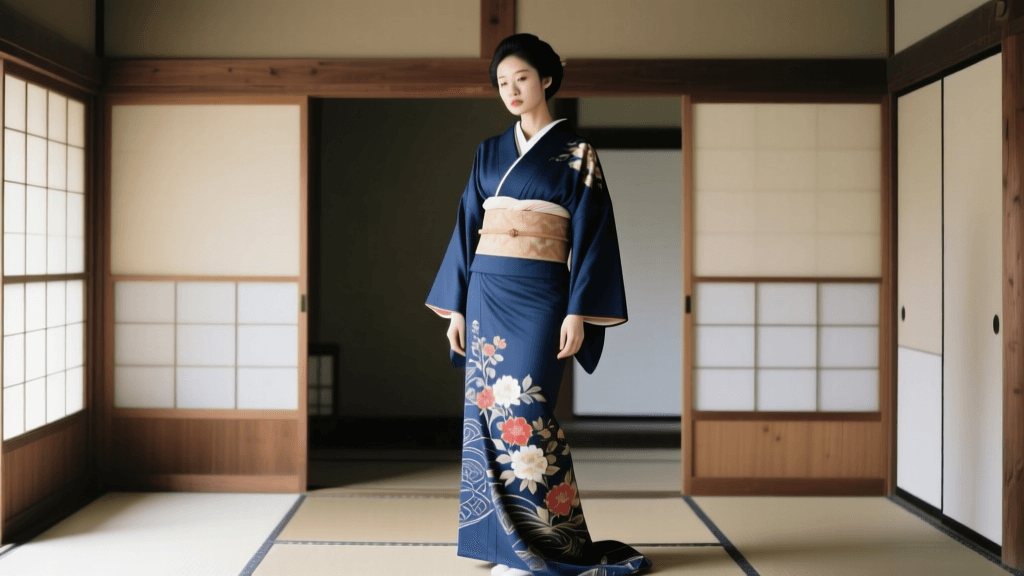
Proper posture is the secret to a comfortable and secure obi. When wrapping the obi, stand with your feet shoulder-width apart, keep your back perfectly straight, and engage your core. If you slouch while tying the obi and then stand up straight later, the belt will loosen and the bow will droop. Furthermore, ensure your kimono collar is adjusted to the correct V-shape at the nape of your neck, and your hemline is parallel to the floor, secured tightly with your initial koshihimo (waist tie).
Step-by-Step Guide to Tying the Bunko Musubi
Step 1: Measuring the Te-saki (The Tail)
Drape the hanhaba obi over your left shoulder. The end hanging down your front is called the te-saki (the tail), while the long end wrapped around your body is the tare-saki. Measure the te-saki so that it hangs down to about the middle of your thigh, or exactly 40 centimeters (15.5 inches). Pinch the obi at your front center to mark this measurement. This tail will eventually form the inner loop of the butterfly bow.
Step 2: The Dou-maki (Wrapping the Waist)
Take the tare-saki (the long end) and wrap it tightly around your waist from front to back, crossing it over the te-saki. Complete two full wraps around your torso. The tension must be firm—tight enough to support your lower back and keep the kimono secure, but not so tight that it restricts breathing. The bottom edge of the obi should sit just below your hip bones for a modern, youthful look, or slightly higher on the natural waist for a more traditional, mature silhouette.
Step 3: Securing the Foundation
Once you have completed the two wraps, bring the tare-saki to the front. Tie a temporary, simple half-knot with the tare-saki and the te-saki to hold the tension. At this stage, slide your obi-ita (belt board) between the obi and the kimono at the front center to ensure a perfectly smooth, wrinkle-free surface. If you are using an obi-age (decorative scarf), drape it over the top edge of the obi now, tucking the ends in temporarily.
Step 4: Creating the Otai (The Bow)
Unfasten the temporary knot. Focus on the tare-saki (the long end). You will now create the otai, which forms the wings of the butterfly. Fold the tare-saki back and forth in an accordion style (mountain and valley folds) to create a fan-like bundle. The width of this bundle should match the width of the hanhaba obi (about 16 cm). Pinch the exact center of this folded bundle tightly. This pinched center will become the core of your knot.
Step 5: Tying the Core Knot
Take the te-saki (the short tail you left at the beginning) and wrap it tightly around the pinched center of the otai bundle. Wrap it two or three times, pulling firmly to compress the folds. Tuck the remaining end of the te-saki down into the space between the obi and your back, hiding it completely. You now have a fully formed, but backward-facing, butterfly bow at your front.
Step 6: The Rotation (Mawashi)
This is the most crucial and physically demanding step. Grasp the entire obi assembly (the wrapped waist and the bow) firmly with both hands. Slowly and carefully rotate the entire belt clockwise from the front to the back of your body. Do not twist your torso or shoulders; rotate the fabric around your hips to avoid disturbing the kimono lapels at your chest. Once the bow is centered on your back, adjust the wings of the butterfly so they are symmetrical and fanned out beautifully.
Step 7: Final Embellishments
Finally, take your obijime (decorative cord) and wrap it around the center of the obi at the front, tying it securely with a flat, decorative knot (such as the hon-musubi or square knot). Tuck the excess cord into the sides. Adjust the obi-age scarf so that just one or two centimeters peek out above the top edge of the obi, tying it in a small knot at the front center and tucking the excess away.
Cultural Etiquette and Styling Context
Understanding when and where to wear the Bunko Musubi is just as important as knowing how to tie it. As noted by the Victoria and Albert Museum's Kimono Exhibition Archives, the obi knot serves as a complex social signifier in Japanese culture. The Bunko Musubi is inherently casual and youthful. It is the standard for summer fireworks festivals (hanabi taikai), casual shrine visits, and relaxed ryokan (traditional inn) stays.
'The obi transformed from a simple functional tie into a highly visible marker of social status, age, and marital status, particularly during the Edo period when the knot moved from the front to the back, turning the wearer's back into a canvas for artistic expression.'
— Victoria and Albert Museum, Kimono Exhibition Archives
It is considered a faux pas to wear a Bunko Musubi with formal garments such as a tomesode (black formal kimono) or a furisode (long-sleeved kimono for unmarried women). Formal occasions require more complex, subdued knots like the Otaiko Musubi (drum knot) or the Fukura-suzume (puffed sparrow). Furthermore, while modern fashion and anime-inspired cosplay have introduced avant-garde, oversized, and heavily decorated Bunko variations, traditionalists recommend keeping the knot neat, symmetrical, and appropriately sized for the wearer's back when participating in cultural ceremonies or tea ceremonies.
Troubleshooting Common Mistakes
- The Bow is Drooping: This usually happens if the koshihimo (waist tie) underneath was not pulled tightly enough, or if the rotation step was done too quickly, stretching the fabric. To fix this without untying, reach behind your back, grab the bottom edge of the obi, and pull it sharply downward while pushing the top edge up.
- The Front is Wrinkling: If the fabric at your stomach is buckling, your obi-ita (belt board) may be too narrow, or you may have wrapped the obi too loosely during the dou-maki phase. Always ensure the board is centered and the tension is even.
- The Collar Pops Open: This is a common issue during the rotation step. To prevent the kimono lapels from pulling apart when you twist the obi, use an additional koshihimo tied securely just below the bust line before you even begin wrapping the obi.
Conclusion
Tying the Bunko Musubi is a tactile, rewarding experience that connects the wearer to centuries of Japanese textile history. While the steps may seem intricate at first, muscle memory will quickly take over after a few practice sessions. Today, experiencing traditional dress is a major draw for international visitors, and the Japan National Tourism Organization highlights kimono rental experiences in cities like Kyoto and Kanazawa as essential cultural activities. Whether you are dressing for a summer matsuri in Tokyo or practicing the art of kitsuke (dressing) at home, mastering the Bunko Musubi ensures you do so with elegance, comfort, and deep cultural respect.