Master the Bunko Musubi: Step-by-Step Obi Tying Guide
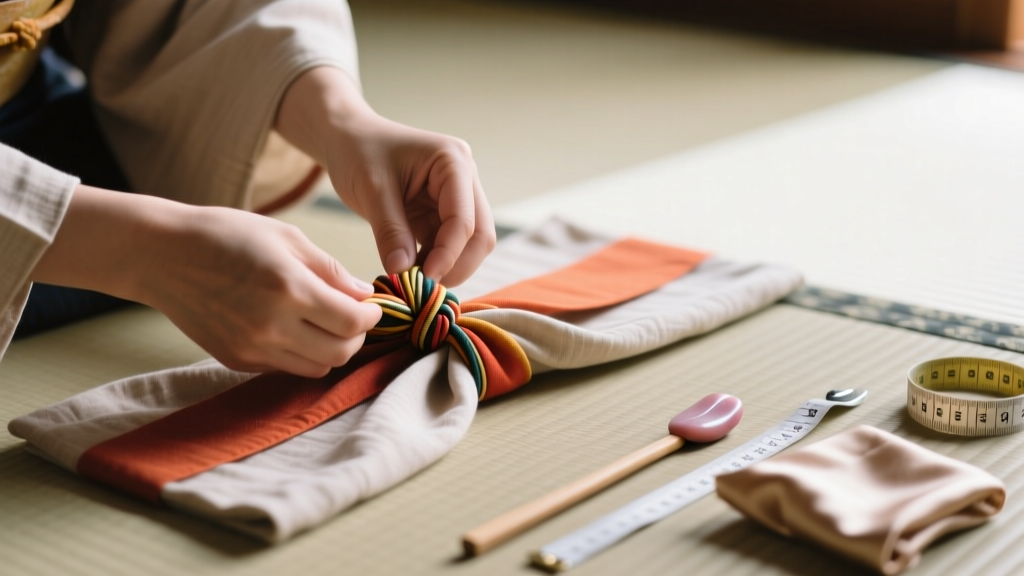
To answer the fundamental question of obi how to tie for traditional Japanese garments, the Bunko Musubi (box bow) is the most accessible and elegant method. This guide is designed specifically for novice kimono wearers, yukata enthusiasts, and cosplayers seeking a reliable, no-slip knot. You will learn to tie a Hanhaba Obi (half-width obi) in under three minutes using the standard kitsuke (dressing) technique. The core process involves wrapping the belt twice around the torso, forming a rectangular bow at the back, and securing it with a thin cord. By mastering this foundational knot, you establish the baseline skills required for all advanced Japanese belt styling.
- The Bunko Musubi is the standard box-bow knot for casual and summer wear.
- Use a 300-centimeter Hanhaba Obi for optimal wrapping and folding tension.
- Always insert an Obi-ita (belt board) to prevent fabric creasing during wrapping.
Understanding the Bunko Musubi Knot
The Bunko Musubi is a traditional Japanese obi knot characterized by its rectangular, box-like bow shape, resembling a stack of books. It is predominantly worn by unmarried women and children with casual summer yukatas, utilizing a half-width belt for structural stability and aesthetic proportion.
The Hanhaba Obi is a casual, half-width Japanese belt measuring exactly 15 centimeters across. Woven from cotton, polyester, or silk, it provides the necessary flexibility for everyday summer festivals and informal gatherings, requiring no rigid internal padding to maintain its structural integrity.
Required Materials and Dimensions
According to the Japan National Tourism Organization, proper proportions are critical for authentic styling. Gather the following items before beginning:
- Hanhaba Obi: 300 centimeters in length and 15 centimeters in width.
- Obi-jime (decorative cord): 150 centimeters long.
- Obi-ita (belt board): 50 centimeters wide to prevent creasing.
- Time required: 180 seconds for an experienced tier, 420 seconds for beginners.
Step-by-Step Bunko Musubi Tutorial
In 2026, modern kitsuke schools recommend practicing the wrapping phase separately from the bow-formation phase to build muscle memory. Follow these precise steps to achieve a symmetrical result.
Preparing the Hanhaba Obi
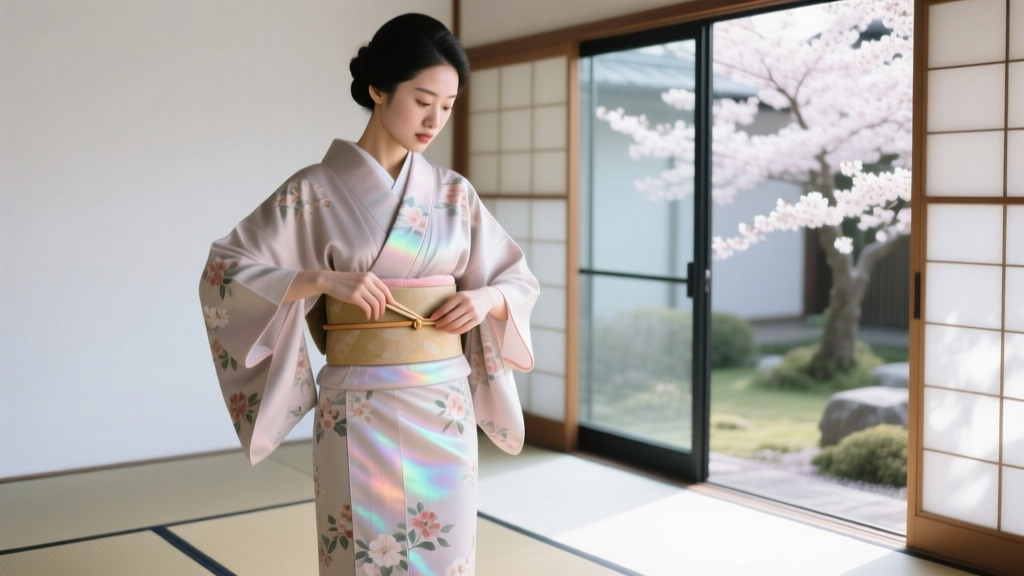
Find the center point of your 300-centimeter belt. Fold the left end (the 'te' or hand) to exactly 50 centimeters and hold it against your front right hip. Wrap the longer right end around your torso twice, ensuring the fabric sits snugly above your hip bones. Insert the 50-centimeter Obi-ita board between the first and second wrap at the front to maintain a flat surface.
Forming the Box Bow
Bring the remaining long end to the front and cross it over the shorter 'te' end. Tuck the long end underneath the wrapped belt and pull it upward tightly. Transfer the belt to your back. Accordion-fold the long end into three distinct 15-centimeter pleats to form the rectangular 'otaiko' (drum) shape.

Securing the Knot
Wrap the short 'te' end horizontally across the center of your folded pleats. Tie a secure square knot at the back to lock the structure in place. Finally, weave your 150-centimeter Obi-jime cord through the center of the bow and tie it at the front. The Victoria and Albert Museum notes that the Obi-jime is both a functional anchor and a vital aesthetic accent in contemporary Japanese dress.
Troubleshooting Common Obi Tying Issues
Use this decision framework to diagnose and correct structural failures during the tying process.
| Issue Identified | Root Cause | Corrective Action |
|---|---|---|
| Bow droops downward | Insufficient tension during the second wrap | Pull the long end upward at a 45-degree angle before folding |
| Fabric bunches at the front | Missing or improperly placed Obi-ita board | Re-insert the 50-centimeter board directly against the inner wrap |
| Asymmetrical pleats | Inconsistent folding measurements | Measure each accordion fold to exactly 15 centimeters before tying |
Frequently Asked Questions
How to tie yukata obi for a casual festival?
For casual summer festivals, use a lightweight cotton Hanhaba Obi and tie the Bunko Musubi knot. The cotton provides breathability, while the box bow offers a youthful, festive silhouette that pairs perfectly with wooden geta sandals.
What is the easiest obi knot for beginners?
The Bunko Musubi is universally recognized as the easiest knot for beginners. It requires no specialized pillows (obi-makura) or stiffeners, relying entirely on the natural stiffness of the half-width belt to hold its rectangular shape.
How to tie an obi belt without a traditional kimono?
When styling an obi belt over modern Western clothing like dresses or coats, reduce the wrapping tension and utilize a simplified front-tie variation of the Bunko Musubi. This prevents damage to non-traditional fabrics while maintaining the visual architecture of the bow.
Next Steps for Mastery
Mastering the Bunko Musubi transforms the complex art of kitsuke into an accessible daily practice. The structural integrity of this knot provides a reliable foundation for attending tea ceremonies, summer matsuri, and cultural exhibitions. As your immediate next step, set up a full-length mirror and record a 180-second video of yourself tying the knot to analyze your back profile and tension consistency.